When you click on links to various merchants on this site and make a purchase, this can result in this site earning a commission. Affiliate programs and affiliations include, but are not limited to, the eBay Partner Network.
Cman,
Any tips/tricks or things to look out for while taking the headliner out or is it just straight forward? Let me know how much you get a quote for. I've gotten quotes from five auto upholsterers and the estimates have been all over the place. Thanks.
Just take your time and be careful when removing it, you don't need to remove the trim from the a pillars, just the plastic trim that goes around the interior by the back window, and you obviously need to remove the stuff for the dome light and all the hooks and sun visor stuff. Pretty much all of the accessories that are on the headliner that you need to take off, can be removed with a Philips head screwdriver. The only things that can't be are the bolts for the seatbelt pulley thing. I forget what it's called haha. But ou should know what I mean. Unless your truck has them in built into the seats. And since your truck has a rear door on each side (this doesn't apply if your trucks a 3 door [97/98]) you'll have two plastic press pins that hold the back half of the headliner up, you want to be careful removing them so you don't break them. If you do just go to your parts store and get some new ones, they should have them. Although they might only have black. Also, you need to pull the door weatherstripping off the truck around the opening, I did this part last, because it's the last thing holding the headliner up after everything else is removed. So do that last, and it should drop. Then just slowly and carefully pull the headliner out and set it to the side. And reinstall everything else if you want, I did because I didn't want to lose any of it, and I knew it'd be out a while.
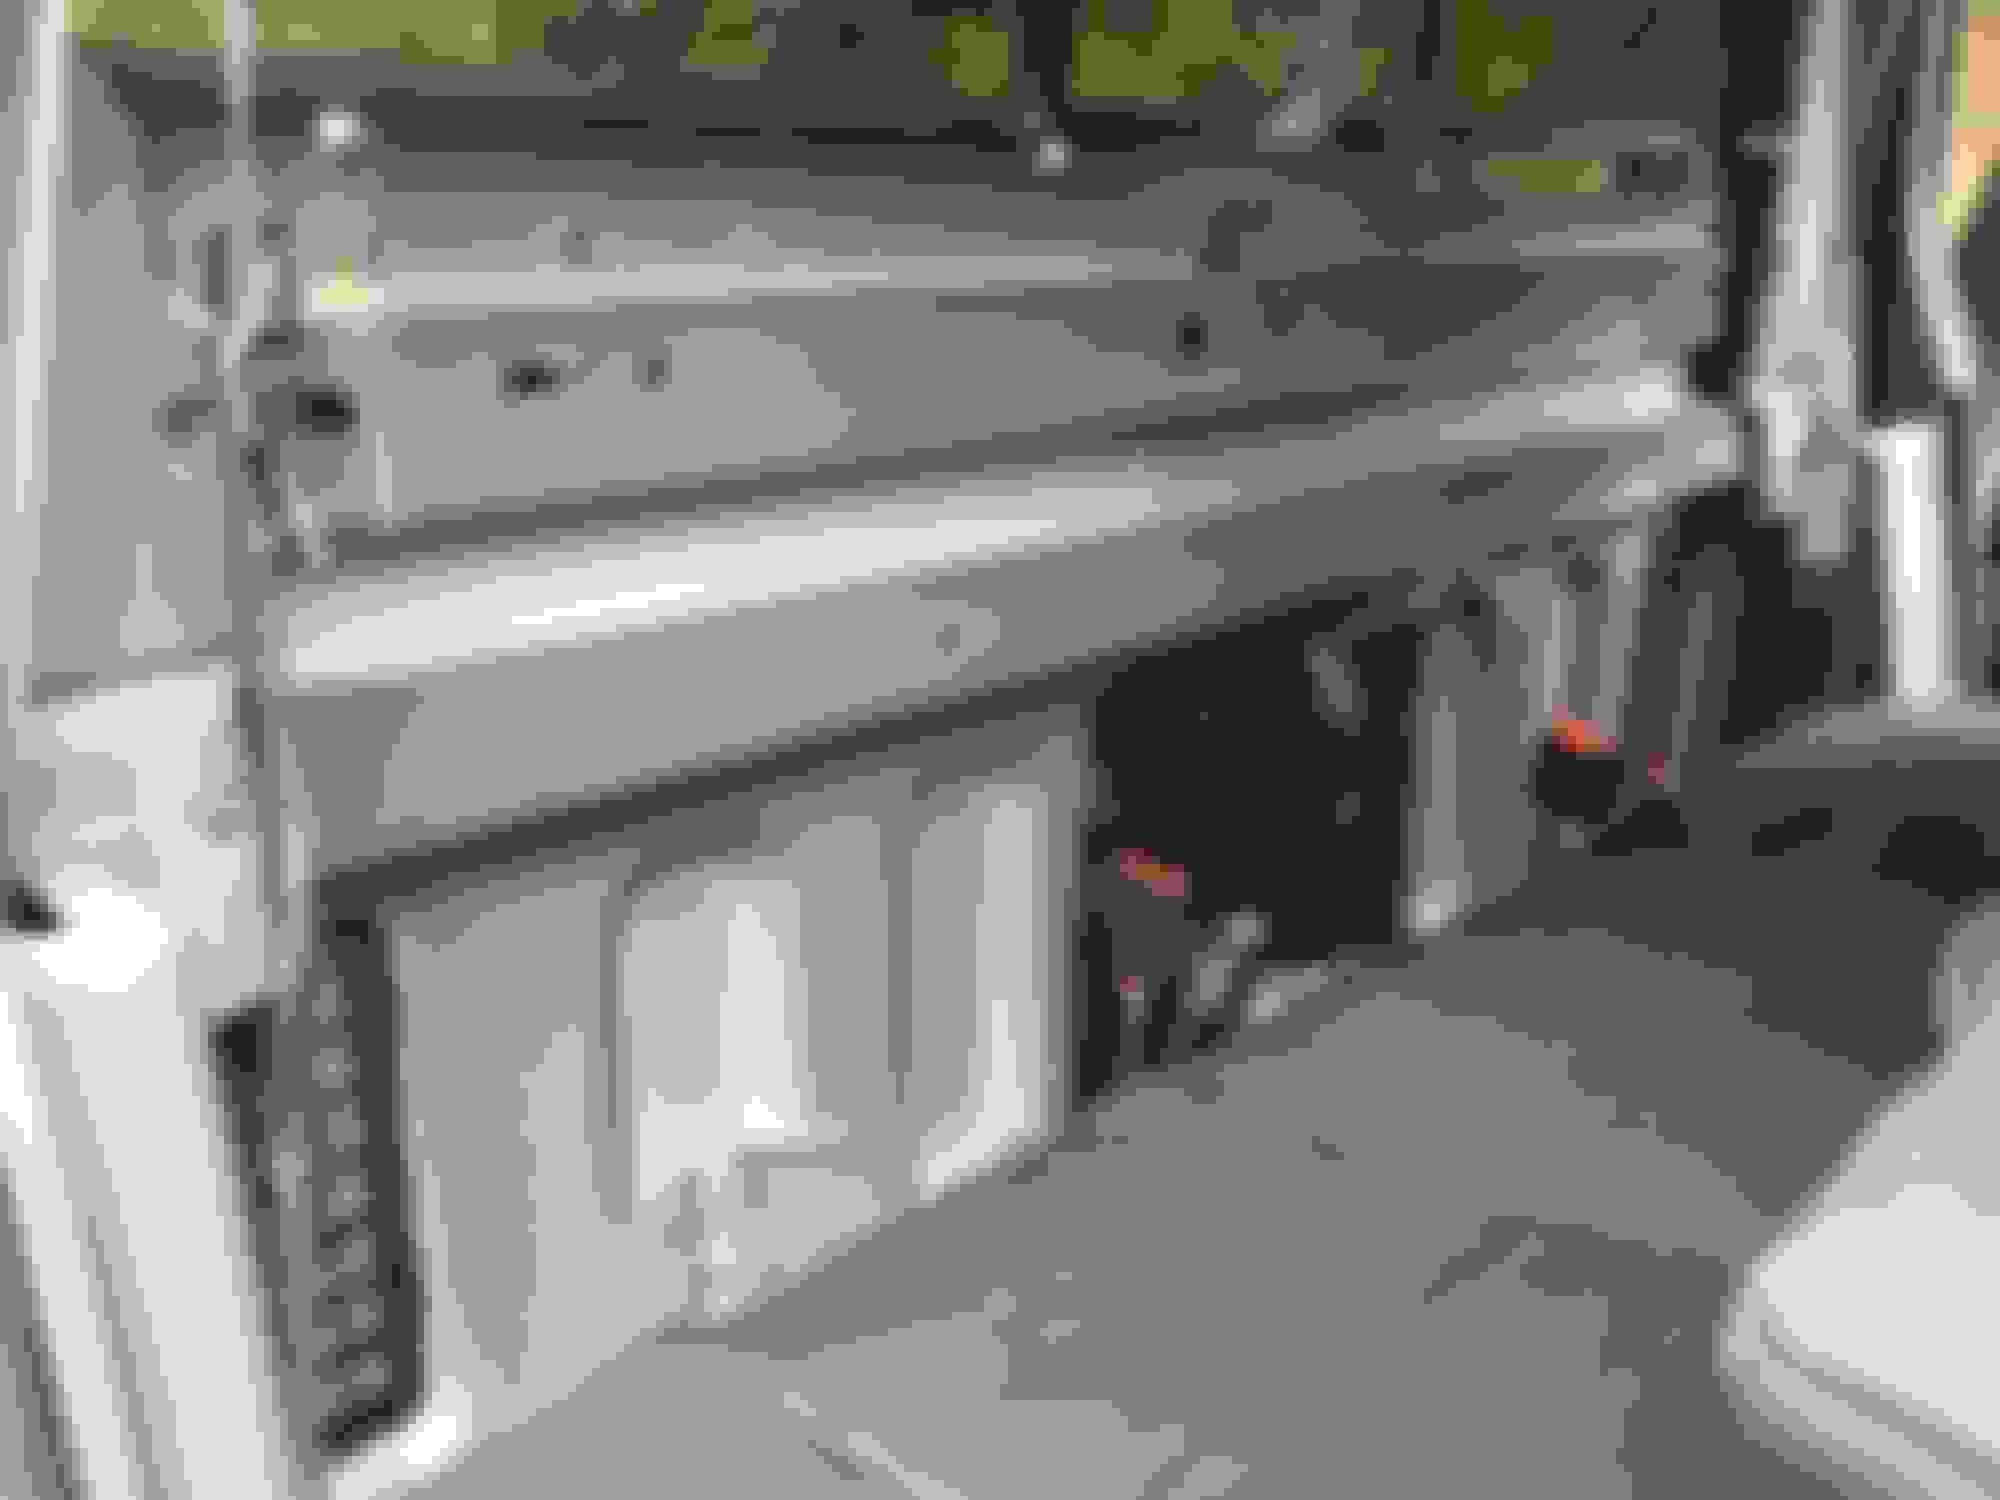
I Dynamated the A-Pillars as well as finished the rear wall of the cab that I hadn't finished before. I also painted the rear frame rails and the last five feet or so of the exhaust after brushing it down with a steel brush and steel wool. No pics of the A-pillars but a couple of the cab as well as the painted frame rail.
Only one piece was installed from the time I did the floor in Dynamat.
Almost done.
I had to piece meal the passenger side with left over cuts.
It's temporary, but I prefer seeing those rails blacked out versus surface rust. I hope to Line-X the frame rails at some point.
Last edited by BlackBullXLT; 05-25-2015 at 06:35 PM.
I Dynamated the A-Pillars as well as finished the rear wall of the cab that I hadn't finished before. I also painted the rear frame rails and the last five feet or so of the exhaust after brushing it down with a steel brush and steel wool. No pics of the A-pillars but a couple of the cab as well as the painted frame rail.
Only one piece was installed from the time I did the floor in Dynamat.
Almost done.
I had to piece meal the passenger side with left over cuts.
It's temporary, but I prefer seeing those rails blacked out versus surface rust. I hope to Line-X the frame rails at some point.
The big question is: how much quieter is the ride now?
Lower Seats first with Rears off. Cleaned up everything back there while I was in there and made a measurement for Dynamat when I receive my next shipment of it.
Ugly and Old OEM Grey Seats.
Finished.
Hey truck looks great, where did you get that storage box under the rear seat?? thanks
The big question is: how much quieter is the ride now?
I totally agree, that is the BIG question.
I have not re-run the decibel test yet but will be sure to report back that difference, if any, when I do so.
First, the Alpine sound system sounds great with both the Dynamat & new speakers.
In regards to road noise, this is what I have noticed with the 'ear' test. At low speeds the Dynamat has certainly made a difference but at highway speeds I'm afraid it hasn't made much of a difference at all.
So why is the question at this point. I suspect it is because of the turbulence and possibly even pressure that is caused first by the knobby tires that then have all that space created by the lift and distance between tire and wheel well. So the higher the speed the greater the turbulence and the greater the noise exponentially (the higher the speed the greater the decibels).
To make another example, it is like laminar flow, smooth, such as say a highway tire on a stock F150 versus turbulent flow on a raised F150 with knobby tires.
Plans on reducing noise further include Dynamating roof before new headliner goes in, possibly DynaPADing the floor pan before I install new carpets (That could be five layers of insulation on the floor in some places between Dynamat, Dynaliner, Dynapad, carpet pad, and carpet), LineXing the entire new hood (I haven't shown that yet, but I installed it about a month ago) and LineXing the frame rails which all should help insulate the road noise at higher speeds. The LineXing is not being added for noise reasons, just durability and to keep a consistent look. Beyond that I'll be done with dealing with the noise. It's a fun project and experiment, but I don't expect a F-150 to be a Mercedes S-Class .
All are very fair veiws. I mean if we wanted quiet we wouldnt have mud tires or lifts right?
I used these products from Prestone and Royal Purple:
I performed two flushes, one while driving and one while parked. So for clarity, I poured the Flush in and drove with it for a few days. Flushed that out and then performed another flush while idling and turning on the heater at full blast.
Prestone Flush, Prestone 50/50, Royal Purple-Purple Ice
Didn't pull the Drain **** out all the way (dummy)!
Lots of coolant, I used a 1/2" ID hose.
DUUUOOOHHH....I over torqued the old drain ****. Here is the pic of new versus old.
...for those of you that may need the part number.
 05-02-2015, 06:02 PM


 .
.