Fed up with the rot
 08-07-2014, 12:42 PM
#31
Junior Member
Thread Starter

great work and pics. I noticed the last couple of months when stepping on my nerf bars that it was shaking more than usual. checked underneath and the inside of the door sill is corroding away. can you tell me where you got the metal and what gauge it is you're using, and how you are shaping it? also what type of welder. I presently have a stick welder that I've been practicing with. thanks
For shaping, on straight bends, I just use the side of the welding table. I built this several years ago:

I clamp the sheet metal at each end, if its really long several places down the middle and use a regular hammer starting from one end I slowly hammer it down striking the metal at the edge of the table (not the edge of the piece you are shaping). Once I roughly have the amount of bend i want, I use a hammer and dolly to straighten out the edge to make it flat.
For making curved edges, I made some of my own sheet metal T-Bars similar these:

I clamp them on the edge of my table or in a vice and hold the piece with my hand on one end and have the edge of it over the T-Bar and hammer at the edge while I move the piece around to get the curve I want. Depending on how large of a piece I have (nothing I did on this truck) I also picked up a pneumatic planishing hammer from harbor freight, its cheap but it gets the job done.
For welders, I have both a Miller Mig 250x and a Tig 165. For most everything I did on this truck, I used the Mig since I was not going to be able to get the metal clean enough for a good Tig weld.
As [MENTION=164148]Manuellabour247[/MENTION] mentions, you can pick up a cheap 110v mig welder and use/practice with. Some don't require having to get shielding gas and use a flux core wire instead to help keep the initial investment cost down.
Last edited by IronheadJay; 08-07-2014 at 01:18 PM.

The following users liked this post:
biker55 (08-07-2014)
08-07-2014, 12:47 PM
#32
Junior Member
Thread Starter
I hear ya about sprays running. I just hate brushing paint upside-down, paint always runs down the handle and on my hands and that drives me nuts heh.
08-07-2014, 03:08 PM
#33
Senior Member


WOW you've got talent and vision. I live down by Coldwater Mi and they don't use the salt that Wayne Co. does. I have an '99 F250Ld thats pristine with 73K. Painted bottom with Rustoleum damp proof primer and zinc spray cans.
 08-07-2014, 09:03 PM
#35
fx4 co-owner

thanks for responding. I can only afford the stick welder. so I will practice with that until I can weld with it. what did you use for a template for the inner and outer rocker panels, since the originals were so destroyed? hopefully I can reach your skill level one day.
Last edited by biker55; 08-07-2014 at 09:16 PM.
08-07-2014, 09:30 PM
#36
Senior Member
thanks for responding. I can only afford the stick welder. so I will practice with that until I can weld with it. what did you use for a template for the inner and outer rocker panels, since the originals were so destroyed? hopefully I can reach your skill level one day.
08-08-2014, 11:30 AM
#38
Junior Member
Thread Starter
thanks for responding. I can only afford the stick welder. so I will practice with that until I can weld with it. what did you use for a template for the inner and outer rocker panels, since the originals were so destroyed? hopefully I can reach your skill level one day.
As for the templates, I just have a small stockpile of poster board I picked up from Walmart, its ridged enough to hold bends and folds as well as can draw on with pencil. I make my cuts, folds, bends and if there are multiple pieces I need to make I tape them together to be the final part before I cut any metal.
Here is an example for what I did for a suspension bracket on another project:
I made the template with bends and a bolt hole:

traced it out onto the steel plate:

after cutting it out I transferred the bend lines from the template:

Finished bracket ready to be welded on:
 08-08-2014, 11:34 AM
#39
Junior Member
Thread Starter
Thanks. I wish they didn't dump the salt like the do, oh well.
08-11-2014, 01:11 PM
#40
Junior Member
Thread Starter
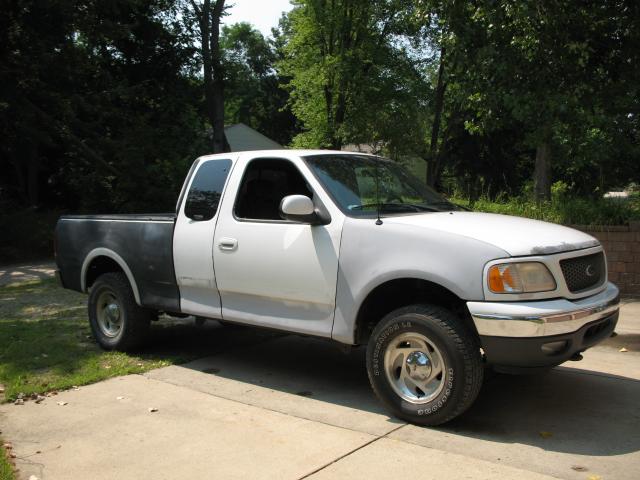
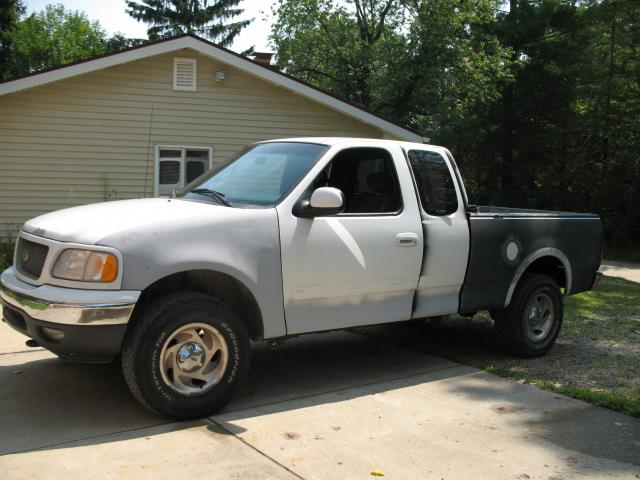
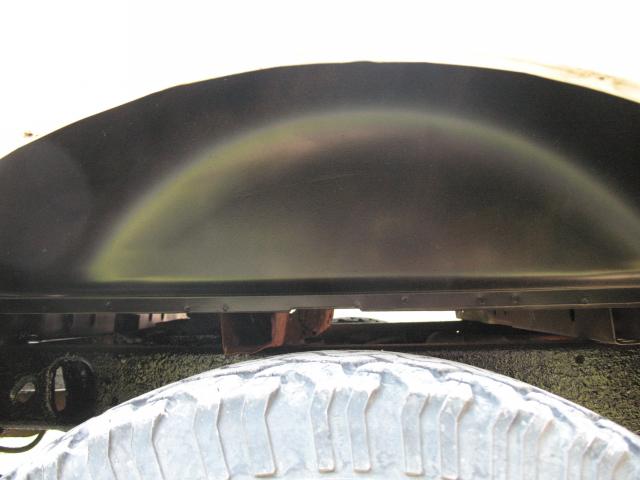
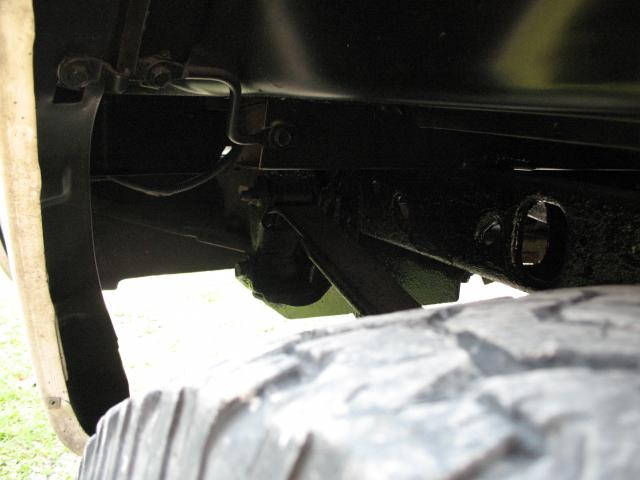
I finally have everything back together and drivable.
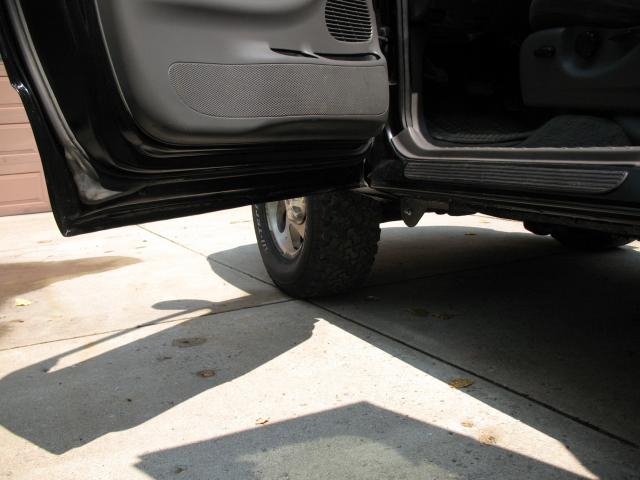
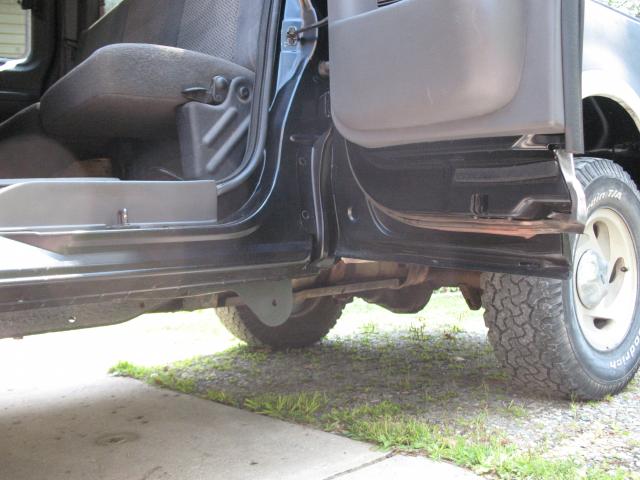
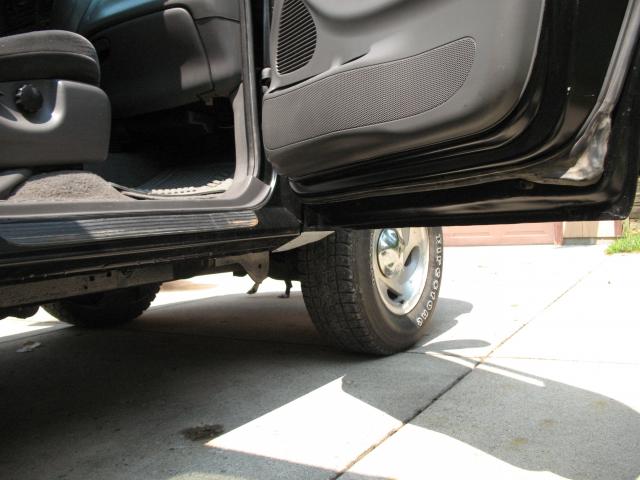
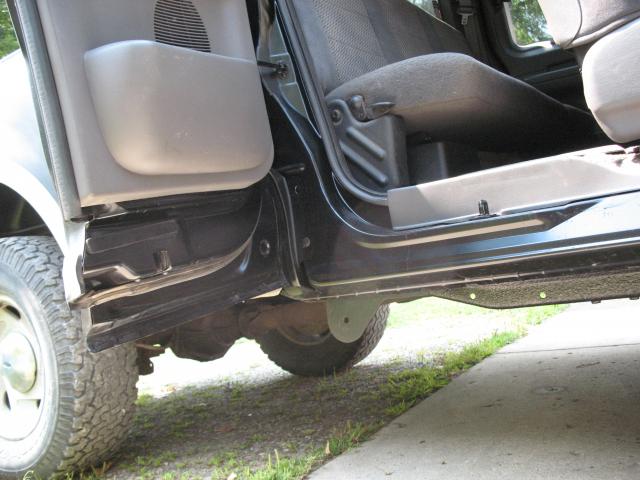
Before i put the bed back on I sprayed some undercoating to help reduce the chance of rust in the future:
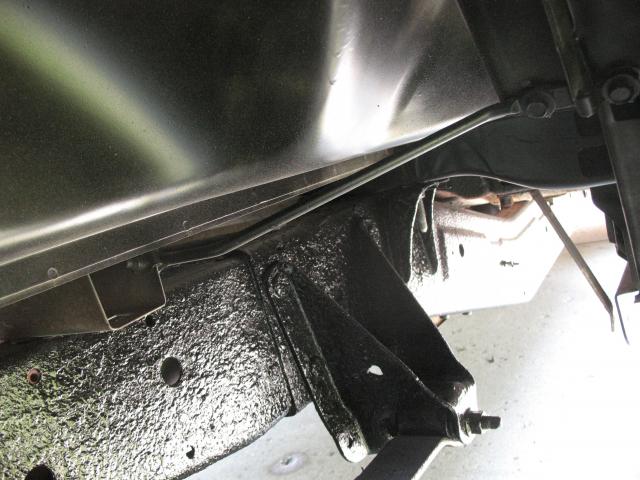
Next up is getting it mechanically sound, the rear diff pinion seal leaks pretty bad (dropping off to a mechanic later this week), bad passenger side exhaust leak and I have a small trans leak I need to hunt down. Once all that is done, I'll be laying some paint before the end of the month! I was going to do the Rustoleum satin black but after seeing [MENTION=105401]schaefercal[/MENTION]'s results below, I'll be going with the JD Blitz Black. I really like how that came out. This will be my first full paint on a car so hopefully it turns out half as good has his heh.


Before i put the bed back on I sprayed some undercoating to help reduce the chance of rust in the future:


Next up is getting it mechanically sound, the rear diff pinion seal leaks pretty bad (dropping off to a mechanic later this week), bad passenger side exhaust leak and I have a small trans leak I need to hunt down. Once all that is done, I'll be laying some paint before the end of the month! I was going to do the Rustoleum satin black but after seeing [MENTION=105401]schaefercal[/MENTION]'s results below, I'll be going with the JD Blitz Black. I really like how that came out. This will be my first full paint on a car so hopefully it turns out half as good has his heh.
Attachment 334803
Attachment 334804
Right after spray. Still need trim installed. Wheels and tires coming.
Attachment 334804
Right after spray. Still need trim installed. Wheels and tires coming.
Last edited by IronheadJay; 08-11-2014 at 01:18 PM.