Sweet Electric Fan mod 04 5.4 AC override feature

 06-03-2014, 02:14 AM
#12

Ok, after many requests I have decided to make a detailed How-To on a 3 Speed Motorcraft electric fan system and mount it in a 2004-2008 F150 with the 4.6 or 5.4.
Parts you will need:
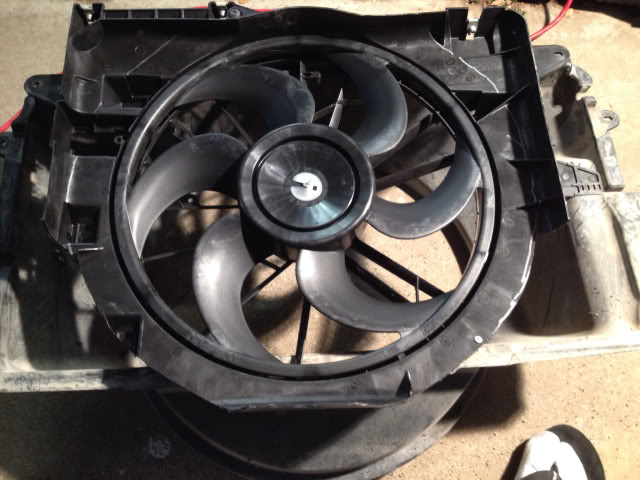
2010 and up Ford Mustang GT, Cobra, and Shelby GT500 Single speed 18" electric fan w/ 3 speed resistor. It is a newer version of the Lincoln Mark VIII fan except it has "S" shaped blades that increase airflow to 4000CFM. Price $309
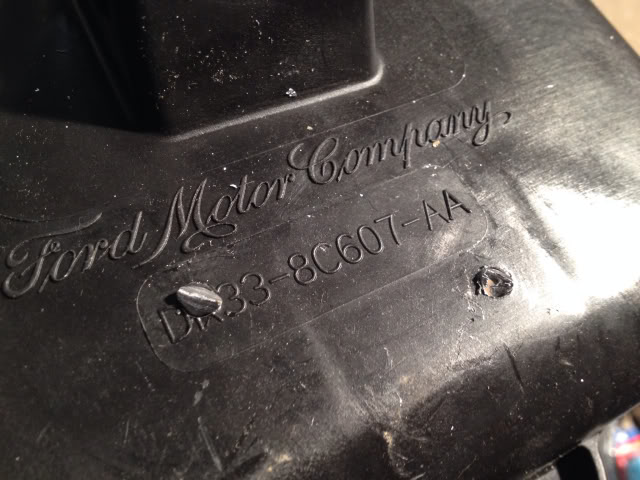
Part # DR33-8C607-AA
I purchased it on eBay from here: http://www.ebay.com/itm/Motorcraft-Electric-Fan-Kit-18-HD-/261451361359?vxp=mtr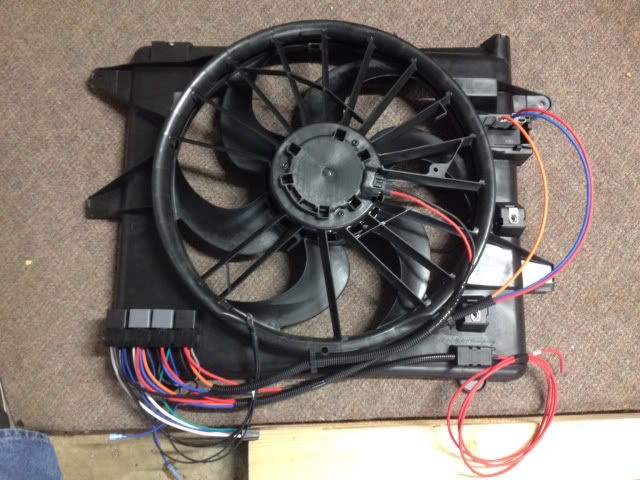
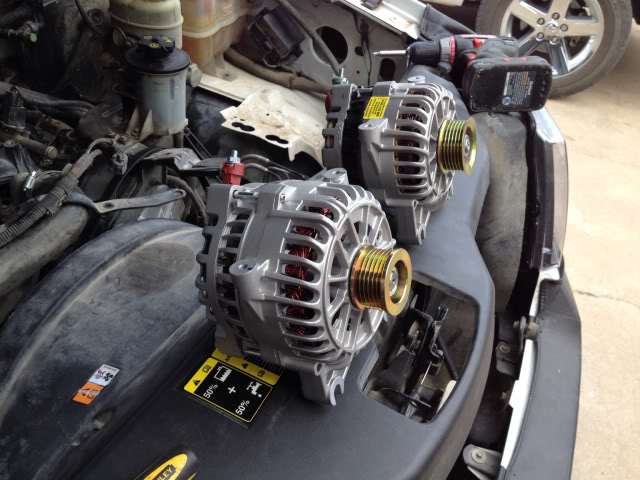
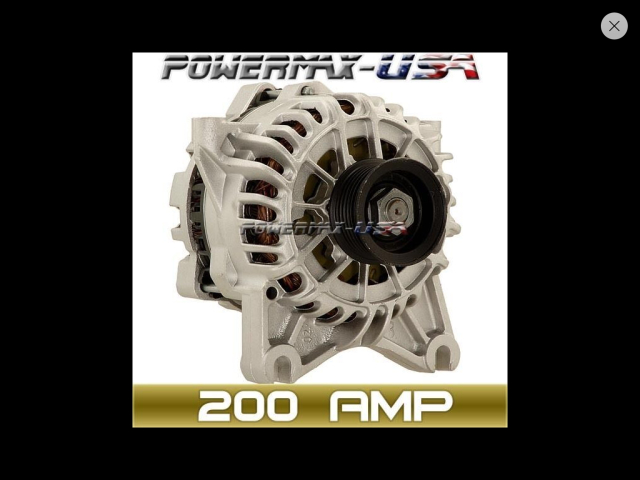
You also need a larger alternator, as this fan will pull up to 16, 23 & 32 amps depending on the speed requested. The stock 110 amp alternator I had was already on its last leg, so I purchased a 200 amp new alt. Price $137
http://www.ebay.com/itm/281351831355
4 Gauge battery cable to run from the new alternator to the battery. Need 4' with pre crimped ends from the alt to a 250 amp ANL fuse holder. DO NOT use a cheap Chinese "so-called 4 gauge" eBay wiring kit that was meant for a car stereo system. You will burn it up in a jiffy! I ended up using 4 gauge battery cable from the auto parts store. Price $20
You also need a short 6-8" 4 gauge battery cable also from the auto parts store. Price $13
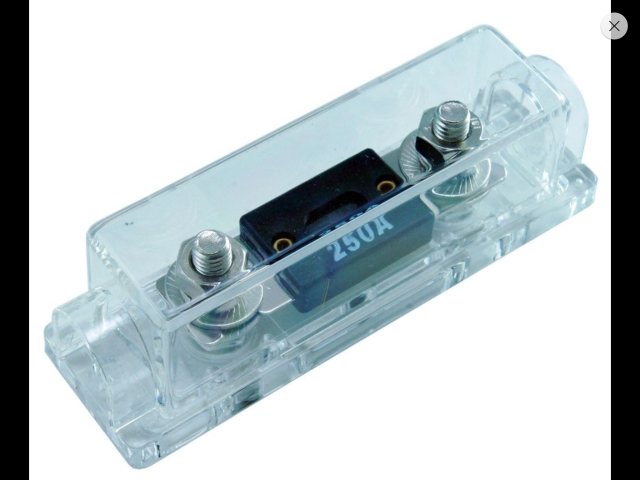
Then you need a 250 Amp ANL fuse with mounting block. Price $14
http://www.ebay.com/itm/231023496889
You will need a fan clutch removal kit, 1/2" breaker bar or socket wrench in order to relieve the tension on the drive belt, 10MM, 13MM, 7MM, 5/16" and 7/16" sockets with appropriate drivers and wrenches.
Start by disconnecting the battery and then remove the 10MM bolt holding the upper intake tube in place, and then pull off the tube. Follow that by removing the intake tube support bracket's 2 13MM bolts next to the power steering bracket. Then remove the fan clutch and fan using the fan clutch removal rental kit from the local auto parts place. Once they are loose, be careful and don't let the fan fall forward and strike the radiator. Remove the 2 5/16" bolts holding the fan shroud in place on the radiator. Be mindful of the transmission cooler lines on the drivers side of the rad when you start removing the shroud and fan. Take your time. It's easy to ding up the radiator, so be careful. It's also a good idea to unplug the camshaft sensors at the front of both rocker covers to give you more room to work.
Now is a good time to replace your water pump if it needs it, or any of your idler or tensioner pulleys, as you now have tons of space to do it.
Stock Shroud removed.
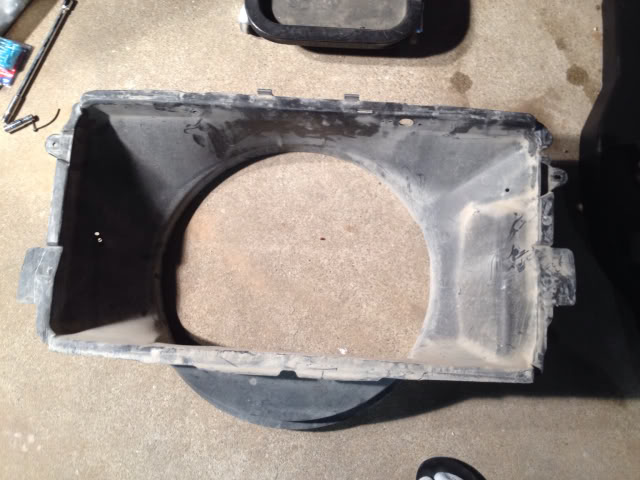
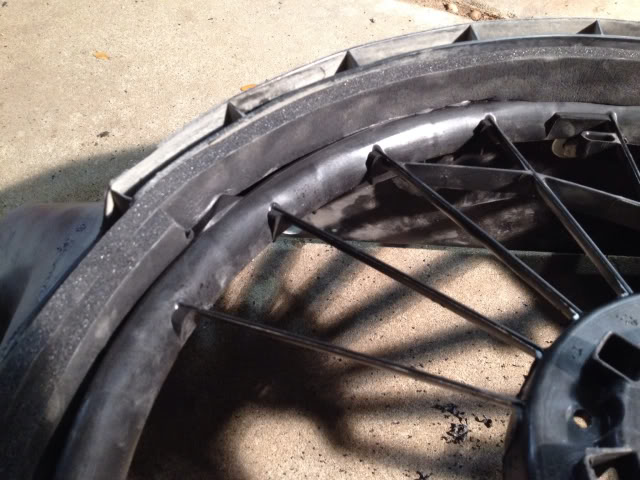
Now we are ready to start test fitting, marking, and cutting the electric fan's shroud to fit the hole that the old clutch fan left behind.
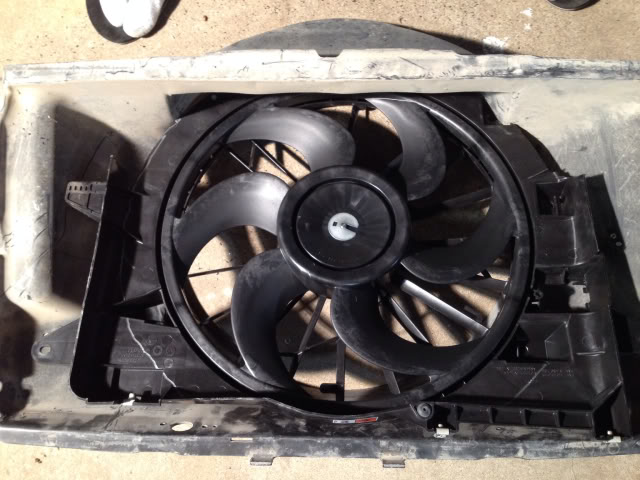
Lay the fan in place, and start marking with a silver pen.
Parts you will need:
2010 and up Ford Mustang GT, Cobra, and Shelby GT500 Single speed 18" electric fan w/ 3 speed resistor. It is a newer version of the Lincoln Mark VIII fan except it has "S" shaped blades that increase airflow to 4000CFM. Price $309
Part # DR33-8C607-AA
I purchased it on eBay from here: http://www.ebay.com/itm/Motorcraft-Electric-Fan-Kit-18-HD-/261451361359?vxp=mtr
You also need a larger alternator, as this fan will pull up to 16, 23 & 32 amps depending on the speed requested. The stock 110 amp alternator I had was already on its last leg, so I purchased a 200 amp new alt. Price $137
http://www.ebay.com/itm/281351831355
4 Gauge battery cable to run from the new alternator to the battery. Need 4' with pre crimped ends from the alt to a 250 amp ANL fuse holder. DO NOT use a cheap Chinese "so-called 4 gauge" eBay wiring kit that was meant for a car stereo system. You will burn it up in a jiffy! I ended up using 4 gauge battery cable from the auto parts store. Price $20
You also need a short 6-8" 4 gauge battery cable also from the auto parts store. Price $13
Then you need a 250 Amp ANL fuse with mounting block. Price $14
http://www.ebay.com/itm/231023496889
You will need a fan clutch removal kit, 1/2" breaker bar or socket wrench in order to relieve the tension on the drive belt, 10MM, 13MM, 7MM, 5/16" and 7/16" sockets with appropriate drivers and wrenches.
Start by disconnecting the battery and then remove the 10MM bolt holding the upper intake tube in place, and then pull off the tube. Follow that by removing the intake tube support bracket's 2 13MM bolts next to the power steering bracket. Then remove the fan clutch and fan using the fan clutch removal rental kit from the local auto parts place. Once they are loose, be careful and don't let the fan fall forward and strike the radiator. Remove the 2 5/16" bolts holding the fan shroud in place on the radiator. Be mindful of the transmission cooler lines on the drivers side of the rad when you start removing the shroud and fan. Take your time. It's easy to ding up the radiator, so be careful. It's also a good idea to unplug the camshaft sensors at the front of both rocker covers to give you more room to work.
Now is a good time to replace your water pump if it needs it, or any of your idler or tensioner pulleys, as you now have tons of space to do it.
Stock Shroud removed.
Now we are ready to start test fitting, marking, and cutting the electric fan's shroud to fit the hole that the old clutch fan left behind.
Lay the fan in place, and start marking with a silver pen.
06-03-2014, 02:15 AM
#13
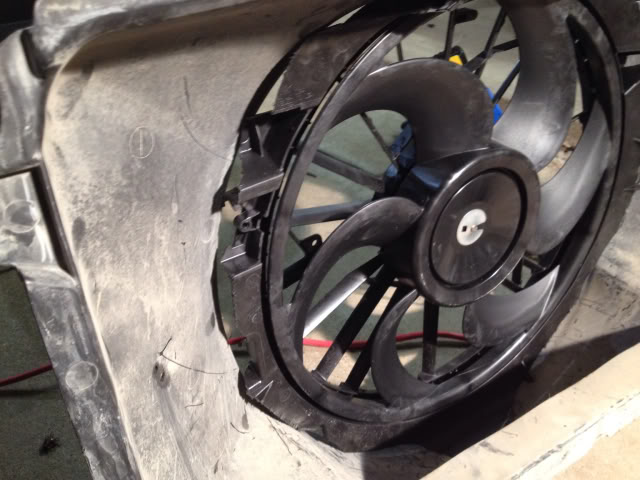
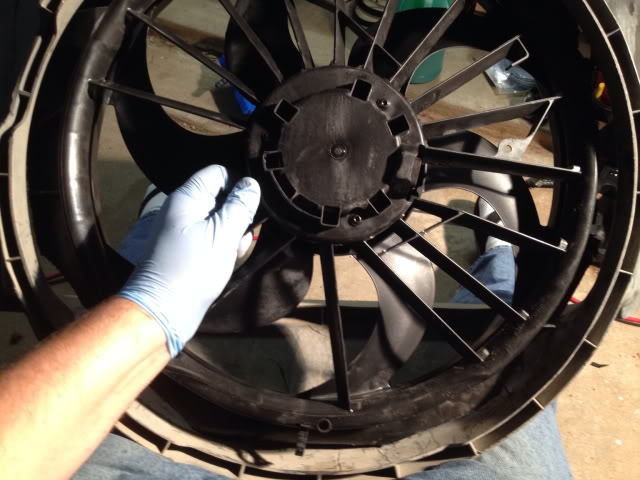
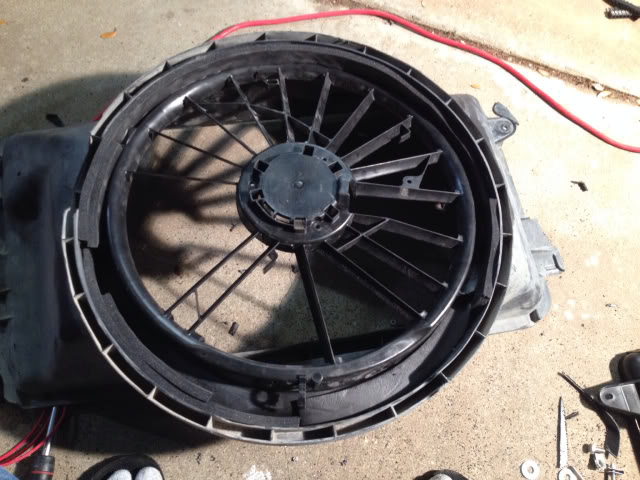
TRICK: remove the guts of the fan so you can use the lightweight housing to make measurements and cuts
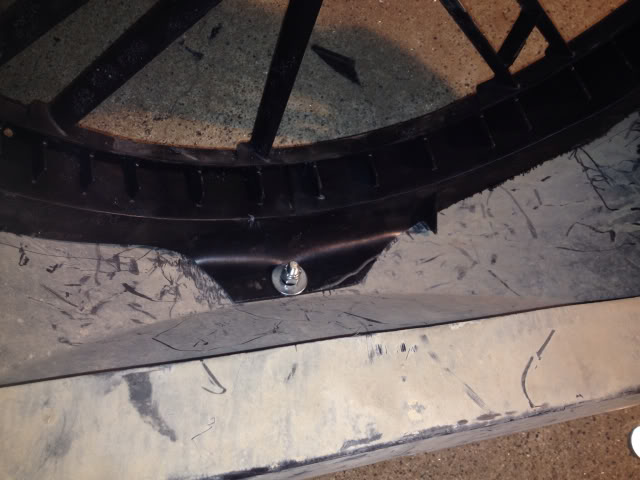
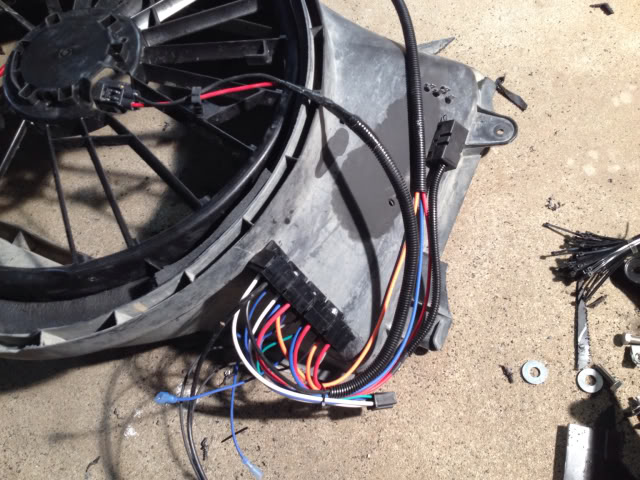
Use several 7/16" bolts, washers and nuts to mount the fan in place to the shroud. Then use Thick black foam window weatherstrip $15 to fill in the gap between the fan housing and the factory shroud.
Now, mount the relay pack on the passenger side of the shroud. Mount them high enough to reach in case of a relay.
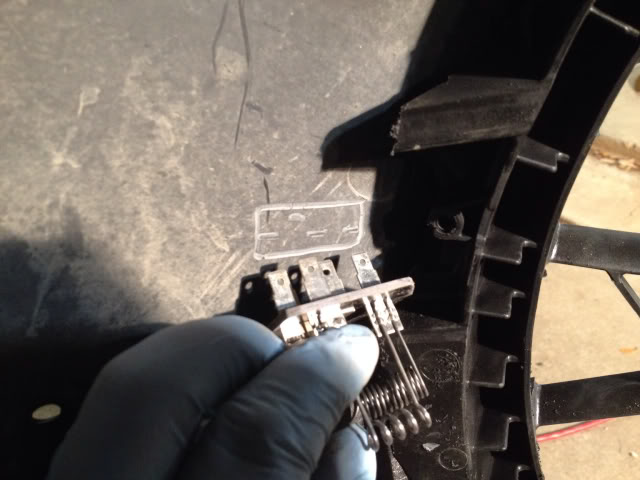
Next, you need to cut holes on the shroud to fit the Resister pack, as they get very hot and it has to be facing inside so air being pulled in by the fan will help keep it cool.
END OF PART 1. I will continue tomorrow! Too tired and I'm going to bed!
Use several 7/16" bolts, washers and nuts to mount the fan in place to the shroud. Then use Thick black foam window weatherstrip $15 to fill in the gap between the fan housing and the factory shroud.
Now, mount the relay pack on the passenger side of the shroud. Mount them high enough to reach in case of a relay.
Next, you need to cut holes on the shroud to fit the Resister pack, as they get very hot and it has to be facing inside so air being pulled in by the fan will help keep it cool.
END OF PART 1. I will continue tomorrow! Too tired and I'm going to bed!
06-03-2014, 05:53 AM
#14


Great start :-) I'd love to do this when I get home.
 06-08-2014, 01:00 PM
#16
I forgot to mention that the fan that i bought came with a 3 Speed control relay with a motocraft 3 speed resister board. It also came with two 3/8" temperature switches for the low and medium fan speed activation. High speed is activated when the AC system is activated. It works really well!
06-11-2015, 12:14 AM
#17
Junior Member

Join Date: Mar 2014
Posts: 6
Likes: 0
Received 0 Likes
on
0 Posts

would love to see the rest of the instructions. I am in the market for a new fan kit, for the reliable cooling on my 04 in city driving.
Could the original shroud be mounted up without all the modifications?
Could the original shroud be mounted up without all the modifications?
Last edited by AggieC05; 06-11-2015 at 12:29 AM.
 06-11-2015, 02:09 PM
#20
Senior Member
awesome. Can't see pics yet but posting so I can find this violet wire and won't forget it. This is what I want to do. Have the fan come on with the AC, compressor or not.