When you click on links to various merchants on this site and make a purchase, this can result in this site earning a commission. Affiliate programs and affiliations include, but are not limited to, the eBay Partner Network.
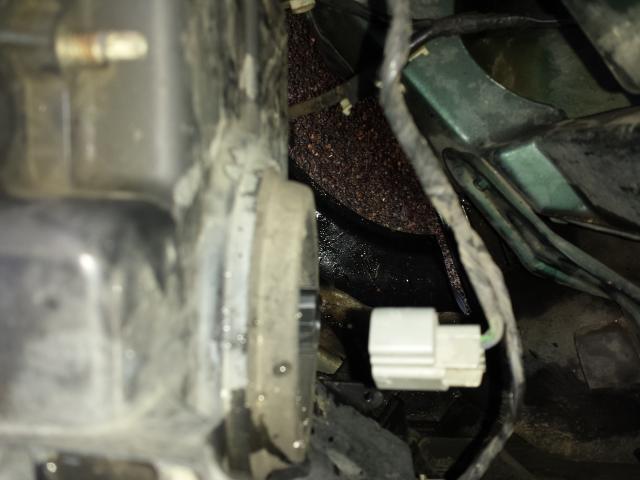
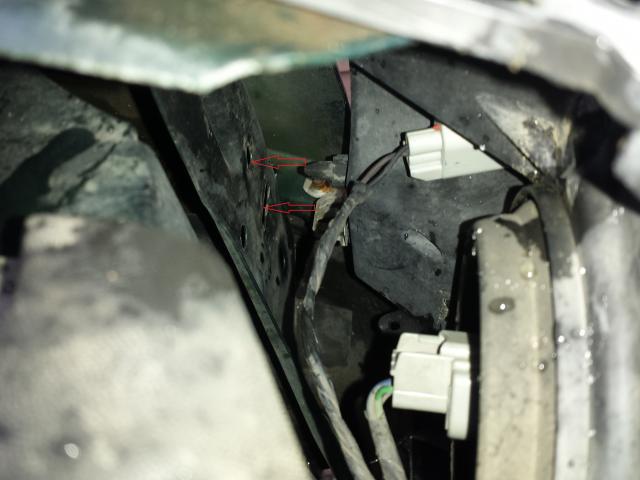
3. Remove electrical clip from head light bulb housing. Push in on a tab and pull the electrical housing down.
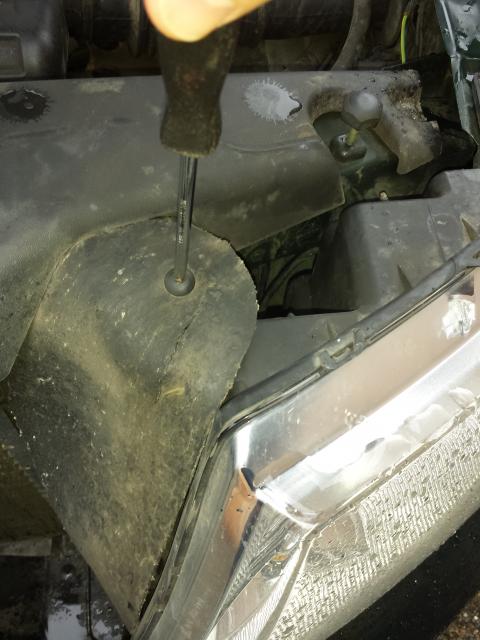
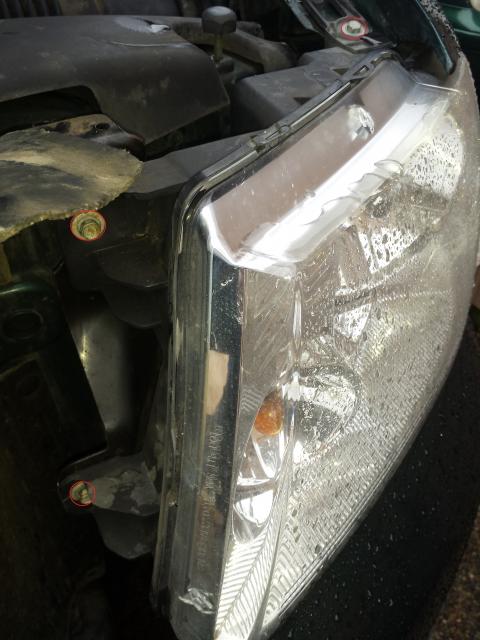
4. Pull headlight away from the truck. There may be some resistance because there is a metal clip that holds the bottom of the headlight housing into the truck frame.
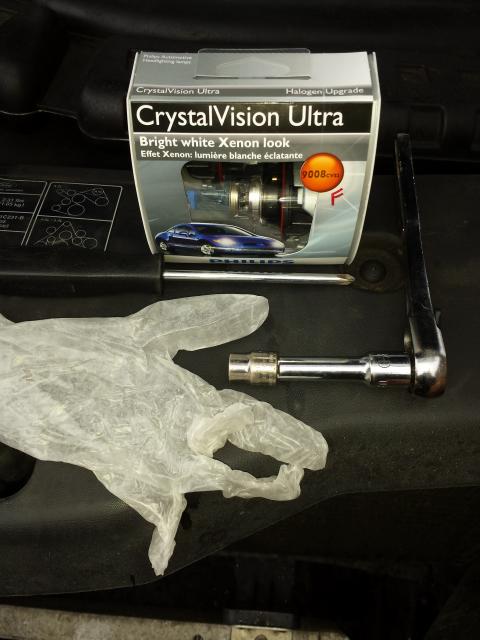
5. PUT ON THE LATEX GLOVES if you haven't already. DO NOT TOUCH BULBS with your bare hands. Oil from your hands can get on the bulb and the heat created from the bulb when on will blow the bulb.
6. Push and turn the headlight bulb to remove it from the headlight housing.
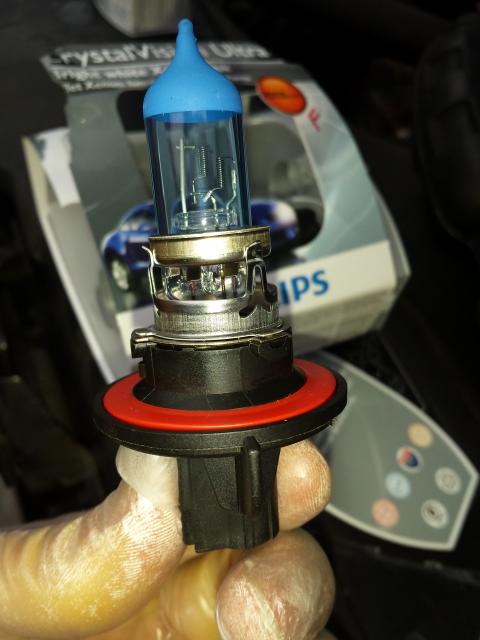
7. Remove new Phillips bulb from its packaging.
8. Install new bulb in the same manner your removed the old bulb
9. Connect the electrical plug
10. Push headlight housing into position. You can see from the picture where the headlight snaps into position prior to tightening the 3 10mm bolts.
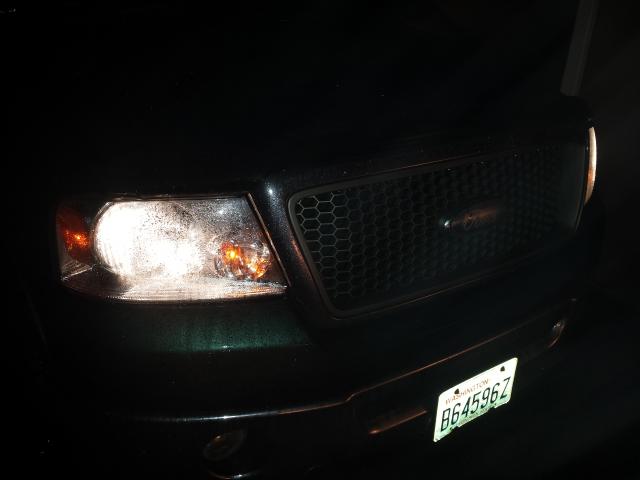
Before pictures...it was very foggy when these pictures were taken.
After the New CrystalVision Ultras were installed.
There is a noticeable difference. The lights are whiter and they spread further outward and further forward. The wife noticed the difference immediately. Great Price and happy we finally changed out the lights.
Awesome, I ordered those same bulbs (I think Summers recommended them), they should arrive tomorrow. Also picked up some 9145 Silverstars for the fogs so we'll see how those work out. I'm in the process of doing all the lighting stuff on my truck. Already done interior LEDs and got some for the reverse lights and cargo/3rd brake light. Now just need a flasher relay so I can do the tails and front indicators.
I'm hopefully installing mine tomorrow
One thing I usually do when I have something "unbolted"
Before I bolt it back in I usually test the new light to make sure it works
--assuming that what you are connecting doe snot need to be screwed in/down to be grounded
(some trailer lights/marker lights need to be grounded)
Just installed mine...not the same exactly....I do not have the phillips head...just a plastic push fitting instead
My drivers side housing was a PIA to pull out.....after trying I switched to passenger side
Passenger side came out fairly easy...metal clip so no risk of breaking
Then went back to the passenger side & did manage to get it off -not easy at all
I was in a fender bender on the passenger side so they did replace the housing etc in 2008
Even removing the bulb assembly from the housing was not easy, had to wiggle it a bit
On to the 2nd stupid issue...trying to pull the bulb out after removing from the housing
Duh.....the bulb does not pull out of the little plastic clip
Now the 3rd issue....did not realize the little red gasket pulled off of the old bulb & the new ones had a gasket
My fault for not paying attention & looking at the replacement part 1st
Bulbs are installed.....have to wait for nite time for pics
I did take pics of the old bulbs VS new bulb in the housing
My hood was popped open in the 1st pic
Quite clearly more white the the stock OEM 9 year old bulbs
Did not get that close to Mt McKinley on my trip to Alaska, no air support
If anyone wants matching foglight bulbs, the Philips Crystal Vision Ultras 9145 (45 watt), I have a pair with low usage on them for sale in the 04-08 section. $20 shipped. Lowest you will find them online is $35 a pair.
 01-11-2015, 06:39 PM