When you click on links to various merchants on this site and make a purchase, this can result in this site earning a commission. Affiliate programs and affiliations include, but are not limited to, the eBay Partner Network.
There are 2 clips that hold it on. If you pop off the whole light assembly, you can then pop off that panel.
You don't have to take the entire light assembly off( at least on mine). I just got my fingers up behind it and pulled down. Though I should add mines is a 2004, and at some point they redesigned it and the entire overhead console was one piece including the end cap. So you would have to remove the entire thing to cut the hole.
There are 2 clips that hold it on. If you pop off the whole light assembly, you can then pop off that panel.
Haha I actually took my down and looked at it and I felt stupid for asking it's literally infront of my face lol and actually I may do the same thing I like it there a lot
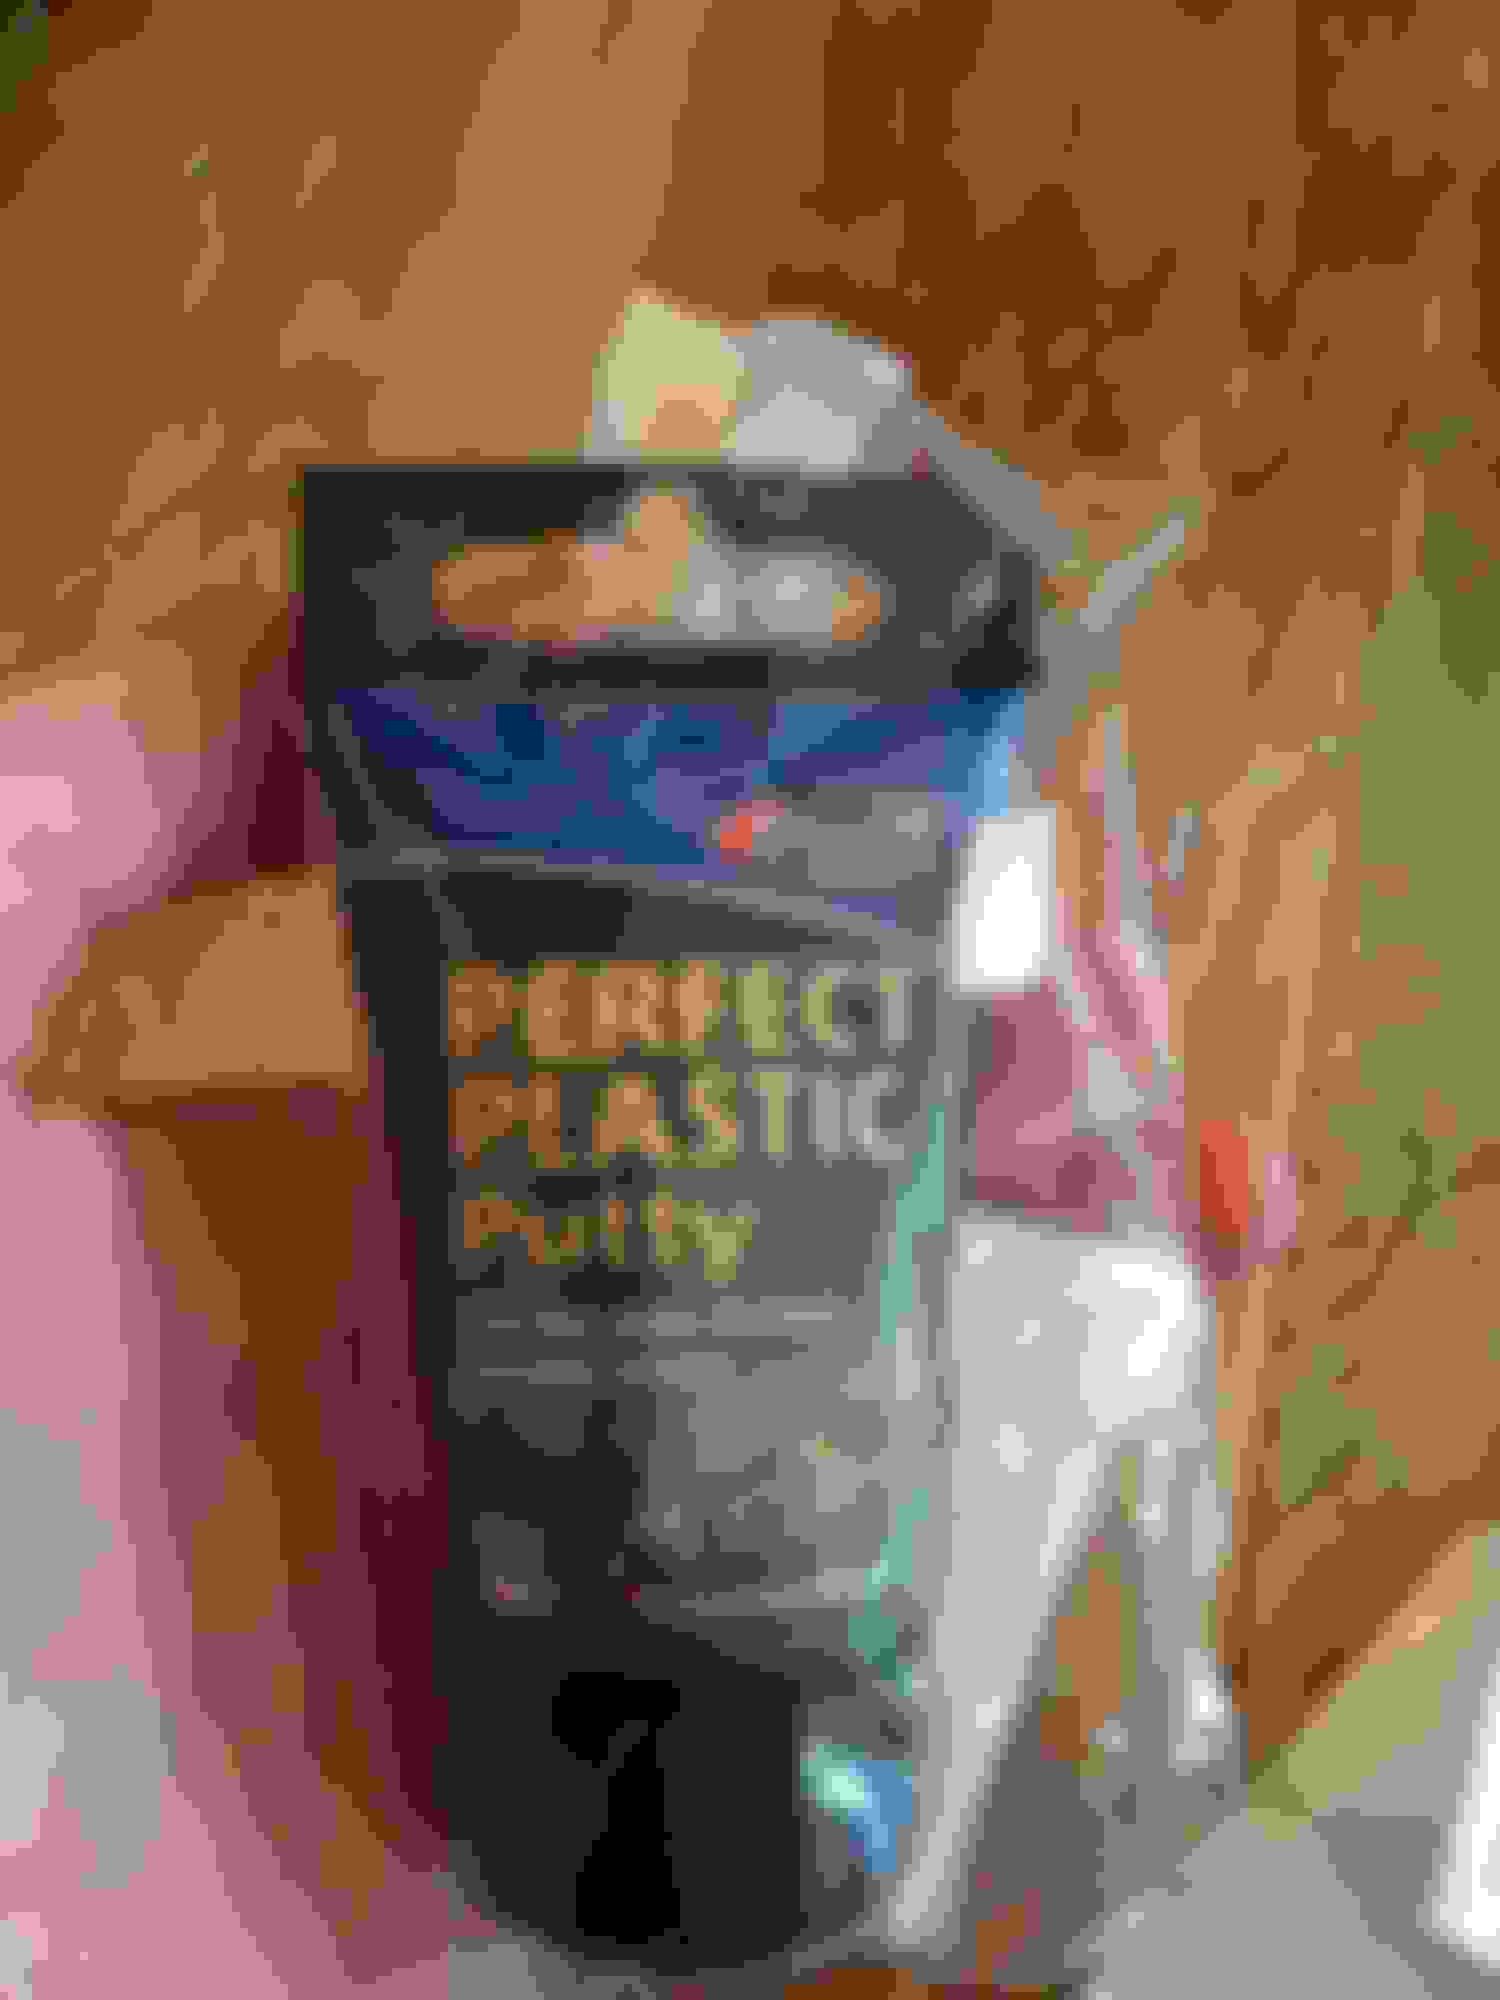
Well, I had to change up my plan just a little due to the fact that the gap was to small to cut filler pieces correctly. So I made a trip down to my local hobby shop and the guy there recommended this stuff to fill the gaps. He said they sell out of this stuff constantly.
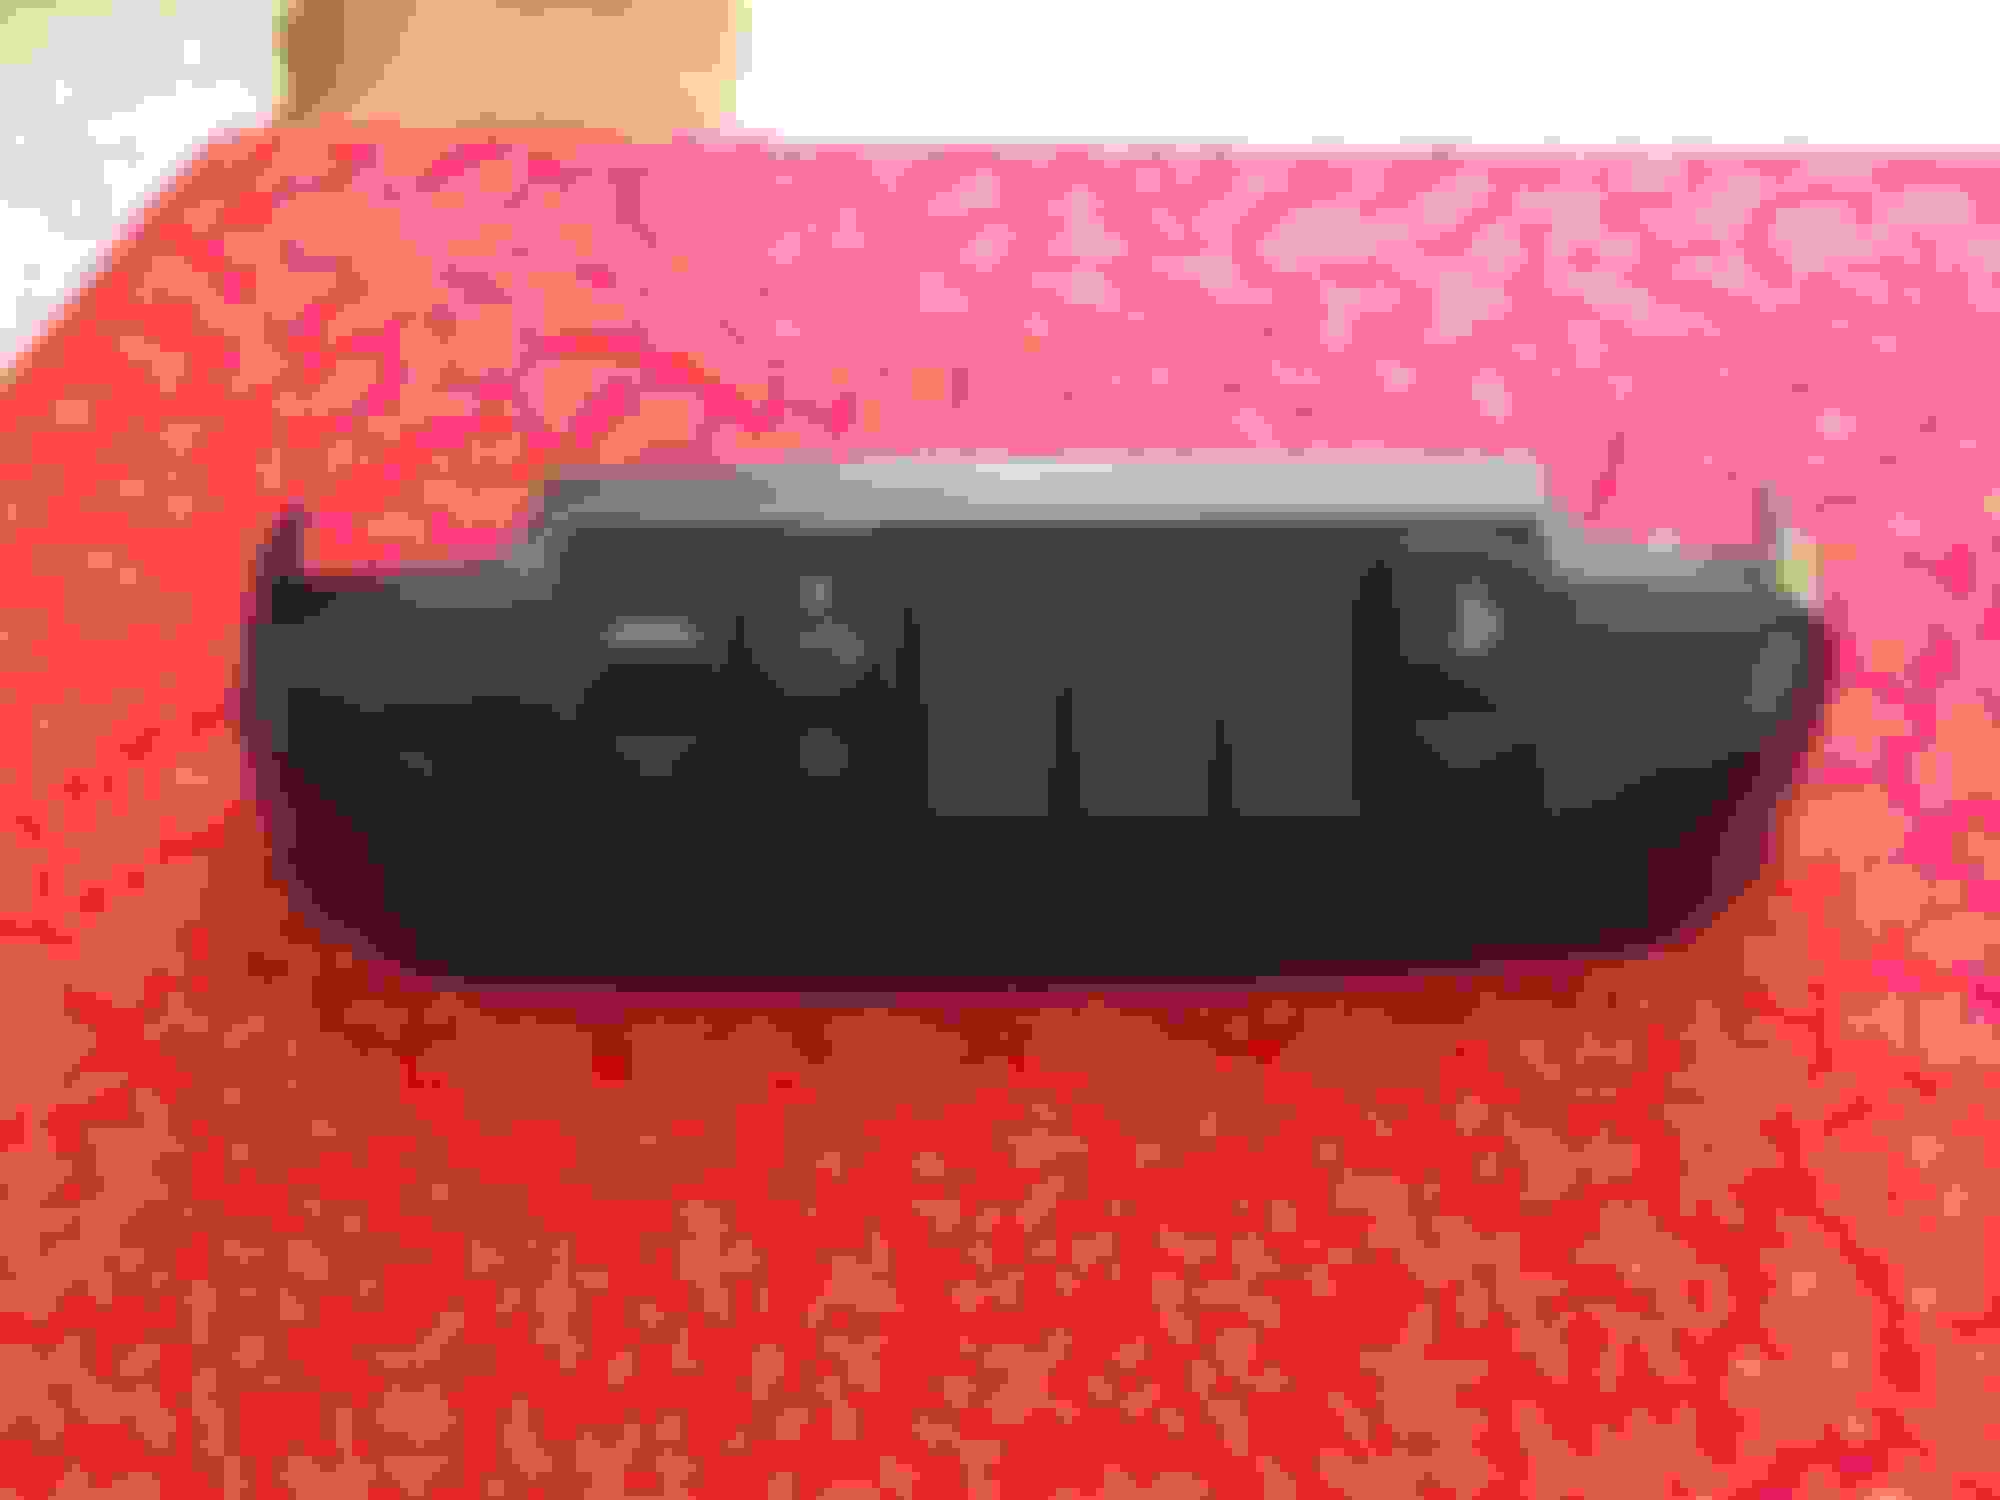
Also put JB weld all the way around the back to secure the panel.
The gap on the top, or the side that faces the roof of the truck, was to large to fill with the putty because I was worried it might crack. So I roughly cut a piece of acrylic and JB welded it to fill in most of the gap, then covered the rest with putty.
I think I'm finished with the putty, all sanded down. Maybe a few spots to touchup, but it's looking pretty good If I do say so my self
Very nicely done! How about I send you mine along with a $100 bill to do it? I'm kidding at the moment, but I've thought about some aux. back-up lights, bed lights etc. but don't want to just stick a bunch of toggle switches in the dash. Thats a super sanitary installation you've done.
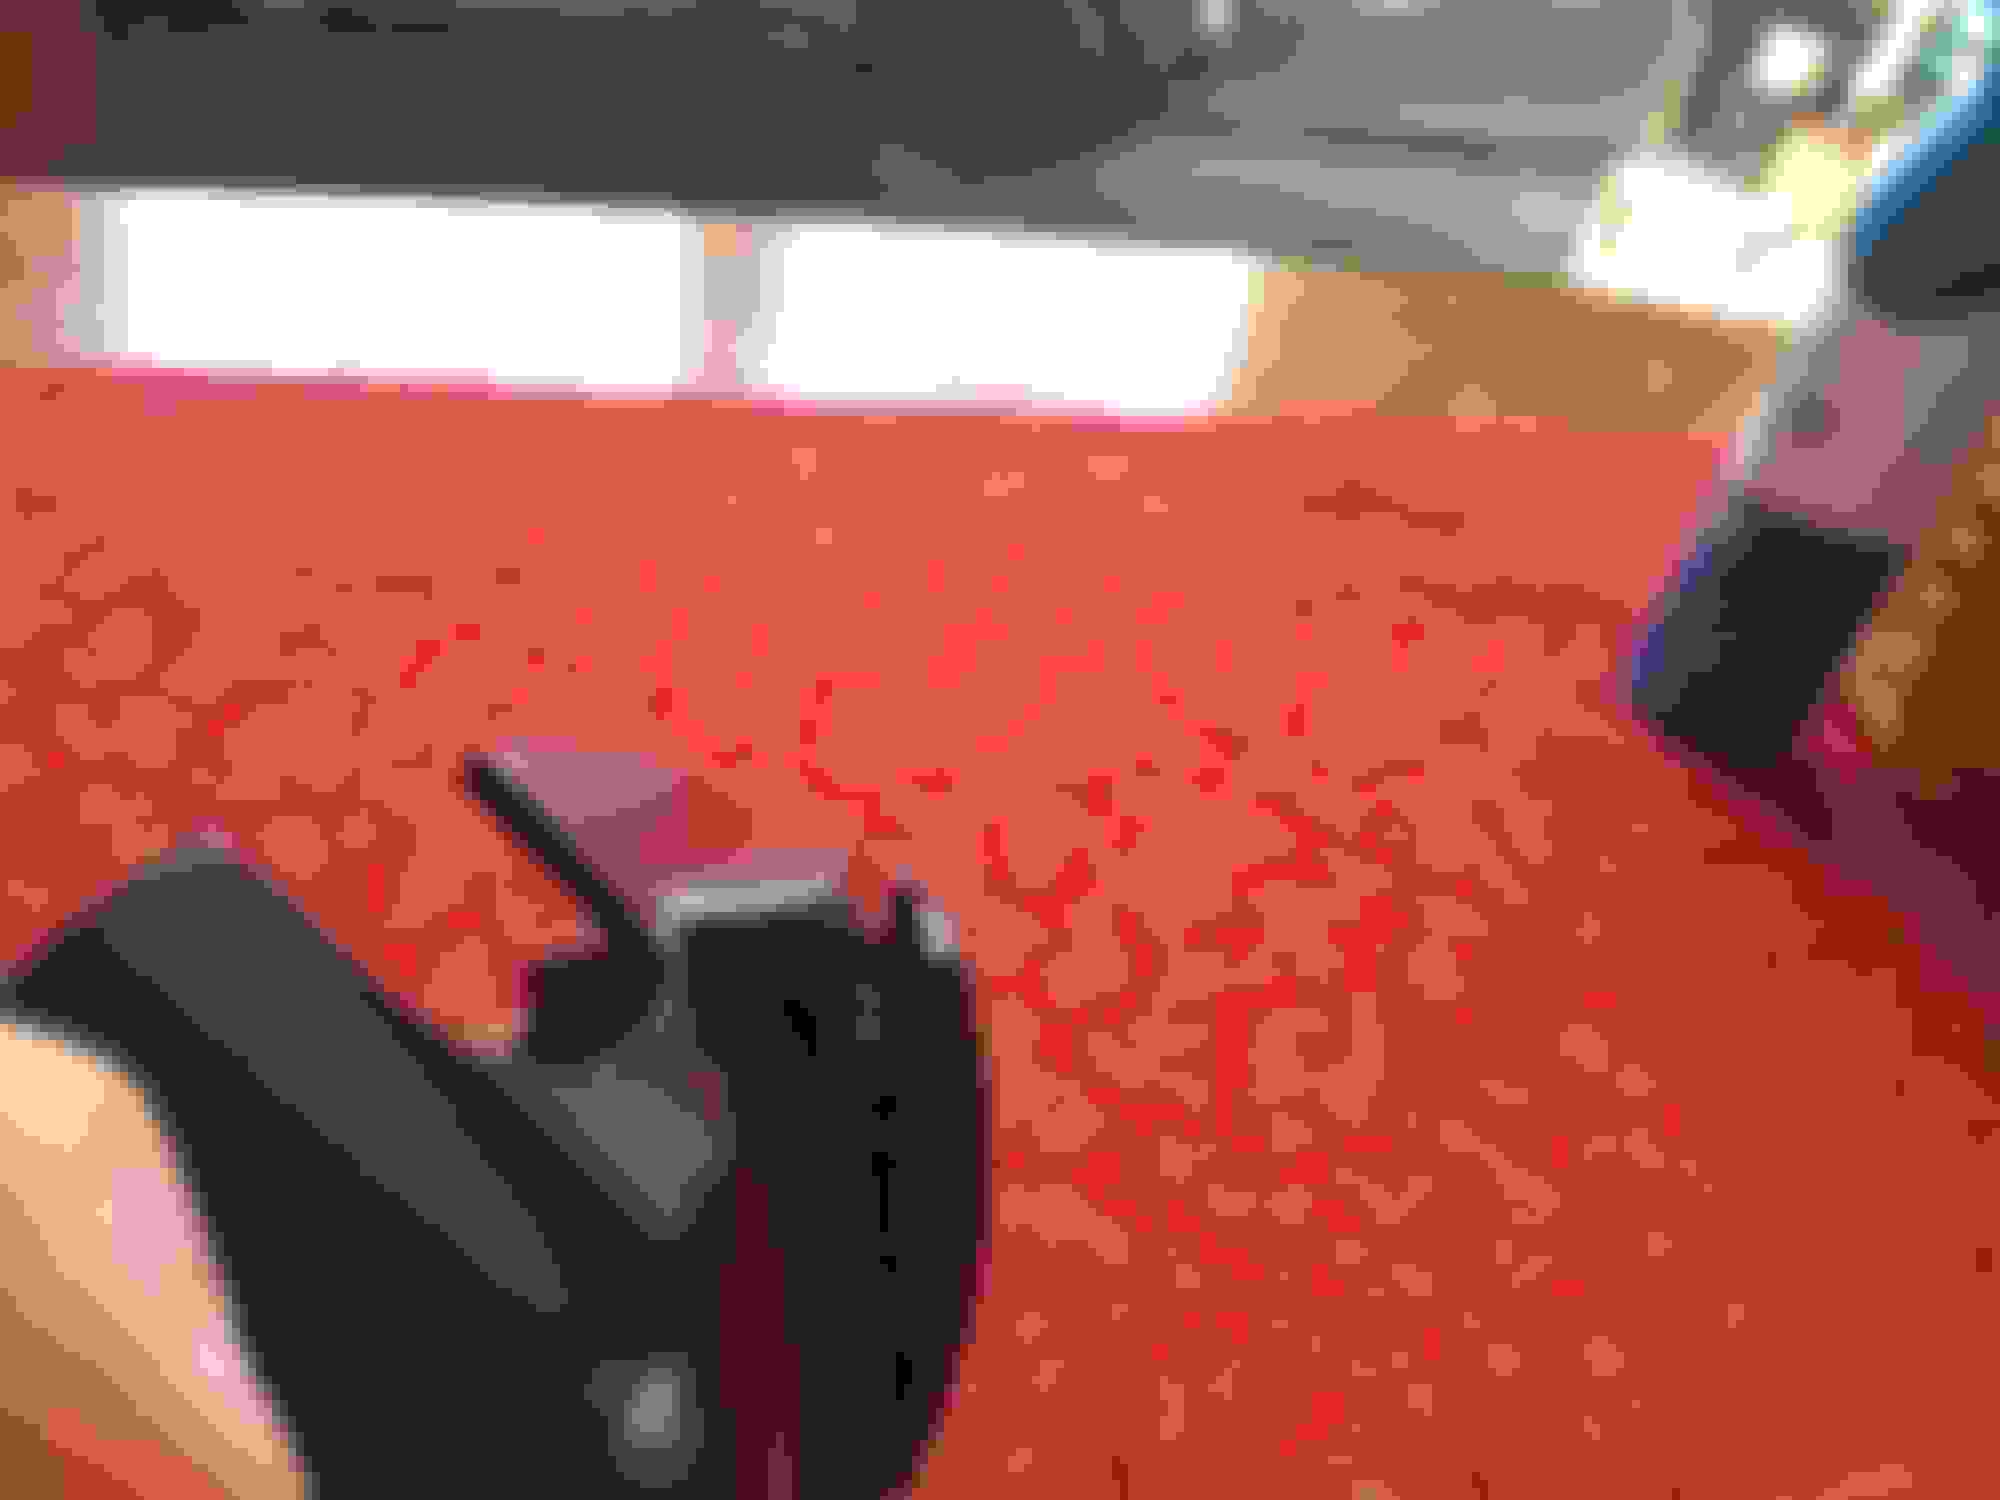
All finished with the paint. I'm a bit of a perfectionist when it comes to this kind of stuff, so naturally there are a few small imperfections that bother me�and I should have used flat black paint instead of semi gloss
All though these issues can be fixed later on if I really wanted to.
Next step is to paint the rest of the overhead console to match, then wire everything!
 01-14-2015, 06:36 PM