2006 f150 lariat rear glass window leak
#21
Junior Member
I just did mine, at the least the bottom and passsenger side...the top and drivers side were not bad.
I think it should be said that the strips need to be glued down, I used a wooden shafted long q-tip to dab 3M gorilla snot yellow weatherstriping adhesive down the ridge of the strip and then placed it in the groove. Make sure you clean out the groove of any other old adhesive, it will have gotten hard and nasty, but should come out pretty easily. The strip seems too long, I cut mine a bit to fit, but in retrospect, I think it is just the right length and I should have cut it...just jam it in there an it will set.
Be careful of the glue...that 3m yellow stuff is not as evil as the black stuff, but is the bride of satan if not old scratch himself. Cover the backs of the seats, have lots of paper towels and wear surgical gloves...trust me here.

#22
Moderator (Ret.)

Is this leaking being experienced on the power sliding center window only equipped rear windows? I recently installed a used manual sliding center rear window setup, and after two weeks with a couple of rain days, I have no leaking issues.
#23
Junior Member
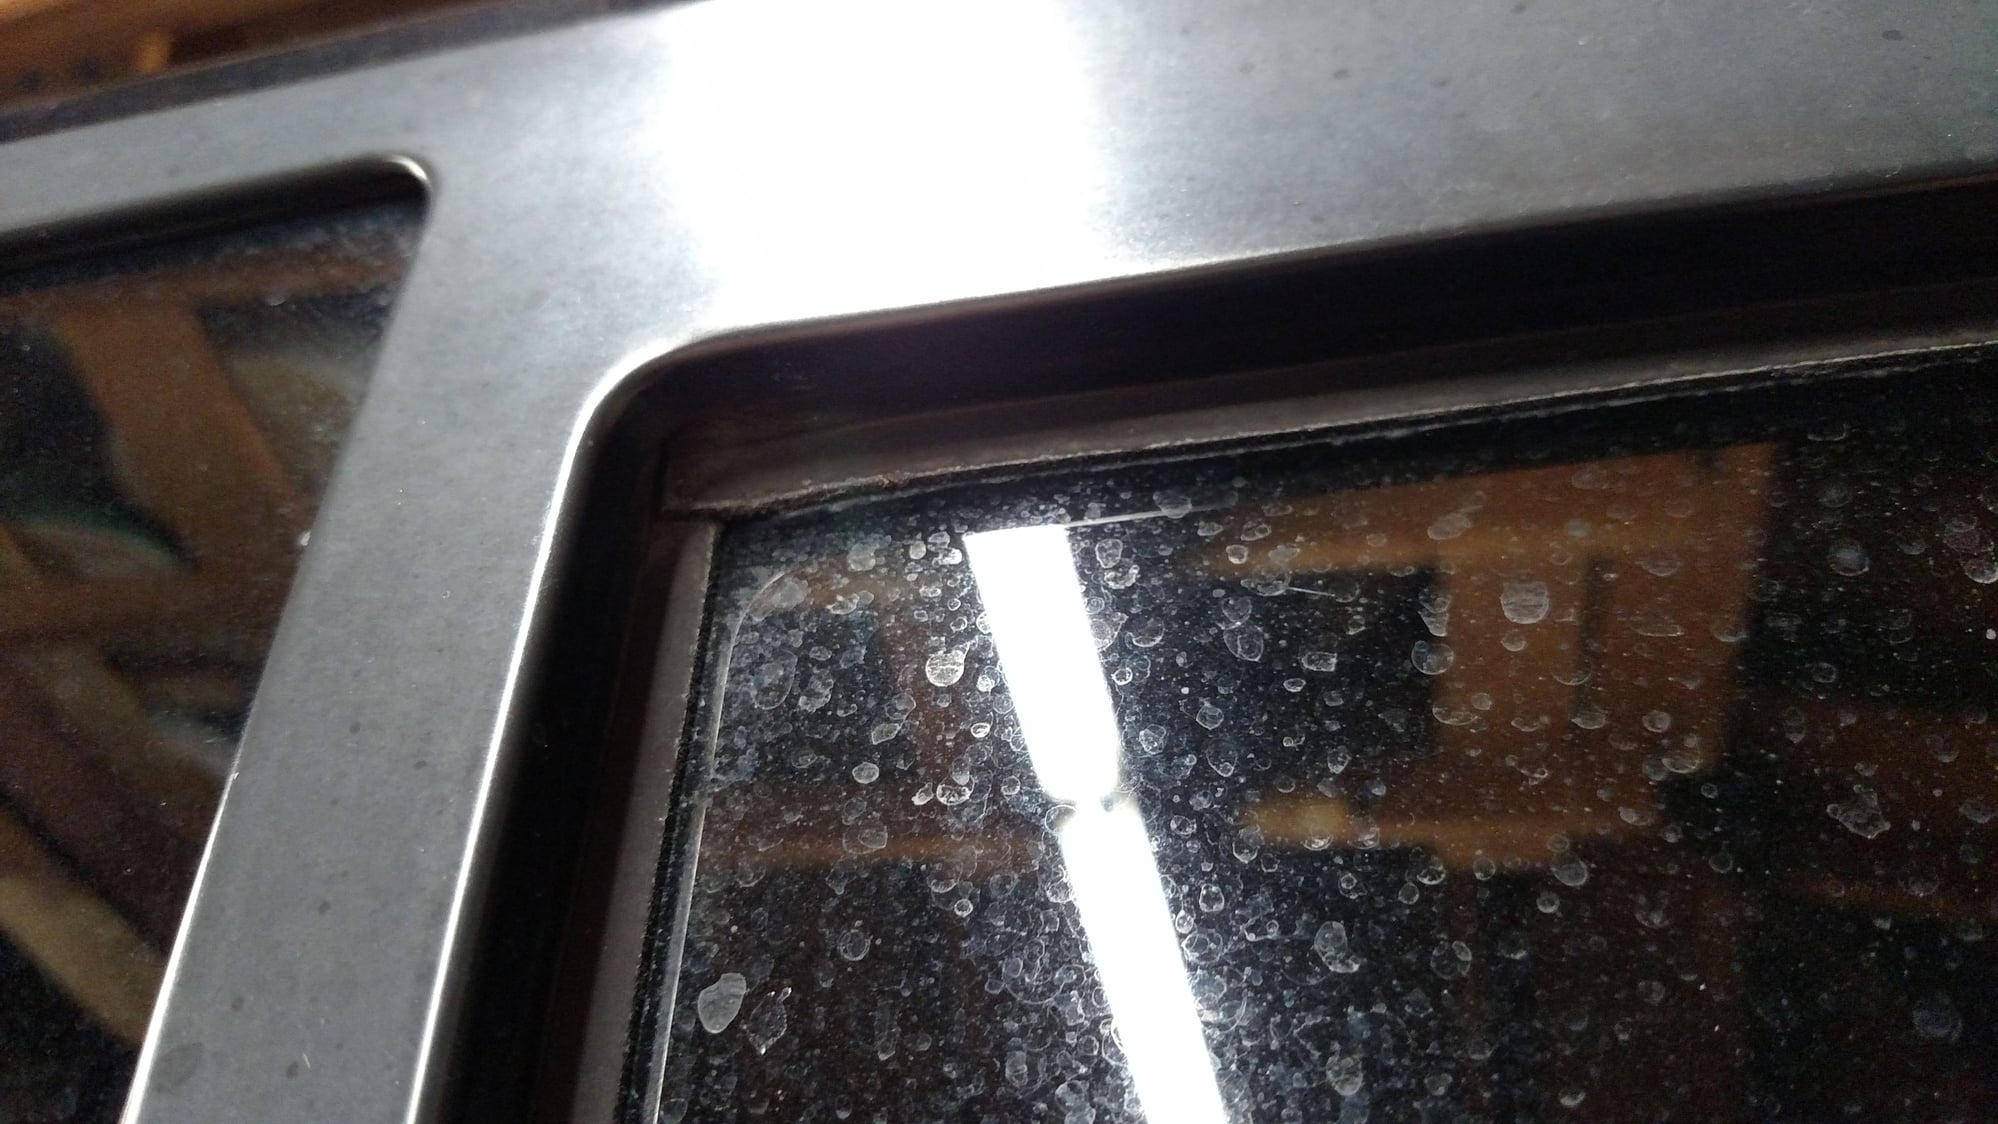
My assumption for you is that the used setup you installed had good weatherstripping in them. Weather likely plays the largest role in degrading these strips. I am in Minnesota and my bottom seal shrunk to the point that water would seep into the corners then into the cab. Looks like the OP's seal shrunk as well.
#24
Senior Member
Thread Starter
For me and the OP, this leak is for the power sliding window. However, the replacement weatherstripping is the same part number for both power and manual sliding windows SO I would definitely not limit the issue to power sliding. Weatherstripping doesn't last forever, especially these small strips that go around the window. They're simply not as durable as something like the weatherstripping on a door.
My assumption for you is that the used setup you installed had good weatherstripping in them. Weather likely plays the largest role in degrading these strips. I am in Minnesota and my bottom seal shrunk to the point that water would seep into the corners then into the cab. Looks like the OP's seal shrunk as well.
My assumption for you is that the used setup you installed had good weatherstripping in them. Weather likely plays the largest role in degrading these strips. I am in Minnesota and my bottom seal shrunk to the point that water would seep into the corners then into the cab. Looks like the OP's seal shrunk as well.
#25
Junior Member
Here's what I have for replacing the bottom weatherstripping:
That should do it! One last comment about which seals go where...this is NOT confirmed, but from my inspection while doing the replacement of the bottom seal and how the original seals appear as is.
You should receive (4) seals total, (3) that are double legged and (1) that is single legged. Of the (3) double legged weatherstrips, one will be slightly longer than the other two -- the longer double legged weatherstrip goes to the left side of the window vertically. The other two double legged strips are for the top and bottom. The (1) single legged weatherstrip should be for the right side. Hopefully someone that has replaced all the seals before can confirm this!
- Take photos of the original configuration prior to removing any weatherstripping. Order matters so water can run down just like overlapping shingles on a house.

bottom left

top left

top right

bottom right
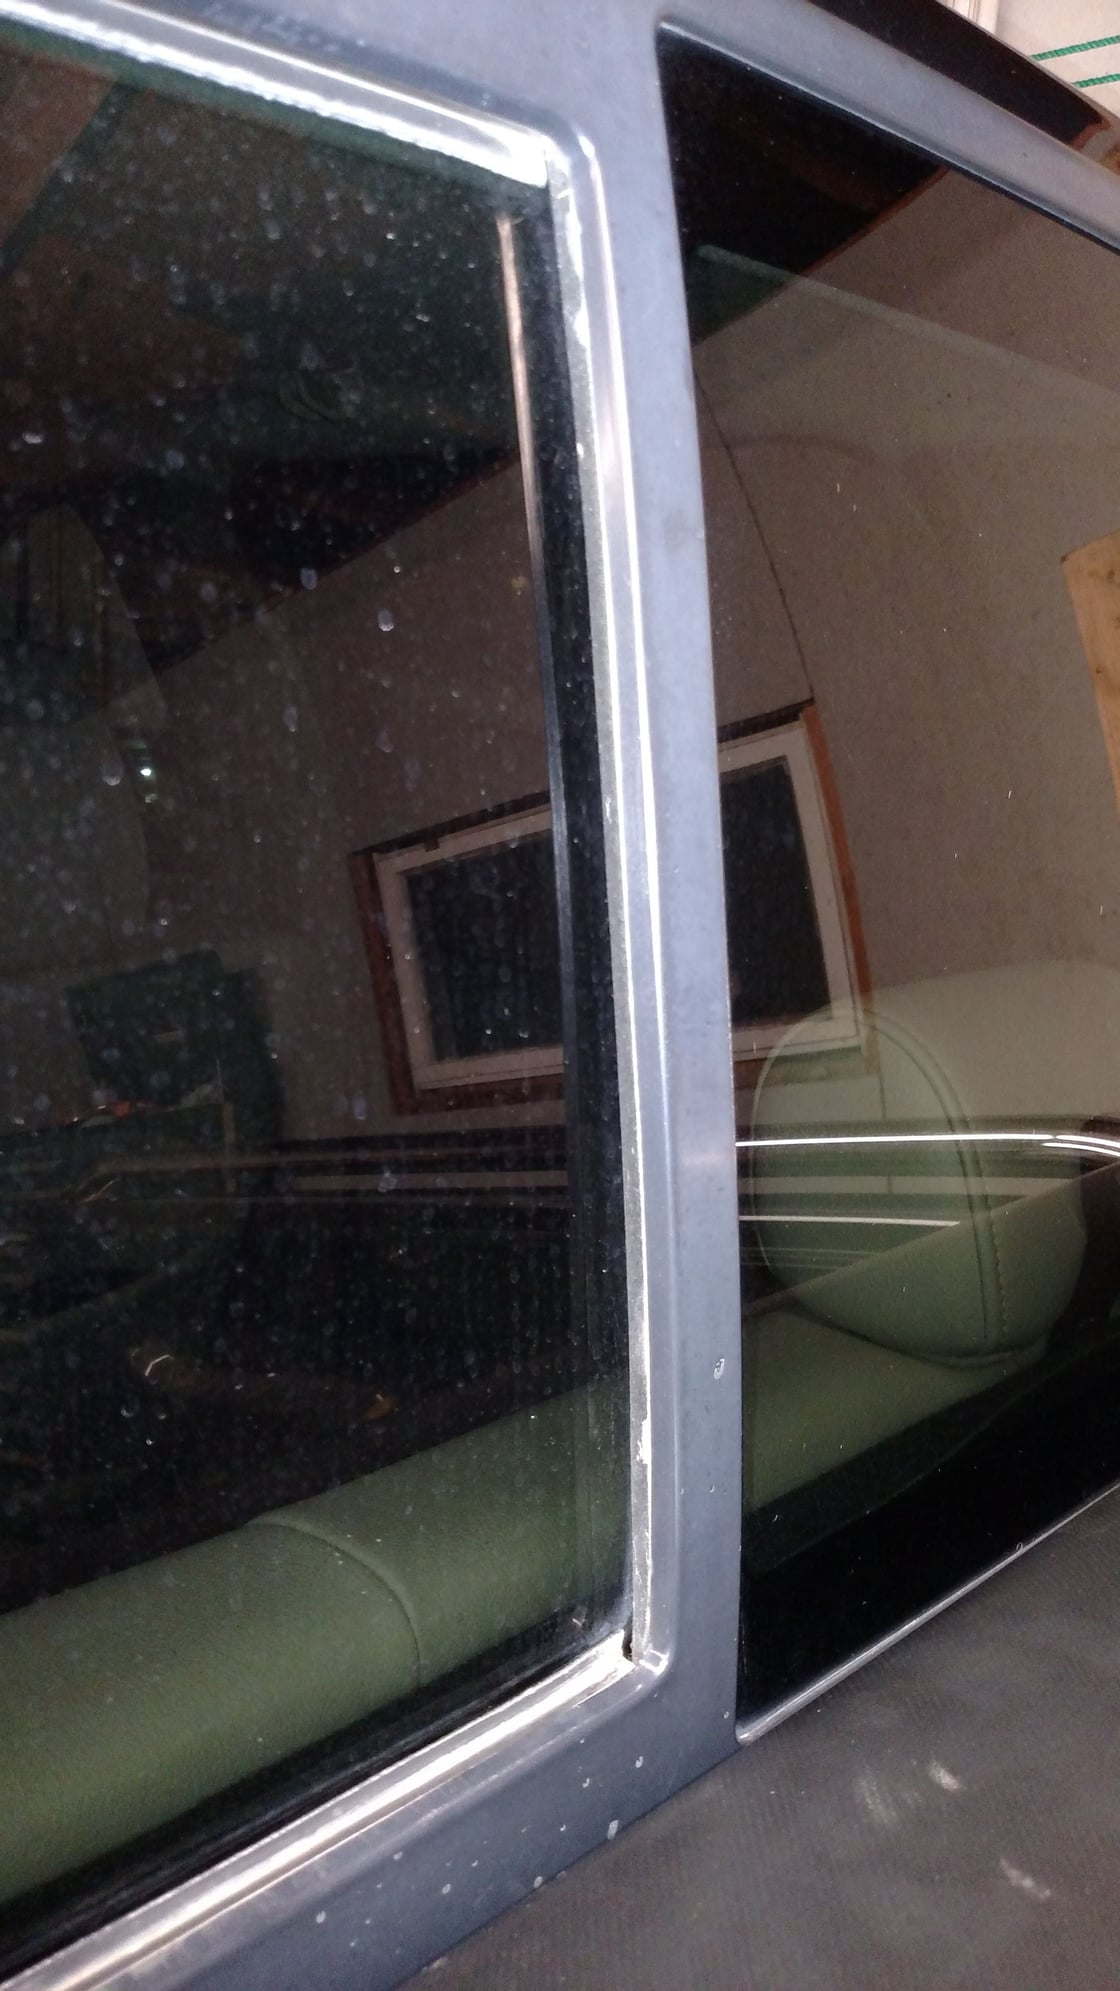
- Take a needle nose pliers and slowly pull the top and/or bottom weatherstripping out of the track. This was surprisingly easy to do. Notice that the top and bottom weatherstripping are the outermost seals and lay over the left weatherstrip seal and butt-up next to the right weatherstrip seal.

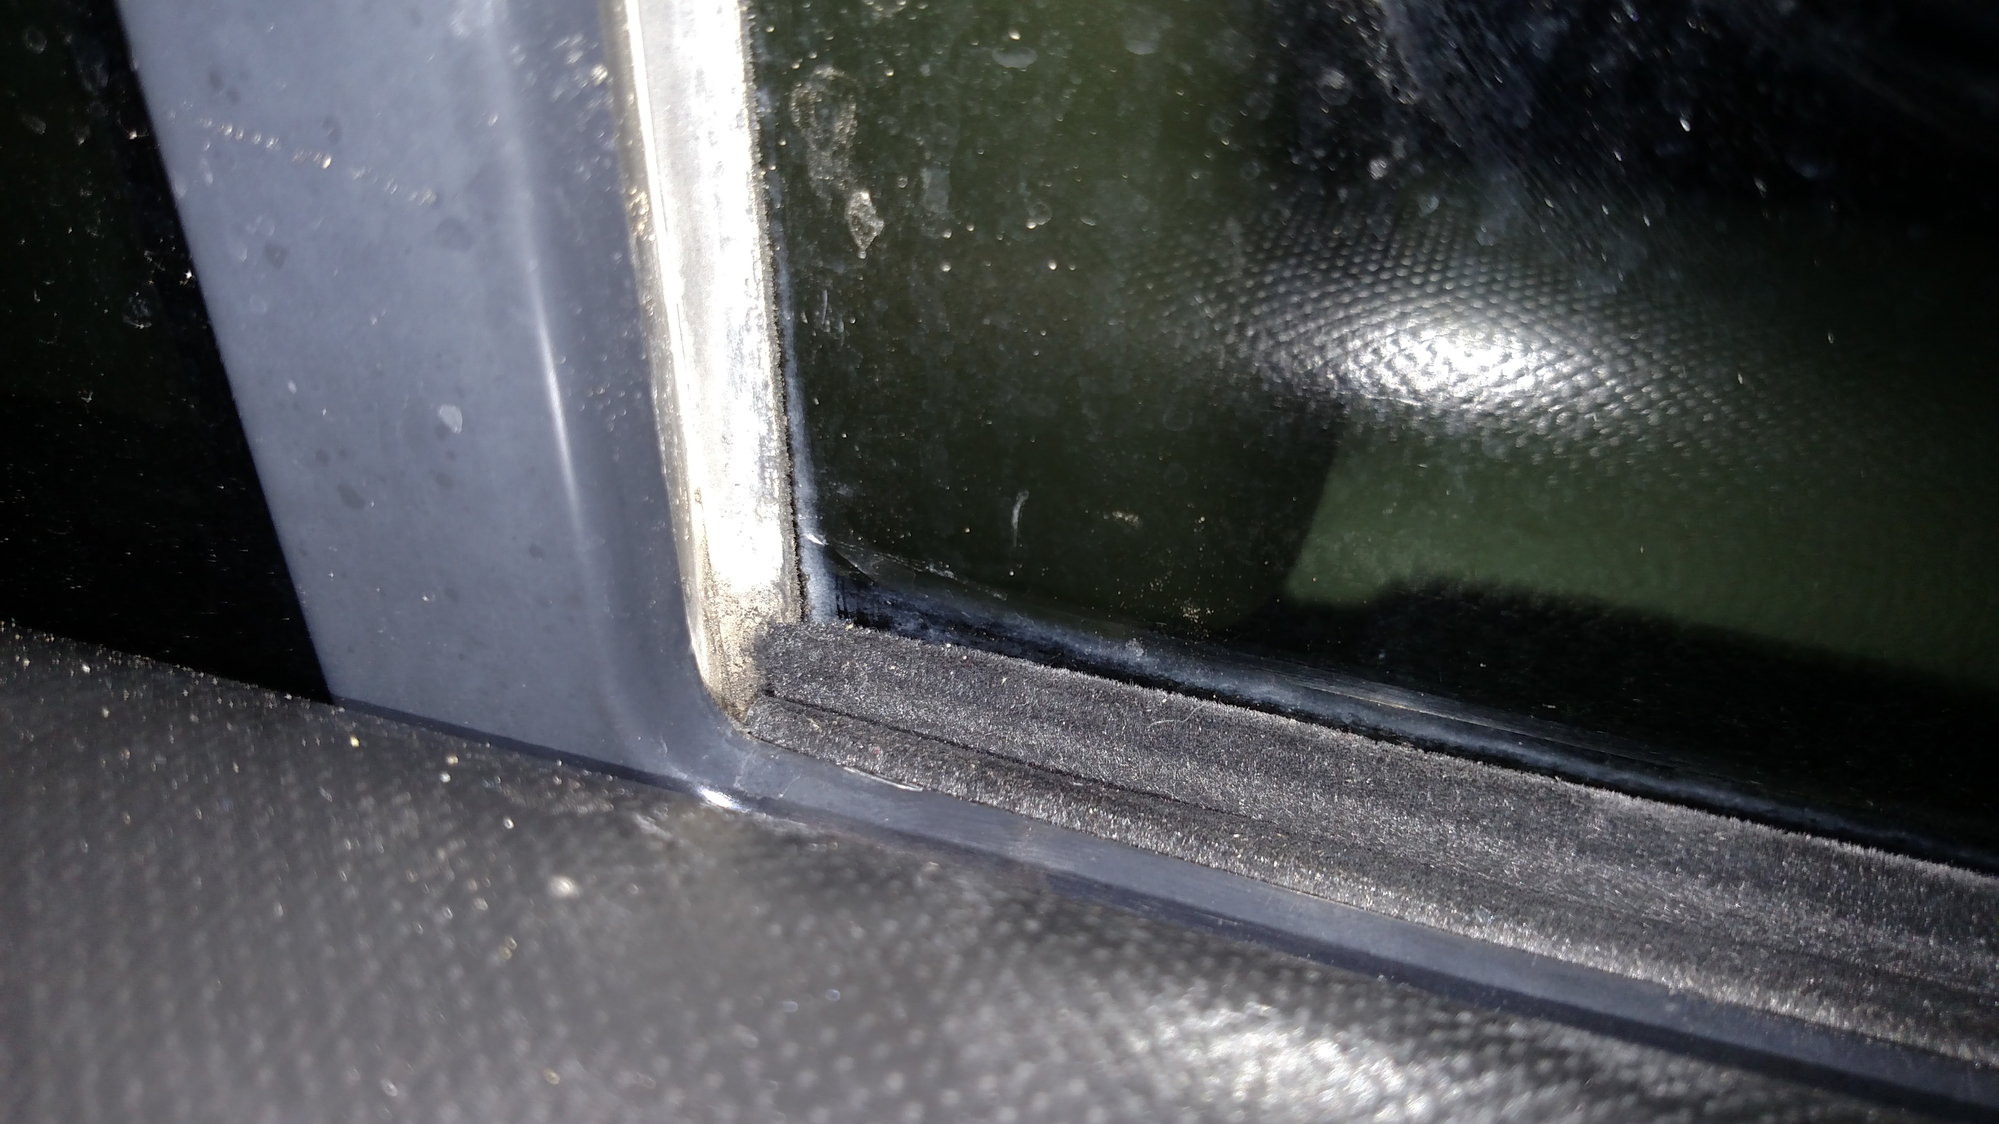
- Once the top/bottom seal is removed, clean out the track as best you can. The weatherstrip sealant mostly came with the weatherstripping when I pulled mine out. Only a few chunks were left which I pulled out with a slotted screwdriver and needle nose. I'm sure a set of picks would work well too. I then used some carb cleaner to do a final cleaning and allowed it to evaporate. You could use a hair drier too if you want. Heat gun might get too hot?
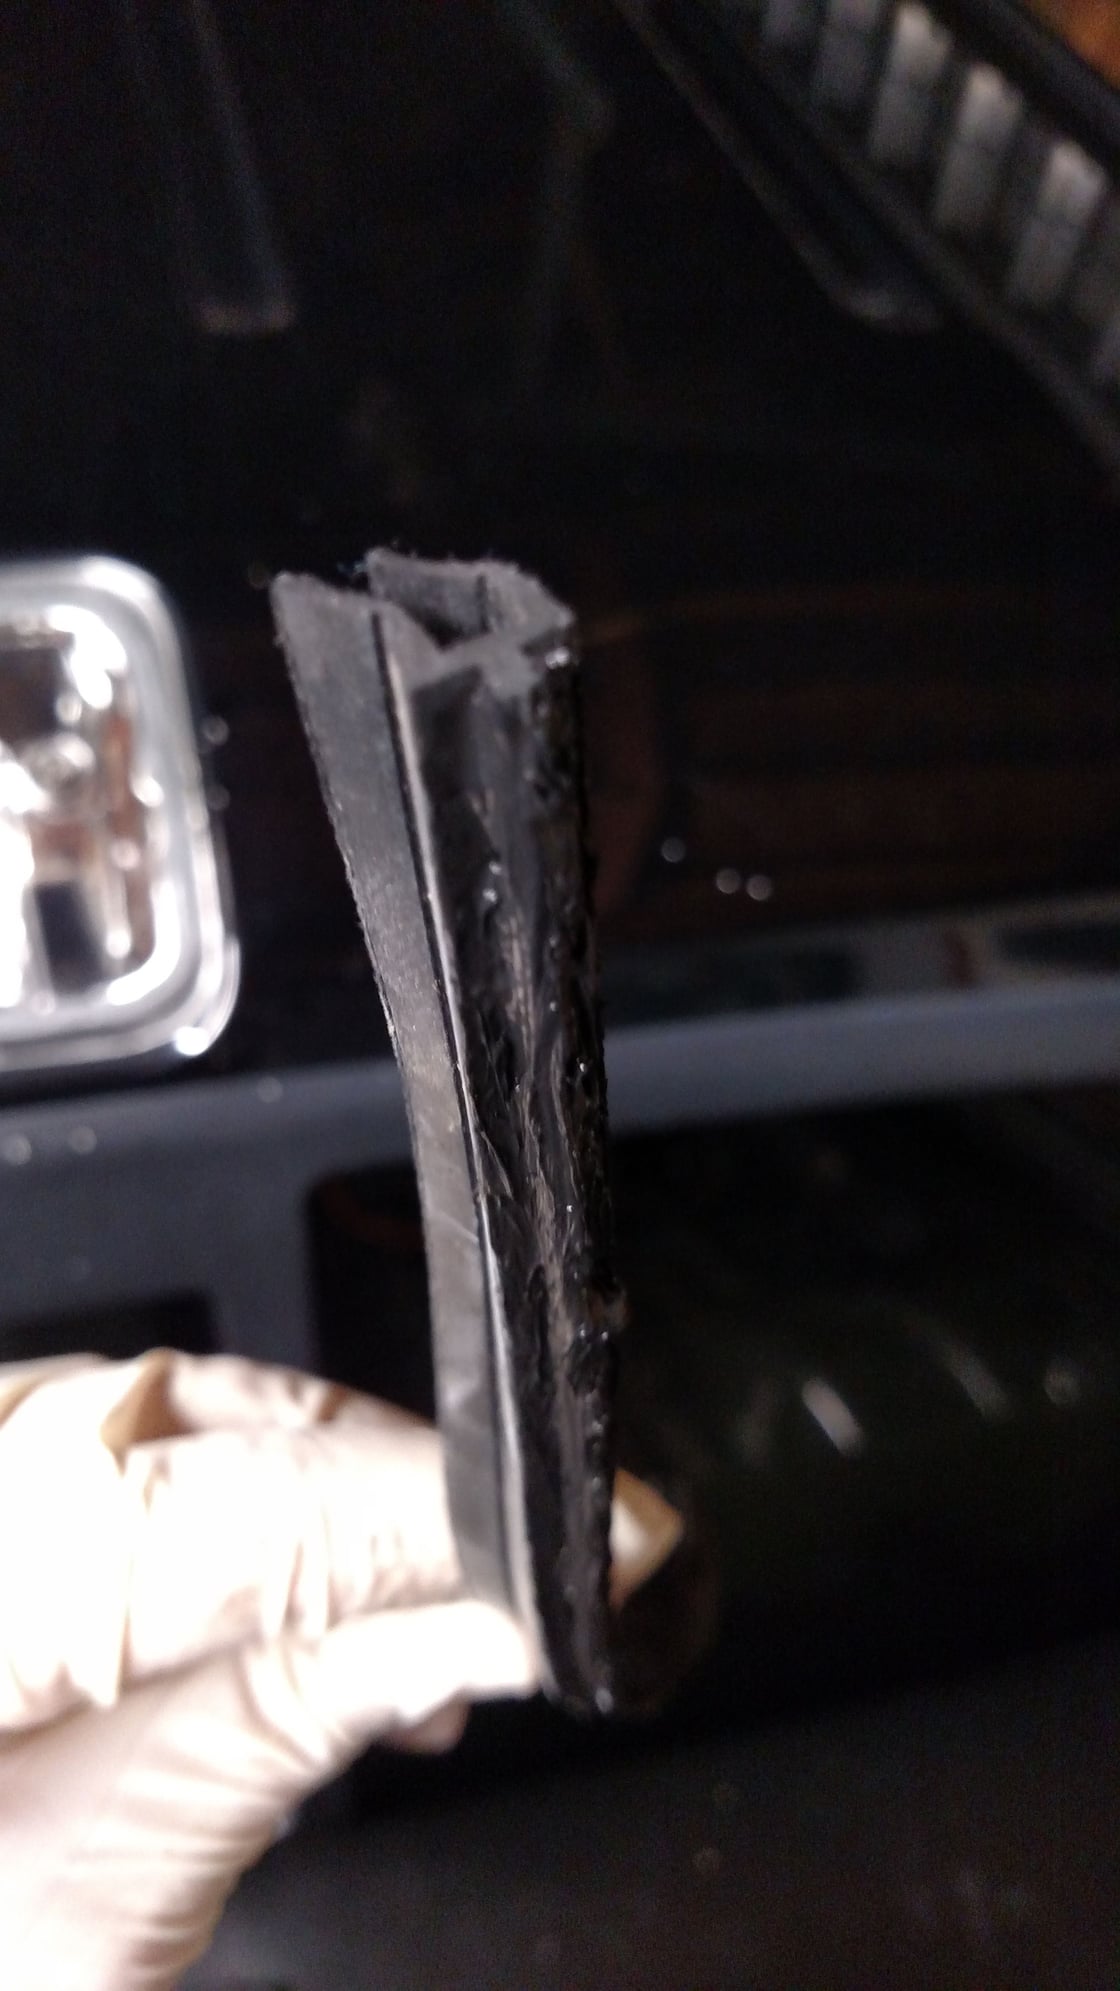
- Prepare your new weatherstrip. My set of new weatherstripping came in a TERRIBLE shipping box from Tasca that put bends in the strips. For about 24 hours I put the 4 strips on a small wood board and took about 5 rubber bands to try and correct the bend -- it helped, but may not have been necessary since the sealant glue you will use will have enough "stick" to it to keep the weatherstrip straight. I used Permatex Weatherstrip Adhesive which was black and cotten swabs to apply some adhesive to the small ridge of the weatherstripping. A previous post mentions that weatherstripping adhesive is the son of satan or something like that -- it's true. Use rubber gloves and be slow, methodical, and careful.

- Install new weatherstripping. In the previous picture, notice how the legs of the weatherstripping are bent to the left. The bends are to be installed TOWARDS the window. Take a putty knife or something similar to use in between the two legs and gently push the weatherstripping into the cleaned track. I started in the lower right corner because that's where mine was leaking, but I don't think it matters as long is it's in the groove and makes contact with the vertical weatherstripping on each side.


That should do it! One last comment about which seals go where...this is NOT confirmed, but from my inspection while doing the replacement of the bottom seal and how the original seals appear as is.
You should receive (4) seals total, (3) that are double legged and (1) that is single legged. Of the (3) double legged weatherstrips, one will be slightly longer than the other two -- the longer double legged weatherstrip goes to the left side of the window vertically. The other two double legged strips are for the top and bottom. The (1) single legged weatherstrip should be for the right side. Hopefully someone that has replaced all the seals before can confirm this!
The following users liked this post:
ReaperHWK (07-02-2020)
#26
Moderator (Ret.)

Great write up! This is going to be very useful to many owners in the very near future, as these trucks and their weatherstriping are now at the point to replace due to age/leakage.
The following users liked this post:
brianpaulrue (02-24-2016)
#28
Junior Member
Look back at earlier posts - I already posted two links for the parts from Ford and Tasca. I bought the kit from Tasca since they were about $30 cheaper.
#29
Senior Member
 I didnt even realize there were previouse posts. I got so excited that i finally found a solution to my leak i didn't look further. Thank you for getting me the link to this thread by the way.


