
Rigid Industries Dually Flush Mount Install!
 12-14-2014, 01:53 AM
#1

Well since there isn't many how to's on this, I figured I'd document my install on installing the flush mounts. My buddy did all the work really, I dont really trust myself with an angle grinder.
Tools used-
-Dewalt cordless angle grinder. both cutting and grinding wheels needed.
-Dremel with cutting and sanding wheels, for the corners.
-obvious safety precautions like eye, ear and hand protection.
-Rigid backup harness
-Rigid dually diffused flush mounts.
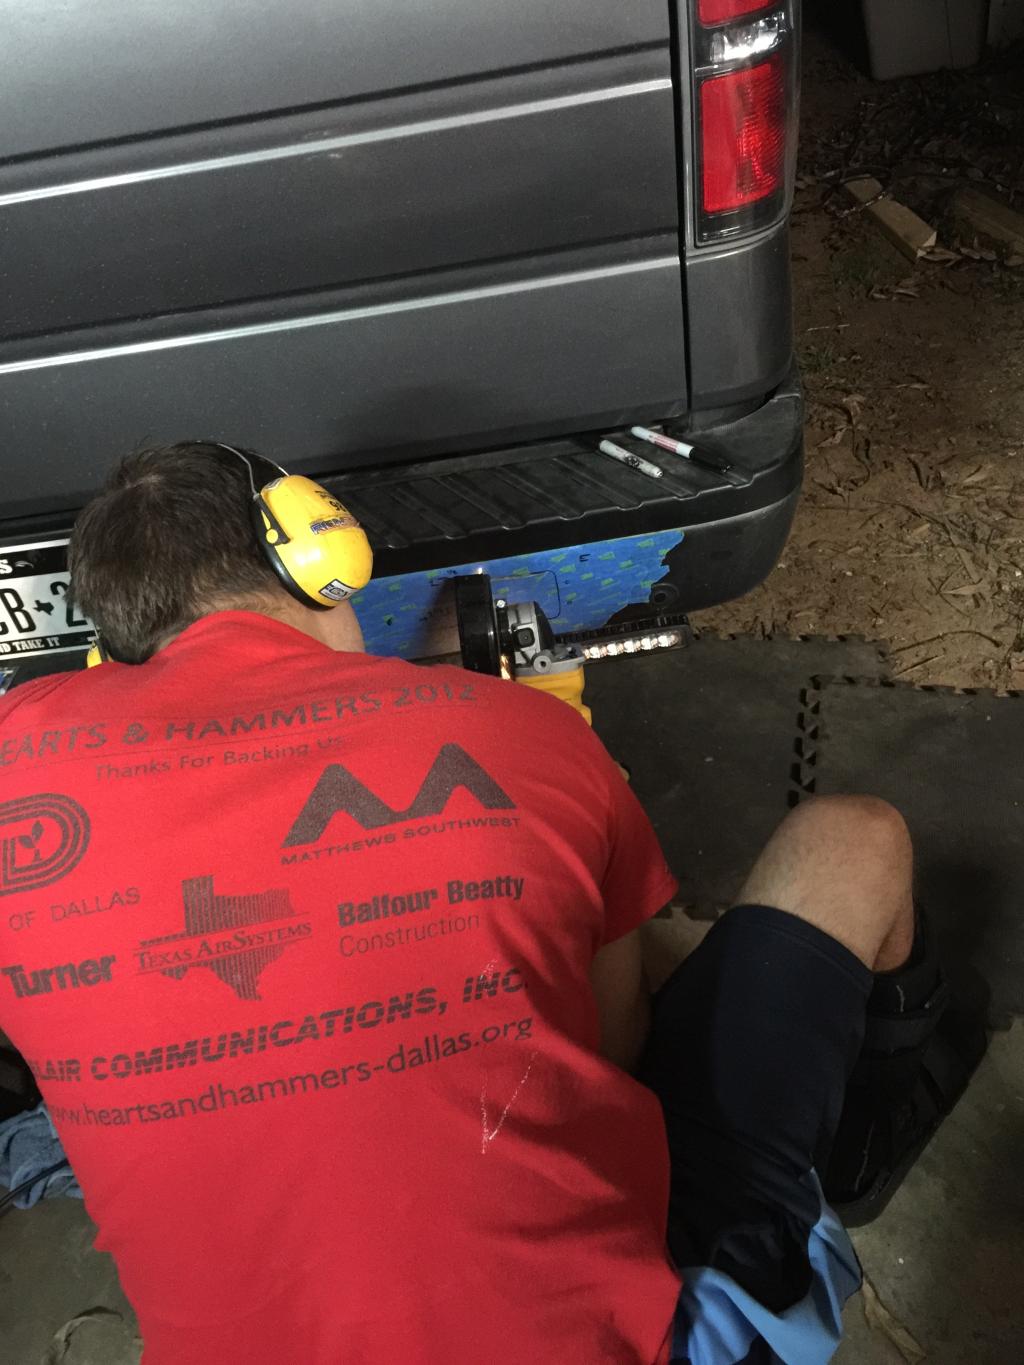
First and foremost, tape up the whole bumper so if the grinder grabs or skip, you have a buffer zone on not cutting the rest of your bumper.
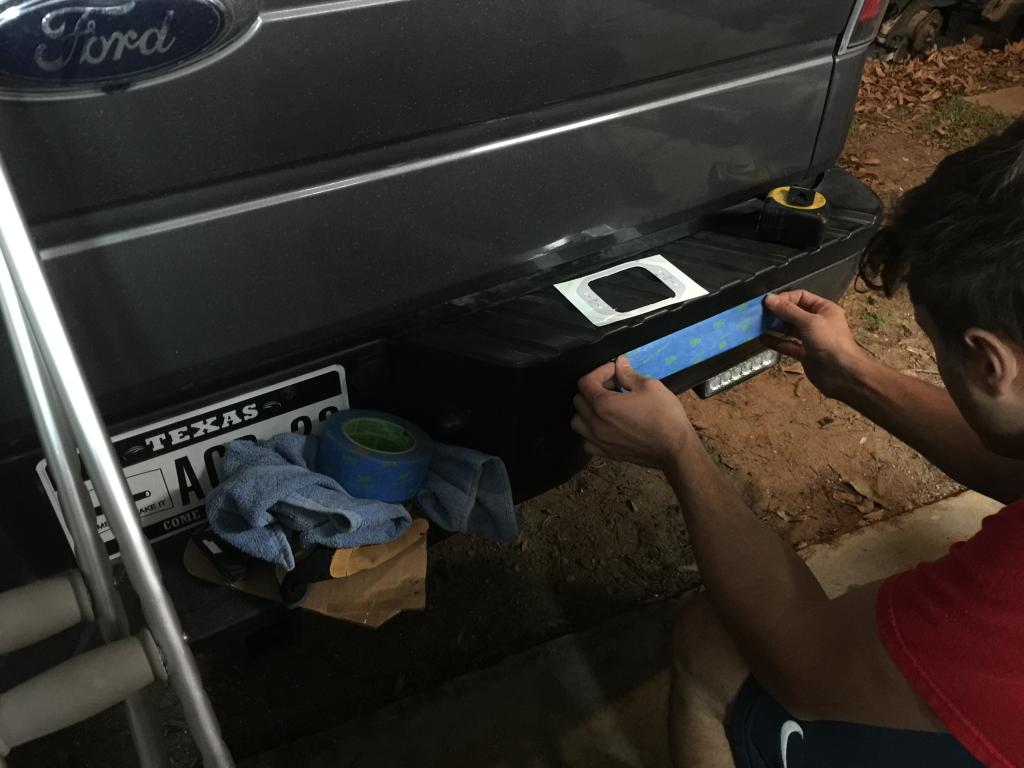
after that, measure. using the provided template, tape it up and see where you like it. Mine were measured to run parallel with the plastic step piece. Although that may not be exactly straight, I wanted it to look as uniform as possible.
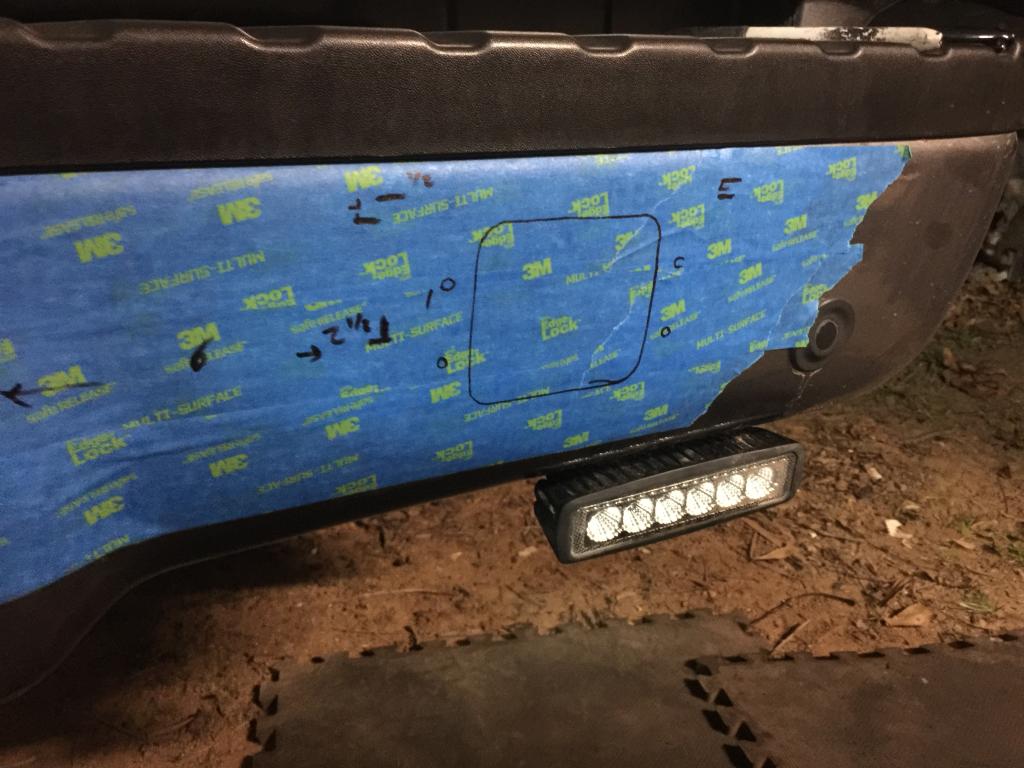
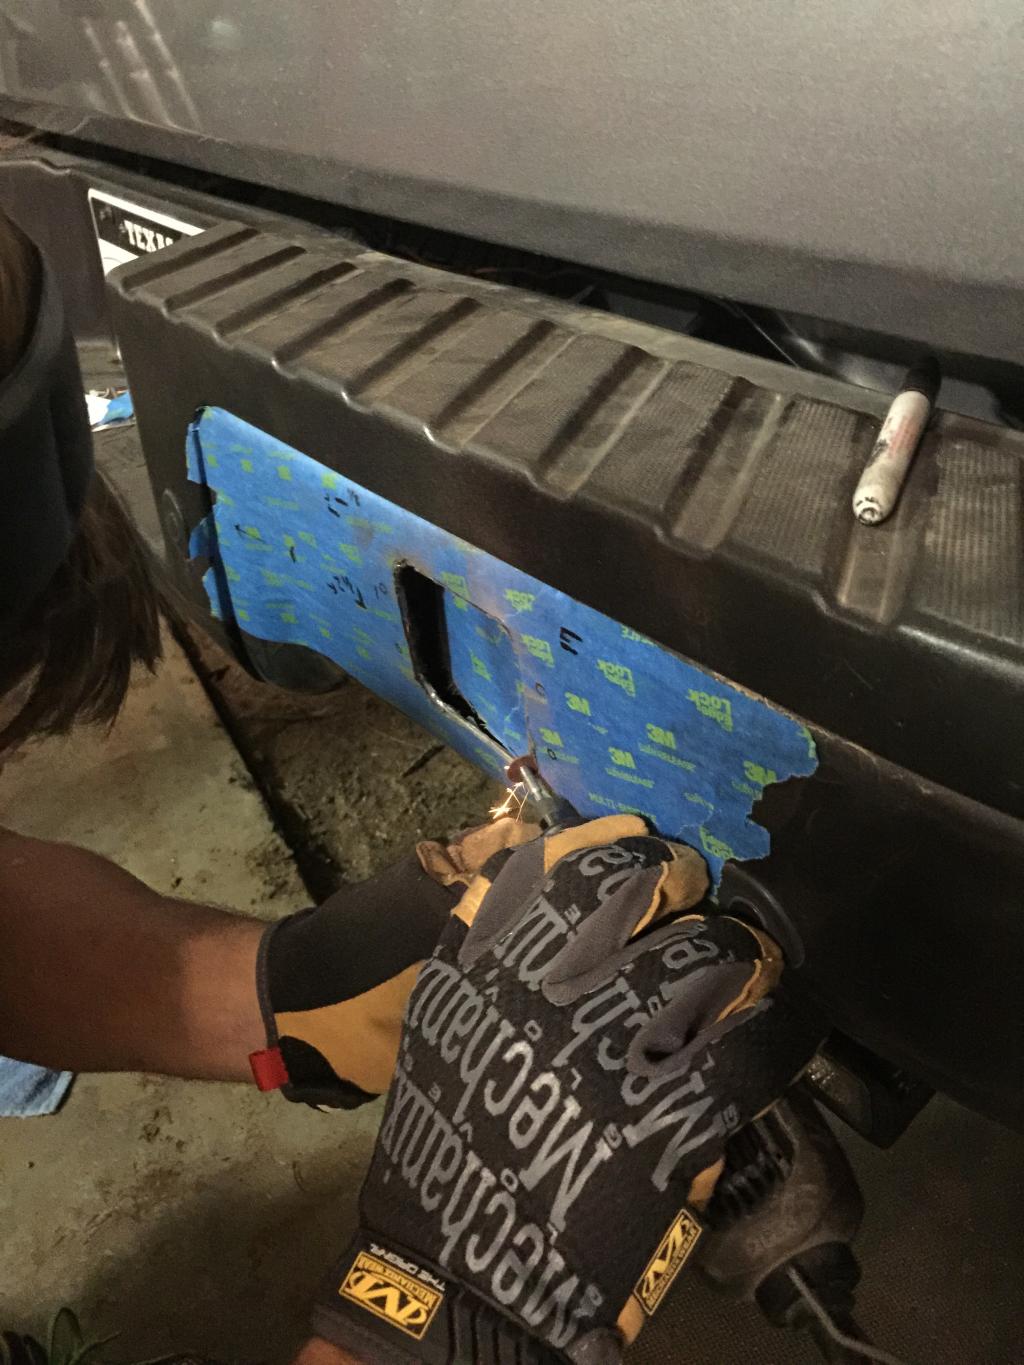
Next is the butt clenching part of the first cut...
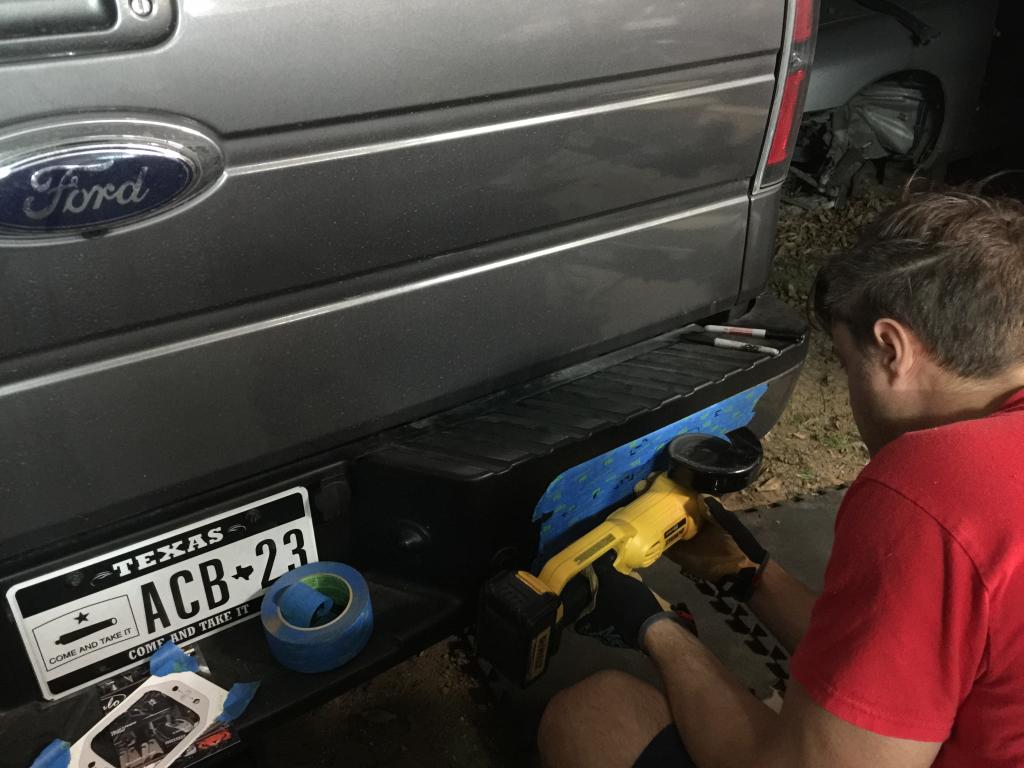
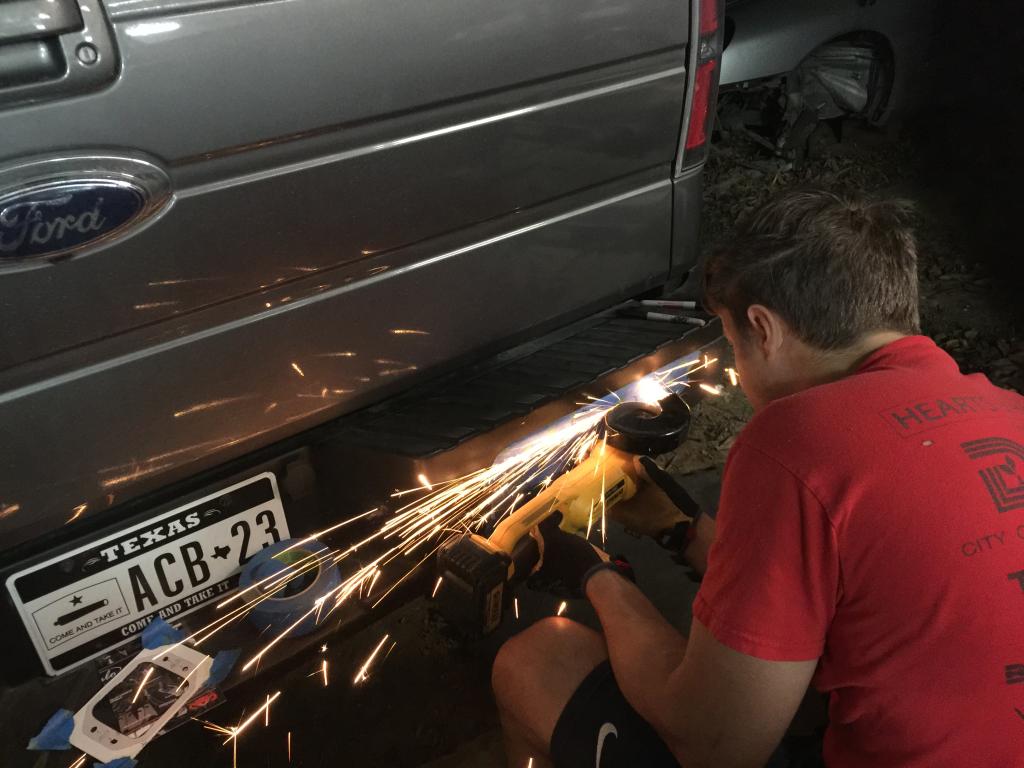
more cut action-
Tools used-
-Dewalt cordless angle grinder. both cutting and grinding wheels needed.
-Dremel with cutting and sanding wheels, for the corners.
-obvious safety precautions like eye, ear and hand protection.
-Rigid backup harness
-Rigid dually diffused flush mounts.
First and foremost, tape up the whole bumper so if the grinder grabs or skip, you have a buffer zone on not cutting the rest of your bumper.

after that, measure. using the provided template, tape it up and see where you like it. Mine were measured to run parallel with the plastic step piece. Although that may not be exactly straight, I wanted it to look as uniform as possible.

Next is the butt clenching part of the first cut...


more cut action-

 12-14-2014, 01:57 AM
#2
Part 2....
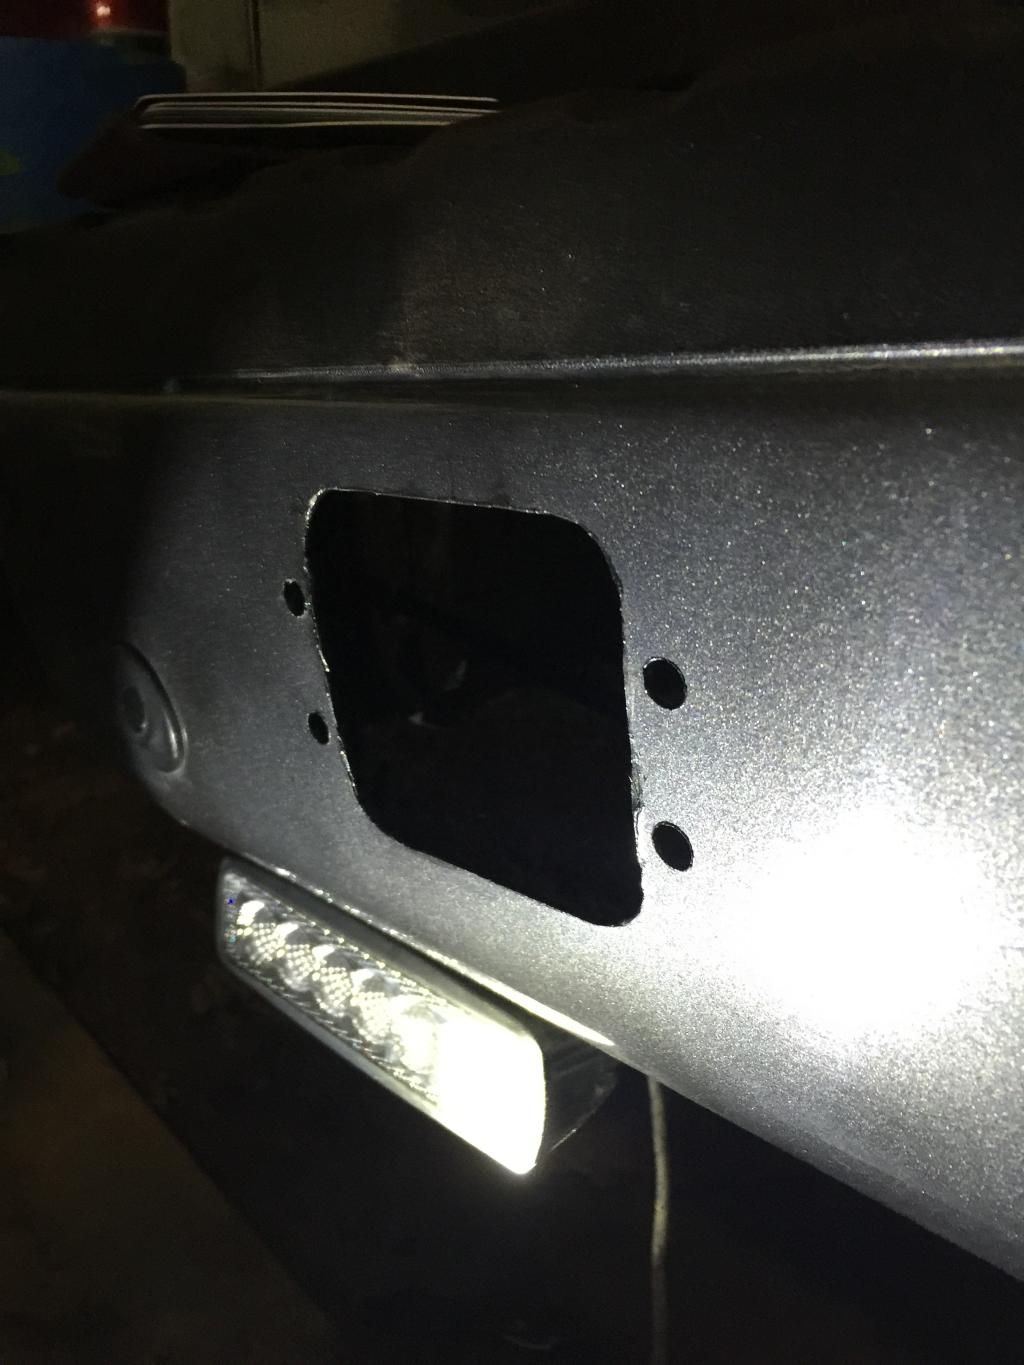
Now is time to round the corners with the dremel!
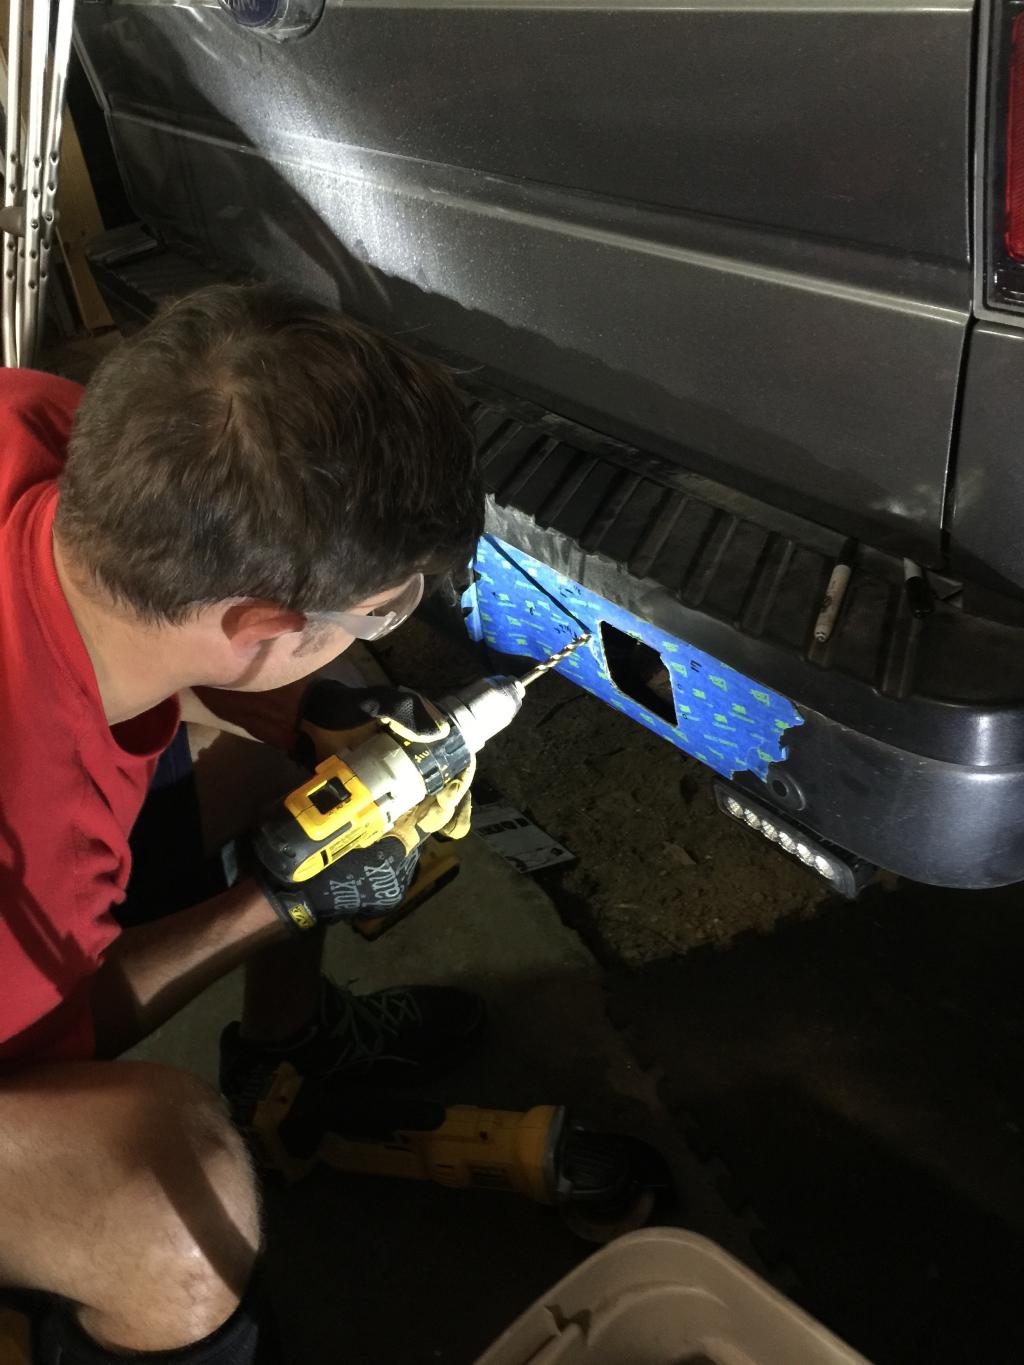
oh boy. first hole!
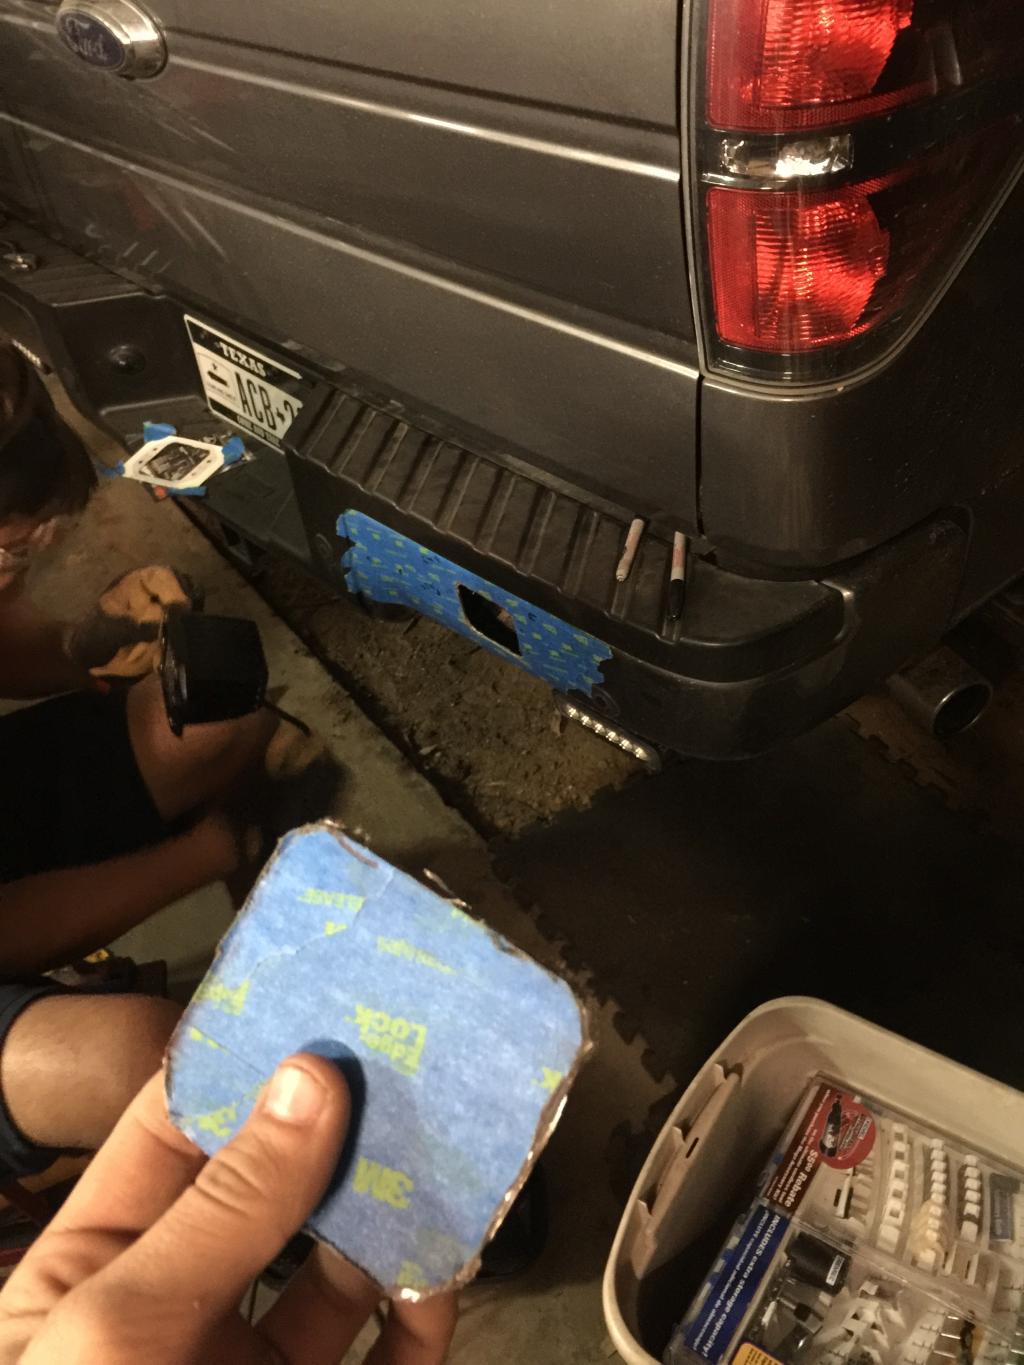
to address the issue of potential rust, I used a duplicolor sterling grey paint pen just in case. Holes also drilled!
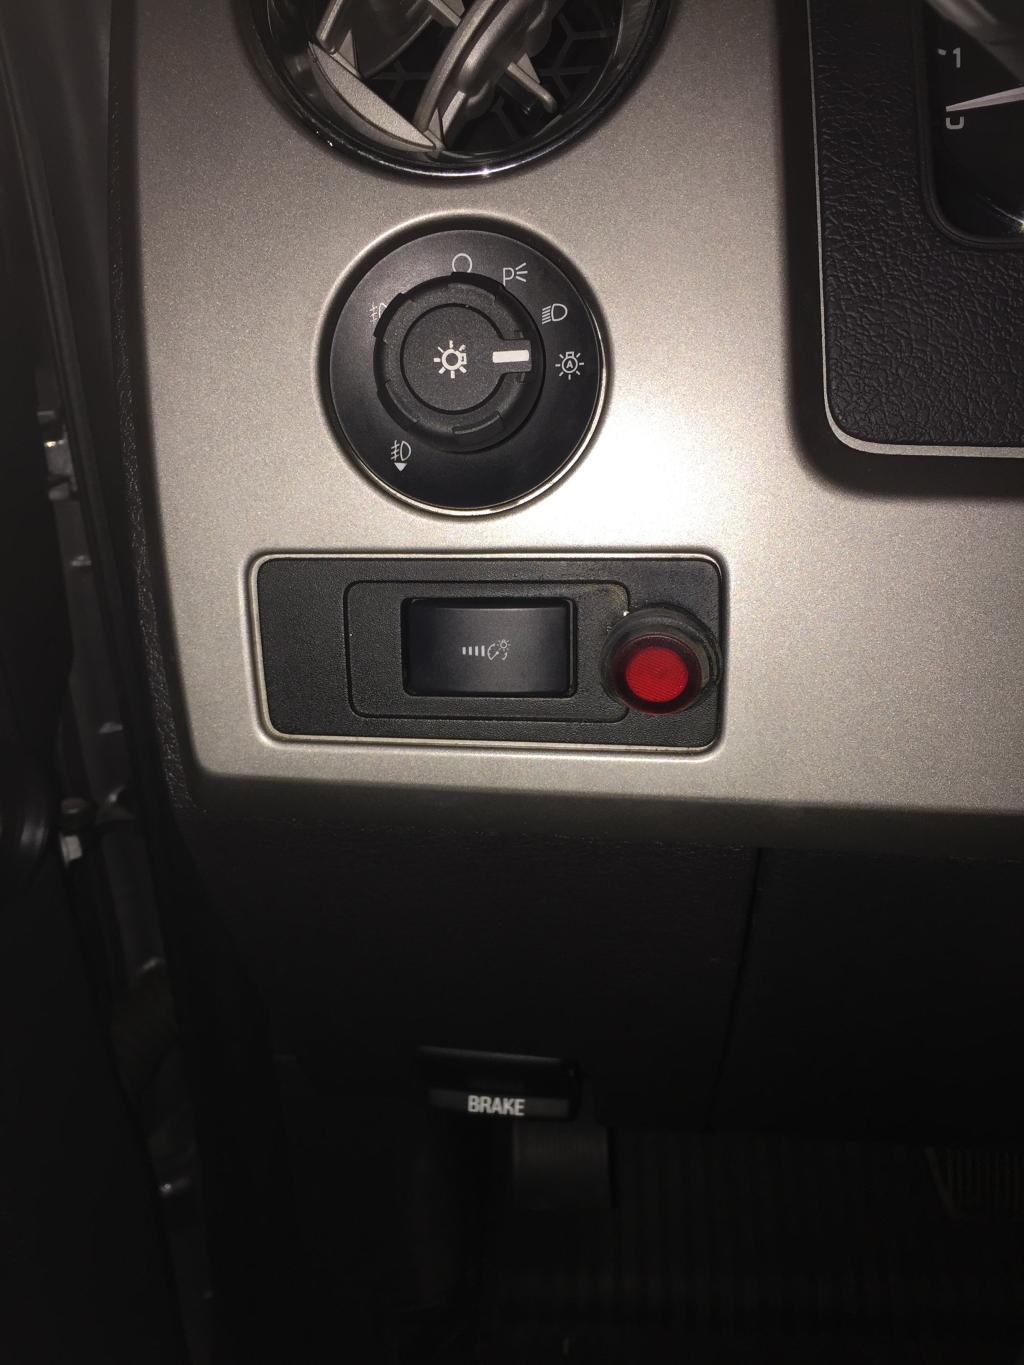
Switch installed, check out [MENTION=146349]goneFXcrazy[/MENTION] 's thread on wiring the backup harness.
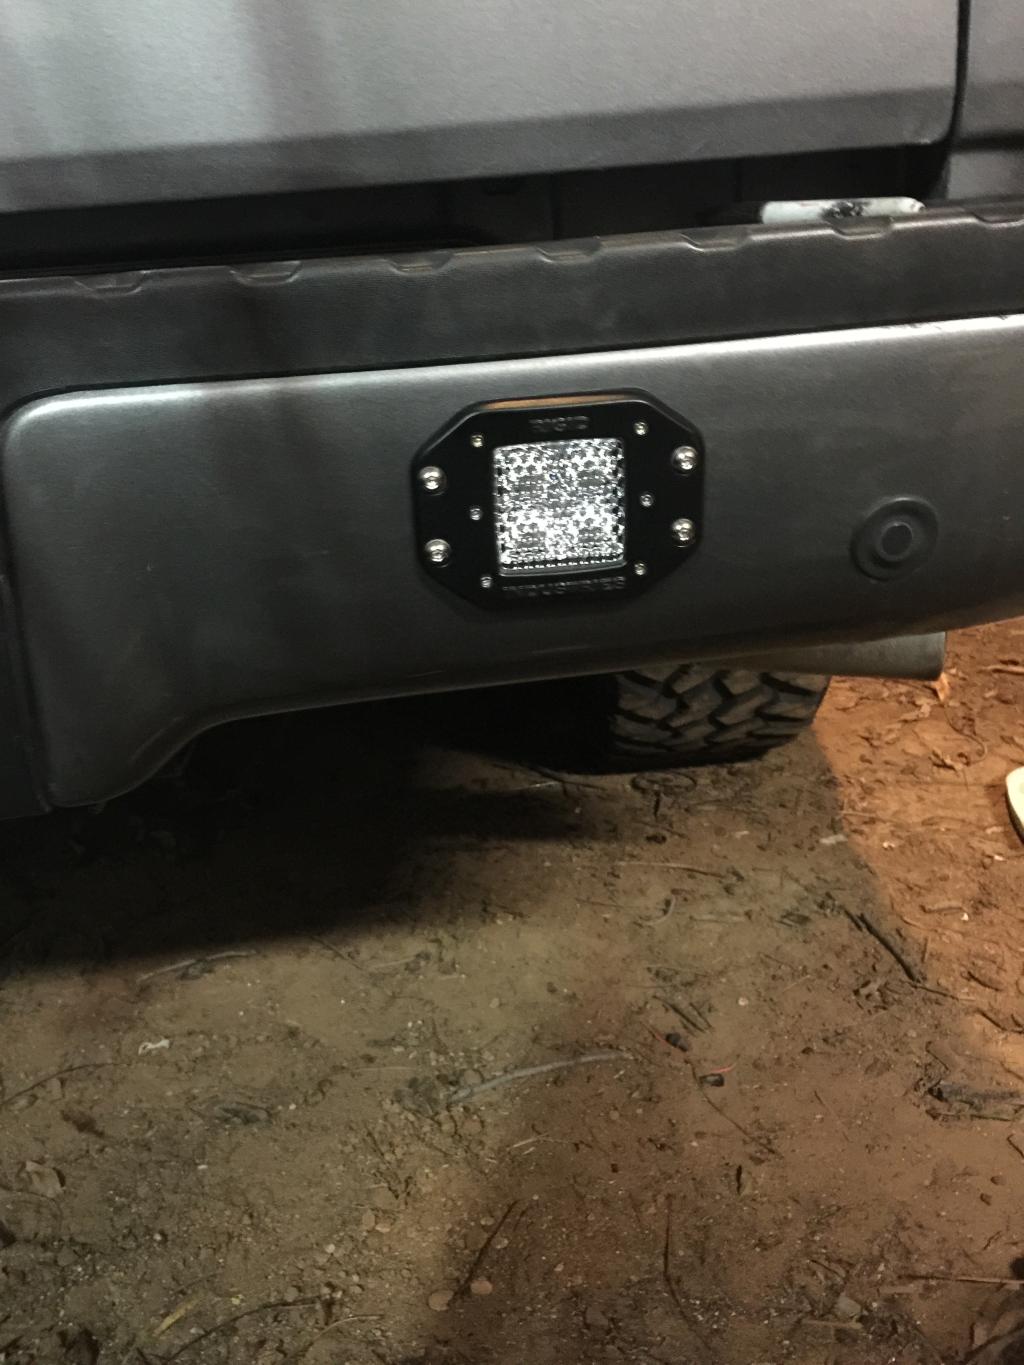
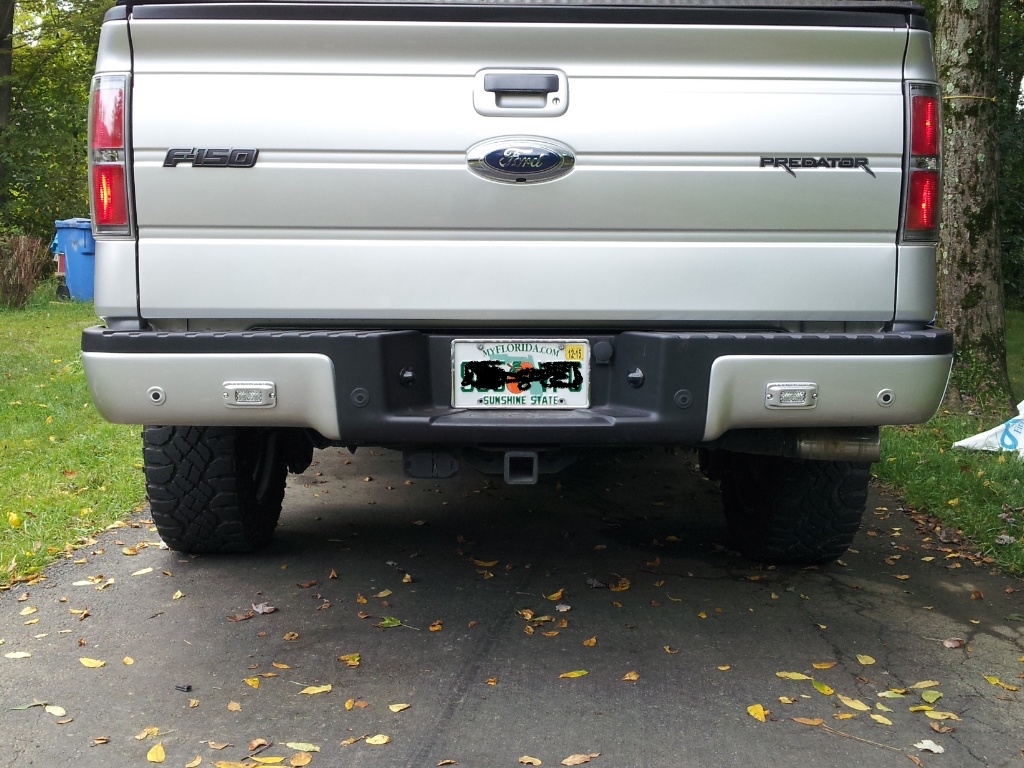
Done deal!!!
Now is time to round the corners with the dremel!

oh boy. first hole!

to address the issue of potential rust, I used a duplicolor sterling grey paint pen just in case. Holes also drilled!


Switch installed, check out [MENTION=146349]goneFXcrazy[/MENTION] 's thread on wiring the backup harness.

Done deal!!!


The following users liked this post:
jgohlke (12-14-2014)
12-14-2014, 07:41 AM
#3
Senior Member

Looks great! Good job!
I did the same thing to my FX4 about a year ago. The lights work very well and are very bright. I put a switch on the dash and relay in the circuit so they come on with the backup lights and I can also turn them on directly. They look nice and have held up well. I'm sure you will be happy with them.
The provided Rigid hardware start to get rust spots after a few months, so I swapped them out for some SS hardware I bought online (bolt depot).
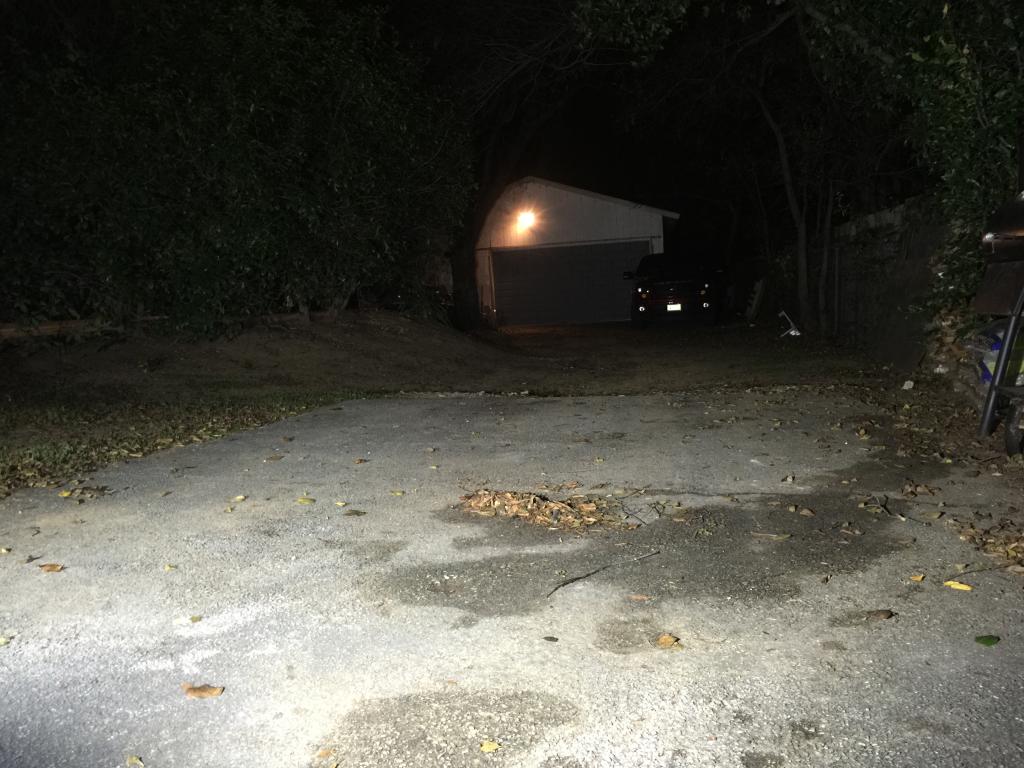
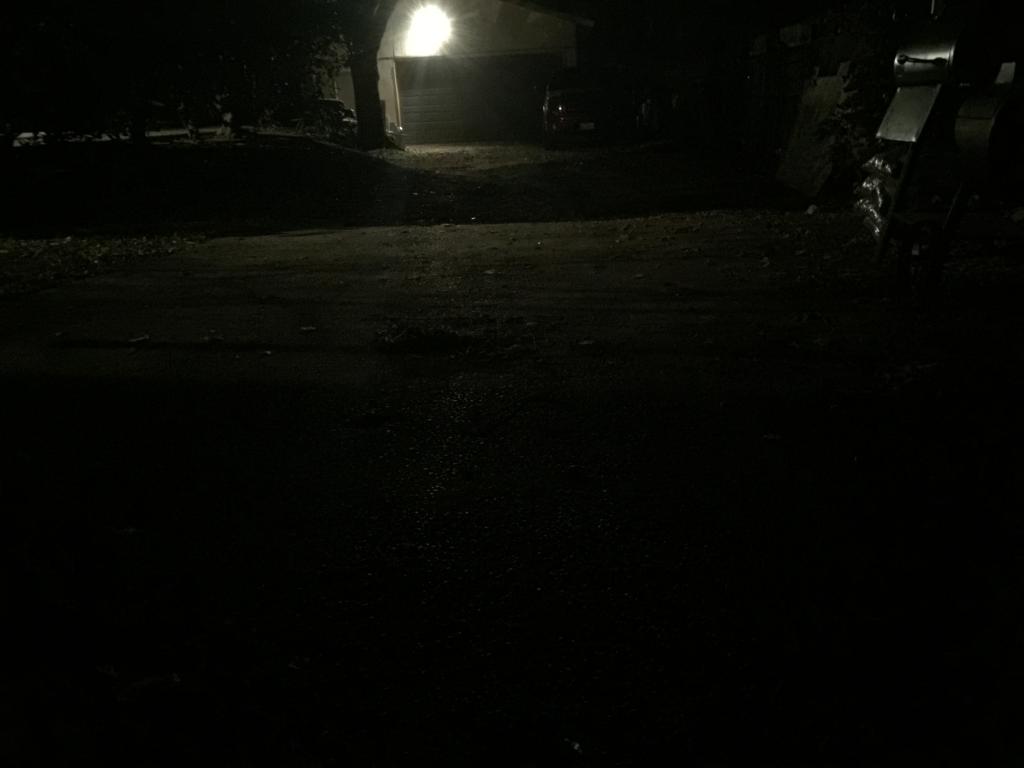
I also centered the lights in the bumper. If I was going to do it again, I would move the lights up the bumper (away from the ground). The bumper curves down and this causes the flush mounted lights to be angled at the ground a little bit. This makes a bright spot (or two bright spots) on the road just behind the truck. I have a backup camera and it washes out the foreground at night.
Rigid sells an angle mount for the flush lights that could be turned upside down for the bumper, but it looks like it has too much angle on it. I made a temporary rubber gasket that is thicker at the bottom than the top. This angles the bottom of the light up a little bit to try and get it more perpendicular to the road. It helped some and move the bright spot on the road out 10-12 feet. Still washes out the camera, but it's not as bad.
My son and I have backed a Kickstart 3-D Printer that should arrive early next year. I may try and "print" a plastic gasket with it to see if I can improve the camera picture.
It's a great mod once you get past the whole "cutting a hole in your bumper" thing!
I did the same thing to my FX4 about a year ago. The lights work very well and are very bright. I put a switch on the dash and relay in the circuit so they come on with the backup lights and I can also turn them on directly. They look nice and have held up well. I'm sure you will be happy with them.
The provided Rigid hardware start to get rust spots after a few months, so I swapped them out for some SS hardware I bought online (bolt depot).
I also centered the lights in the bumper. If I was going to do it again, I would move the lights up the bumper (away from the ground). The bumper curves down and this causes the flush mounted lights to be angled at the ground a little bit. This makes a bright spot (or two bright spots) on the road just behind the truck. I have a backup camera and it washes out the foreground at night.
Rigid sells an angle mount for the flush lights that could be turned upside down for the bumper, but it looks like it has too much angle on it. I made a temporary rubber gasket that is thicker at the bottom than the top. This angles the bottom of the light up a little bit to try and get it more perpendicular to the road. It helped some and move the bright spot on the road out 10-12 feet. Still washes out the camera, but it's not as bad.
My son and I have backed a Kickstart 3-D Printer that should arrive early next year. I may try and "print" a plastic gasket with it to see if I can improve the camera picture.
It's a great mod once you get past the whole "cutting a hole in your bumper" thing!
Last edited by jgohlke; 12-14-2014 at 07:42 AM. Reason: typos
12-14-2014, 09:52 AM
#4
Ford Enthusiast
Great job OP!
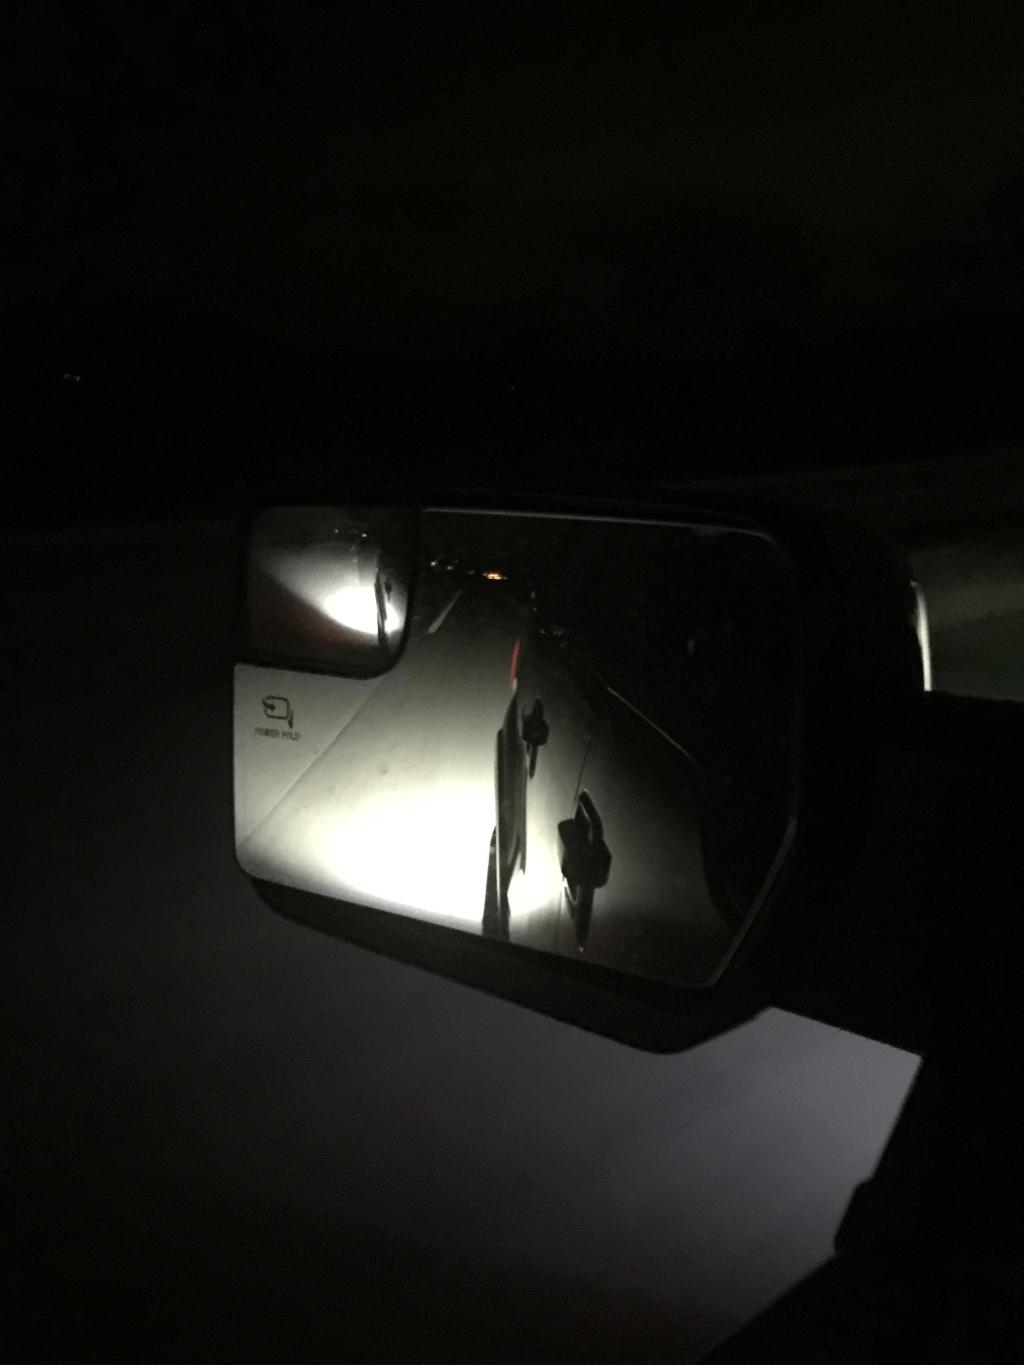
I did the same thing back in September when I was home....except I used the smaller SR series Rigid's.
A must do mod IMHO! Light output is perfect for the b/u camera without washing it out!
If you get the b/u kit it comes with a relay so you can use them in 3 mode (off, b/u via reverse & switched on)
For anyone else looking to do this Id recommend an aftermarket switch! The one they provide is pretty lame!
But Like OP did I mounted the rigid switch in the same location....figured it was the cheapest part to replace if I wanted to undo the switch placement! (which I will in the spring!)
Here's mine:

Last edited by UIN2IT; 12-14-2014 at 09:57 AM.
12-14-2014, 10:32 AM
#6
King Hater
Nice work on the light install. I just dont care for where you chose to install the switch. Looks goofy there.
The following users liked this post:
crewmaster1 (01-15-2016)
12-14-2014, 11:06 AM
#7
Member
Looks fantastic! Might eventually switch my SRQ2's to flush mount.
Trending Topics
12-14-2014, 11:44 AM
#8
<b>F150 Forum</b>

Great job!
12-14-2014, 11:56 AM
#9
Looks good! I need to do this with the set of dually's I pulled off my f350 before I got into the 150. Only thing is I need to order the flush mount kit as I had them on the frame on the f350.

Last edited by WireNutz; 12-14-2014 at 12:17 PM.
12-14-2014, 12:19 PM
#10
Are you saying you can buy a kit to make a "regular" Dually > a flush mount? I thought they just sold the lights either way and that was it.