
Pics of your truck in the snow
 01-28-2014, 11:25 PM
#771
Senior Member
LOL..I had just come from Autobahn http://www.autobahnsalon.com/ a few minutes earlier and Azuri the carwash. It was a dirty day and as we parked in the gas station lot someone behind remarked that 'those must be the cleanest vehicles I've seen in a week' Tonight the truck looks like it works in a salt mine as an underground delivery vehicle.
I'm really picky when it comes to how clean it is especially the little details. I just can't care right now because it's winter.
 01-28-2014, 11:57 PM
#772
Senior Member

Join Date: Aug 2013
Location: North Toronto, Hwy 400/Steeles
Posts: 860
Received 218 Likes
on
160 Posts
Frank Duarte is the owner, he's been around. Exports his waxes and stuff all over North America.
I use the polymer over the truck finish, have since day one. No wax. They charge me about $140 for a complete wash, protection coat, interior spiff up and vacuum. They are throrough and the coating has saved my butt at least once. As long as you don't put the car through heavy brush washes it lasts. And, it protects the original finish.
My neighbour spray painted my car when doing his garage in a high wind. The coating saved me.... Frank claybarred it off and reapplied it.
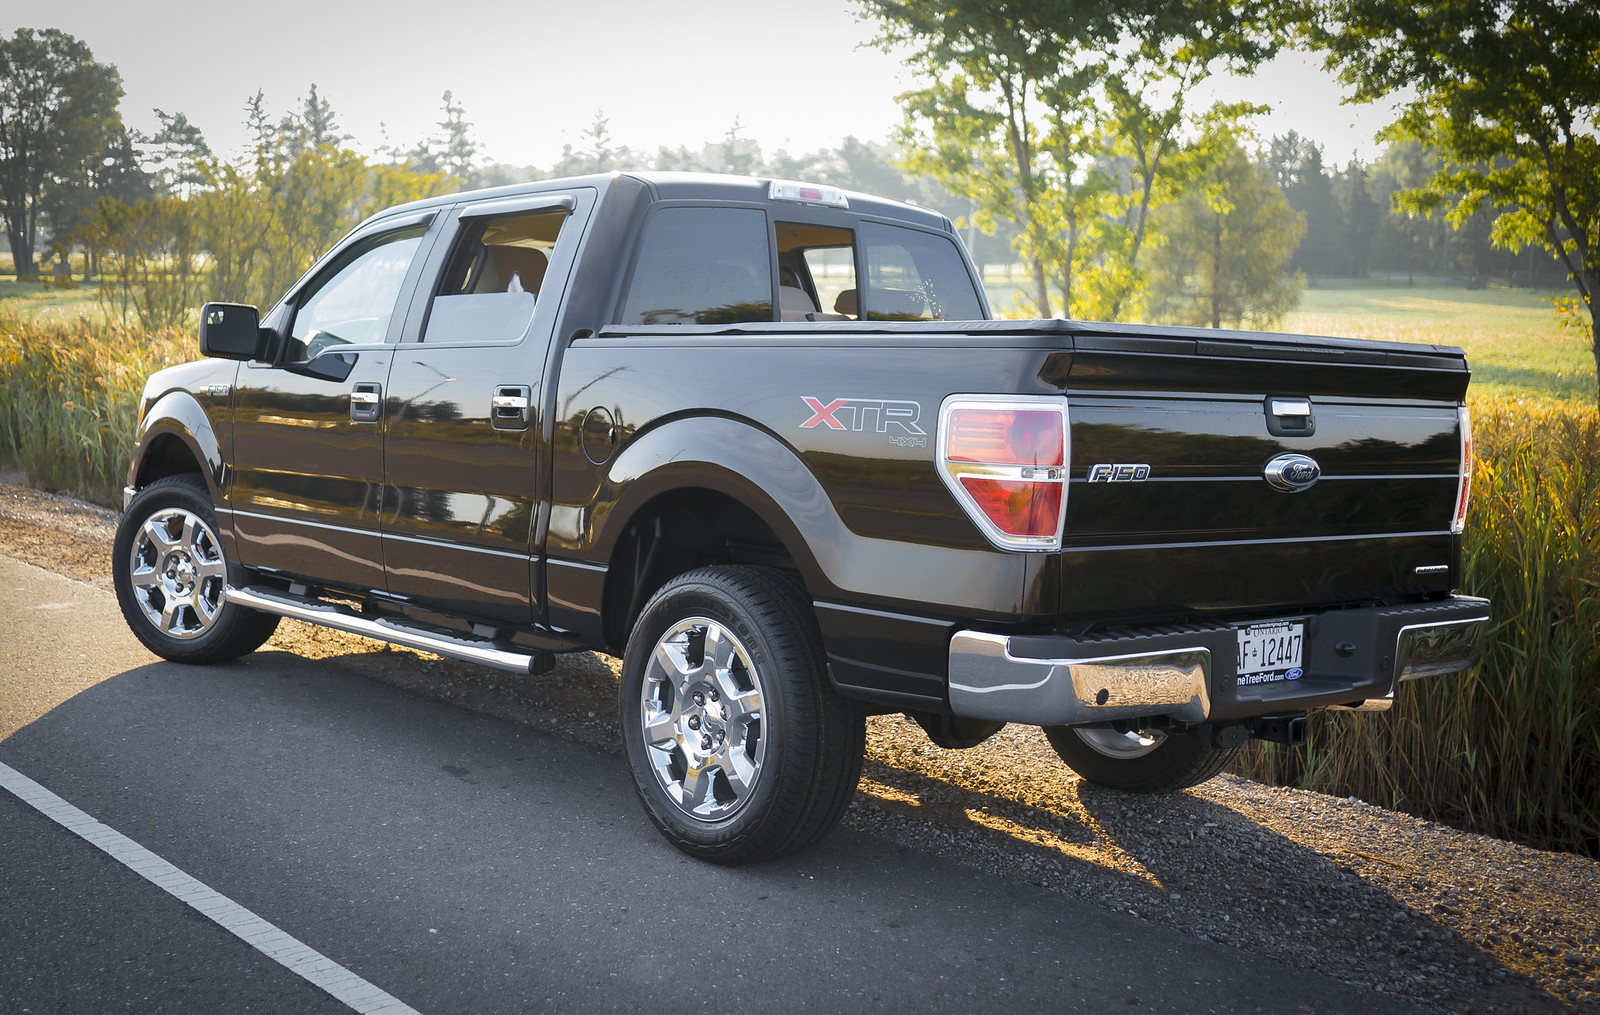
Here is a picture of what it looks like just after putting the polymer on. It stays that way for months... and with a little bottle of refresher you wipe on and buff off lightly when you wash your car, you would swear you just bought the thing that day.
Tell Frank I sent you. You will want Larry (in the picture) to do the work, if its a weekday.
FR
I use the polymer over the truck finish, have since day one. No wax. They charge me about $140 for a complete wash, protection coat, interior spiff up and vacuum. They are throrough and the coating has saved my butt at least once. As long as you don't put the car through heavy brush washes it lasts. And, it protects the original finish.
My neighbour spray painted my car when doing his garage in a high wind. The coating saved me.... Frank claybarred it off and reapplied it.
Here is a picture of what it looks like just after putting the polymer on. It stays that way for months... and with a little bottle of refresher you wipe on and buff off lightly when you wash your car, you would swear you just bought the thing that day.
Tell Frank I sent you. You will want Larry (in the picture) to do the work, if its a weekday.
FR
Thank you! I've been looking for a good detail place in the GTA. I'll get the premium package when summer kicks in then do the rest of the summer myself.
I'm really picky when it comes to how clean it is especially the little details. I just can't care right now because it's winter.
I'm really picky when it comes to how clean it is especially the little details. I just can't care right now because it's winter.
The following users liked this post:
RRSport (01-29-2014)
01-29-2014, 12:01 AM
#773
Iowa Farmer

Southerners make me chuckle
01-29-2014, 12:01 AM
#774
Senior Member
Frank Duarte is the owner, he's been around. Exports his waxes and stuff all over North America. I use the polymer over the truck finish, have since day one. No wax. They charge me about $140 for a complete wash, protection coat, interior spiff up and vacuum. They are throrough and the coating has saved my butt at least once. As long as you don't put the car through heavy brush washes it lasts. And, it protects the original finish. My neighbour spray painted my car when doing his garage in a high wind. The coating saved me.... Frank claybarred it off and reapplied it. Here is a picture of what it looks like just after putting the polymer on. It stays that way for months... and with a little bottle of refresher you wipe on and buff off lightly when you wash your car, you would swear you just bought the thing that day. Tell Frank I sent you. You will want Larry (in the picture) to do the work, if its a weekday. FR
What's your name so I can tell him?
Will do when summer rolls around.
Thanks again!
01-29-2014, 12:03 AM
#775
End of the Earth
 01-29-2014, 08:43 AM
#776
Senior Member
Join Date: Aug 2013
Location: North Toronto, Hwy 400/Steeles
Posts: 860
Received 218 Likes
on
160 Posts
I use Micro Four Thirds gear.. it is light and small, and fully featured. The sensors are much smaller than full frame (35mm format).
The Panasonic and Olympus cams and lenses are excellent, especially the fixed focal lengths and higher end zooms. See: http://panasonic.net/avc/lumix/ and http://www.getolympus.com/ca/en/digi...ras.html?cat=9 The Pany G6 and the Oly Pen EPL-5 are good places to start.
Next size format up is APS-C and I recommend the Fuji line.
In addition to taking the picture, where I control composition, every shot I want to ever look at again is post-processed in Adobe Lightroom 5 for crop, light, colour, and texture. Once you know what you are looking for the rest is a breeze, maybe 5 minutes work per shot.
The winter and summer pictures above were done with Panasonic's G5 and their sharp 20mm lens (40mm in full frame format).
In Lightroom I decided I wanted to play up the wintery scene so I saturated the blues and dropped the light out of that colour at the same time to give the sky that brooding look. At the same time I adjusted white balance to a warmer tone and adjusted the tint for more warmth to bring out the late afternoon light on the branches in the background... the 3D effect on the image was beginning to take shape now, the vehicles floating in front of all this background work.
The 20mm lens is a tad wide so it distorted/pulled the front ends of the trucks forward, making them pop out of the image when cropped horizontally into a 16:9 format. This reinforced the effect that had already been building in the image.
The rest was highlight and shadow control, sharpness and noise adjustment, and a dose of post crop vignetting to darken the corners and complete the surreal sense that had been developed via the foregoing. Voila! Done.
The summer scene was processed in the same manner but the colour work was almost the opposite, highlighting and pulling the warm tones while being faithful to the original vehicle paint colour. Its all kind of subtle and takes a deft touch. You need to look closely at the original picture and decide what is important, and what you want to do, and then test that out. The image starts to come together and then you slam dunk it. Usually two passes on the entire manipulation are required.. the first is a sketch, the second nails it.
I could have spent more time on it but I'd rather be driving.
For more in depth material please see Serge Ramelli on Youtube in addition to Adobe's online tutorials. Its all very easy once you understand that you are playing with light, form, colour and texture in an abstract manner, reinforcing the composition along the way. There is much more that you can do than I have talked about here... like adding and subtracting light in particular areas of the picture for example.
One last thing: shoot in RAW with your jpegs. RAW is pure digital information, capable of being fully manipulated. Jpegs are already processed by the time they come out of the camera and there is not much you can do with them beyond that.
Give me a shout via PM if you want more.
FR
Last edited by fringe_remnant; 01-29-2014 at 09:26 AM.
The following users liked this post:
Chris's FX4 (01-29-2014)

The following users liked this post:
QCFX2 (01-29-2014)
The following users liked this post:
WildernessLVR (01-29-2014)

