
Install Notes and Impressions after Full-Race Intercooler Install
 09-18-2015, 10:12 AM
#1
Senior Member
Thread Starter


I got the Full-Race Intercooler to try and fix the condensation issues I've been having on my '11 and I was excited to put it on last night!
I'm not a mechanic. In fact, the only things I've done on vehicles as been putting on a suspension lift, bumpers, winch, rocker guards, and a few other little odds and ends on my old '12 Jeep Rubicon Unlimited. However, I've built a dining table, bed, and done other little "fix-its" around the house. Here's the table I built out of pallets:
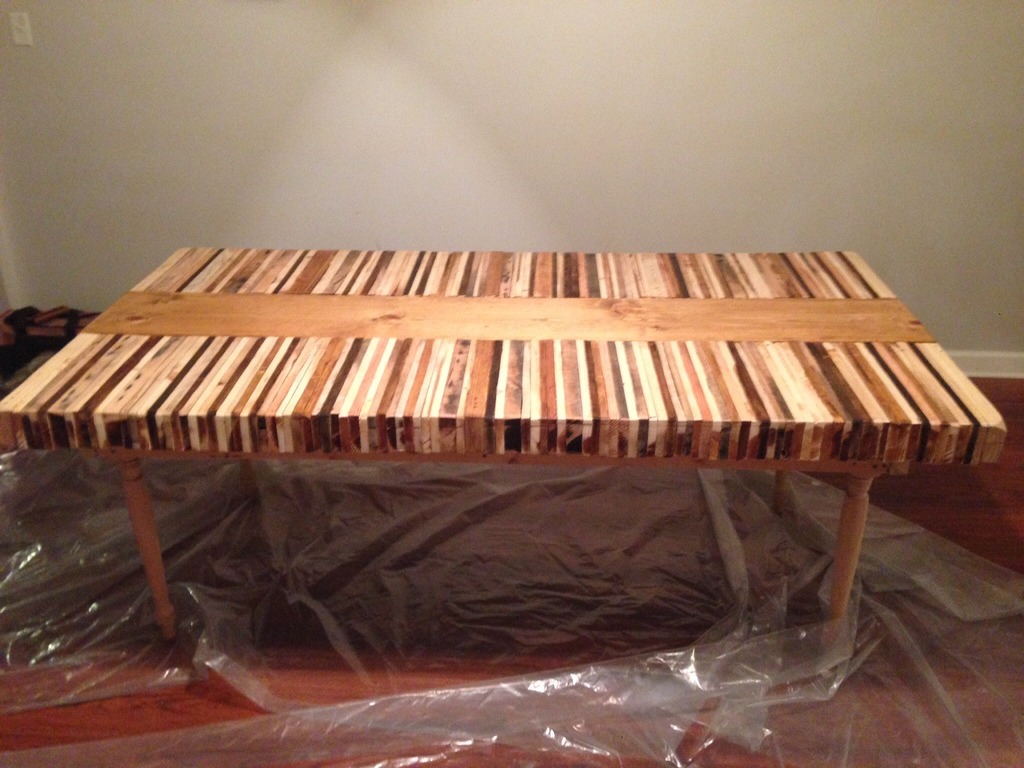
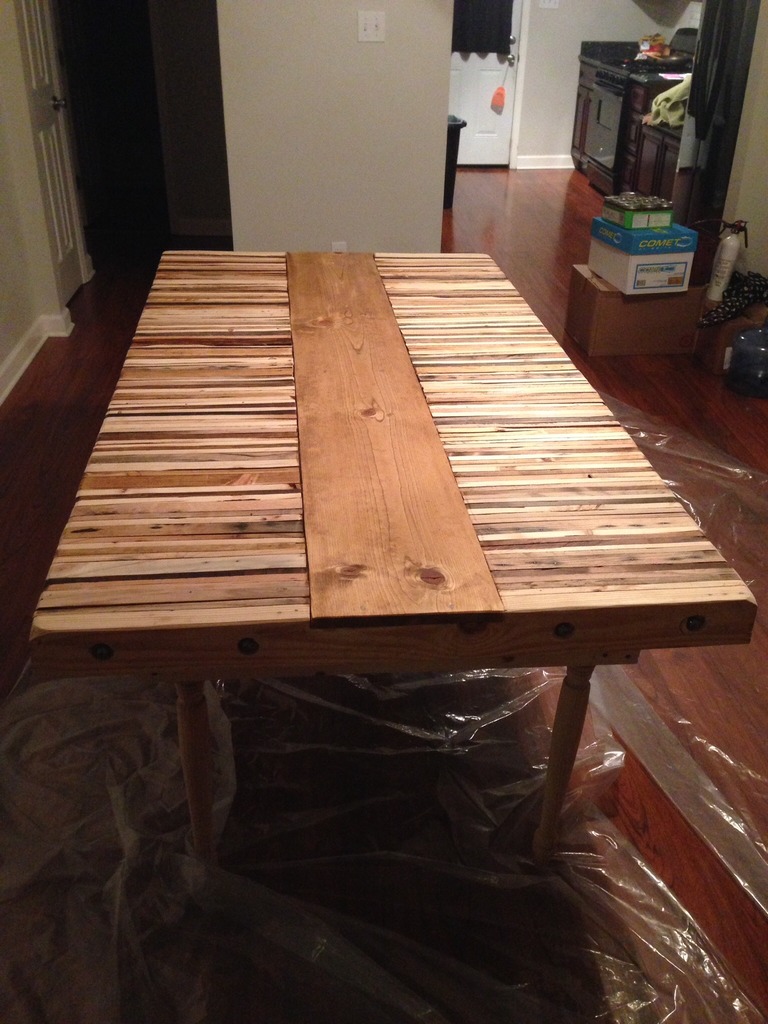
So, with that said, I have a little bit of "handiness," and I was ready to tackle the intercooler. (the first mod to this truck)
When I started, I had these tools:
-Milwaukee 18v Impact
-Pittsburgh Ratchet and Socket Set (from Harbor Freight) and Matching Extensions and Adapters
-Gearwrench Ratchet Set like this one: (if you don't have it, BUY IT!)
-Flathead Screwdriver
-Leatherman Wave Multi-Tool
-Flashlight
-Tool for Prying
All work was completed in a parking lot space on my school's campus.
When I started, everything went smoothly until I got to the removal of the Charge Pipe from the Intercooler. I could see the spring clip, but couldn't figure out how to get it off the pipe. When I crawled up under the truck, I couldn't see the intercooler because of the splash guard. I took a minute or two and pulled off the splash guard. Then, with a flathead screwdriver, I pushed each side of the clip until I got the clip off and could remove the charge pipe. With that done, I turned my attention to the pipe connector on the hot-side.
To be honest, this was one of the most frustrating parts of the install. When I got my extension out and the 10mm socket, I was having to pull and pry on the intercooler to get the socket down to the bolt. Well, after a few minutes of fighting with the extension, wrench, and intercooler to get to the bolts, I realized that the bolts were actually 8mm (not noted in the instructions). So, I changed out the socket, and then found out that the bolts were ceased up on the clamps. Because I couldn't get good enough leverage in the tiny area between the intercooler and radiator, I got my impact and made short work of them.
Now, with the intercooler disconnected, and the support beam removed, I needed to pull off the intercooler and begin installing the new parts. When I went to pull the intercooler up through the engine bay, I quickly realized that would not work. So, I crawled under the truck to try and pull it down, but the air dam was in the way...and I had initially parked too close to the curb to adequately pull off the air dam since the air dam was touching the curb. FRUSTRATION! So, I got in the truck, turned the key enough to put the truck in neutral, and pushed my truck back away from the curb, put it back in park, and removed the key. I got back under the truck and once I could the right socket, the impact made quick work of the bolts holding it to the truck. After that, the intercooler literally fell out onto the ground.
Ahhh, the dreaded couplers! I did not bring any soap and water in a spray bottle from my apartment, so I just resorted to "muscling-them-on" to their specified locations. Well, I got the bottom one on first on the hot side and quickly realized that was a mistake since I couldn't see what I was doing on the top pipe, so I removed the bottom and installed it on the top and then did the bottom one. After that, I tried to put on the clamps and hold them in place while I put on the y-pipe...BIG MISTAKE. The clamps slid around, fell off, and would hit me in the face since I was under the truck laying on the ground. So, I resorted to putting the clamps on last and went on to putting on the y-pipe. I got the bottom connection and then had my friend (who showed up at the perfect time) to hold the top pipe while I slid/rotated the top part of the y-pipe onto the upper hot-side pipe.
Then, we put the intercooler onto the bracket that we mounted per Full-Race's instructions, and we tried to put the y-pipe into the coupler for the intercooler. Well, like a dummy, I put the coupler on the intercooler and the y-pipe pushed the coupler further onto the intercooler, so we had to remove the coupler, install it onto the y-pipe, and then push the y-pipe with the coupler onto the bottom of the intercooler. After that, we put the clamps where they needed to go, and tightened them with the impact.
NOTE: If you do this install, get deep sockets or ratcheting wrenched for the clamps. I only had shallow sockets and once they ran out of room, we had to hand tighten the nuts with closed faced wrenches, and that took FOREVER! If I had my set of deep sockets with me, we could have cut the install time in 1/2 (or more).
So, with the hot-side attached, we moved to putting on the charge pipe. This proved to take the most finagling because you have to thread thread the charge pipe through the engine bay, attach it to the throttle body, and then put on the pipe and coupler for the connection to the intercooler. We tried to put it all in at once and that didn't work. So, we put in the charge pipe, then slid the couplers onto the last pipe, slid the pipe onto the upper part of the charge pipe, and then rotated the bottom piece around to line up with the intercooler. Once we did that, we put on the clamps and got to tightening!
With 98% of the install behind us, we moved to putting the PCV hose and MAP sensor onto the charge pipe. Well, I don't know why, but I read right over the part about using the new screws, and after a few minutes of it not working, my wife picked up the back of screws and said, "Hey, what are these? Do you need them?" I laughed and then used them to finish installing the MAP sensor. Next was the PCV hose, and we pried and pried and pushed and pushed and could not get the attachment back onto the pipe. I grabbed a file and filed down the nipple and then we tried again, and the hose went right on no problem! Then we hooked up the horn and we were done!
All-in-all, the install took 3 hours. That includes a break, searching for the right tools, moving the truck, and removing the air dam and splash guard underneath the truck. Not bad! If I had to do this install again, I would have used deep sockets on everything and put the truck on jack stands to make it easier to get under the truck and work.
Well, since we had everything on, we went back over everything to make sure it was all tight and nothing was missing. Everything looked good, so we took it out for a drive and no codes or anything like that. It worked great! We drove some areas and in a way that I used to get the shuddering and I didn't get anymore shuddering. I love the look (I've had tons of compliments on it already), finish (super high-quality welds), and performance of this intercooler (need to datalog sometime, but I'm sure it's benefiting my stock truck). I'd highly recommend this product to everyone!
I had bought a UPR dual-valve catch can, but with the limited space to mount it, and the fact that my intercooler "fixed" the issue, I'd like to return the catch can and get a tuner.
Probably the best and funniest thing that happened last night was when we were done, my wife asked, "Hey, that's a big hole in the front, what can we put there to cover that up? It looks awful." I said, "Well, since we put in this intercooler, I could really put a winch right there with the Rough Country mount." She smiled and said, "Maybe you should ask for that for Christmas." Best wife ever? CHECK!
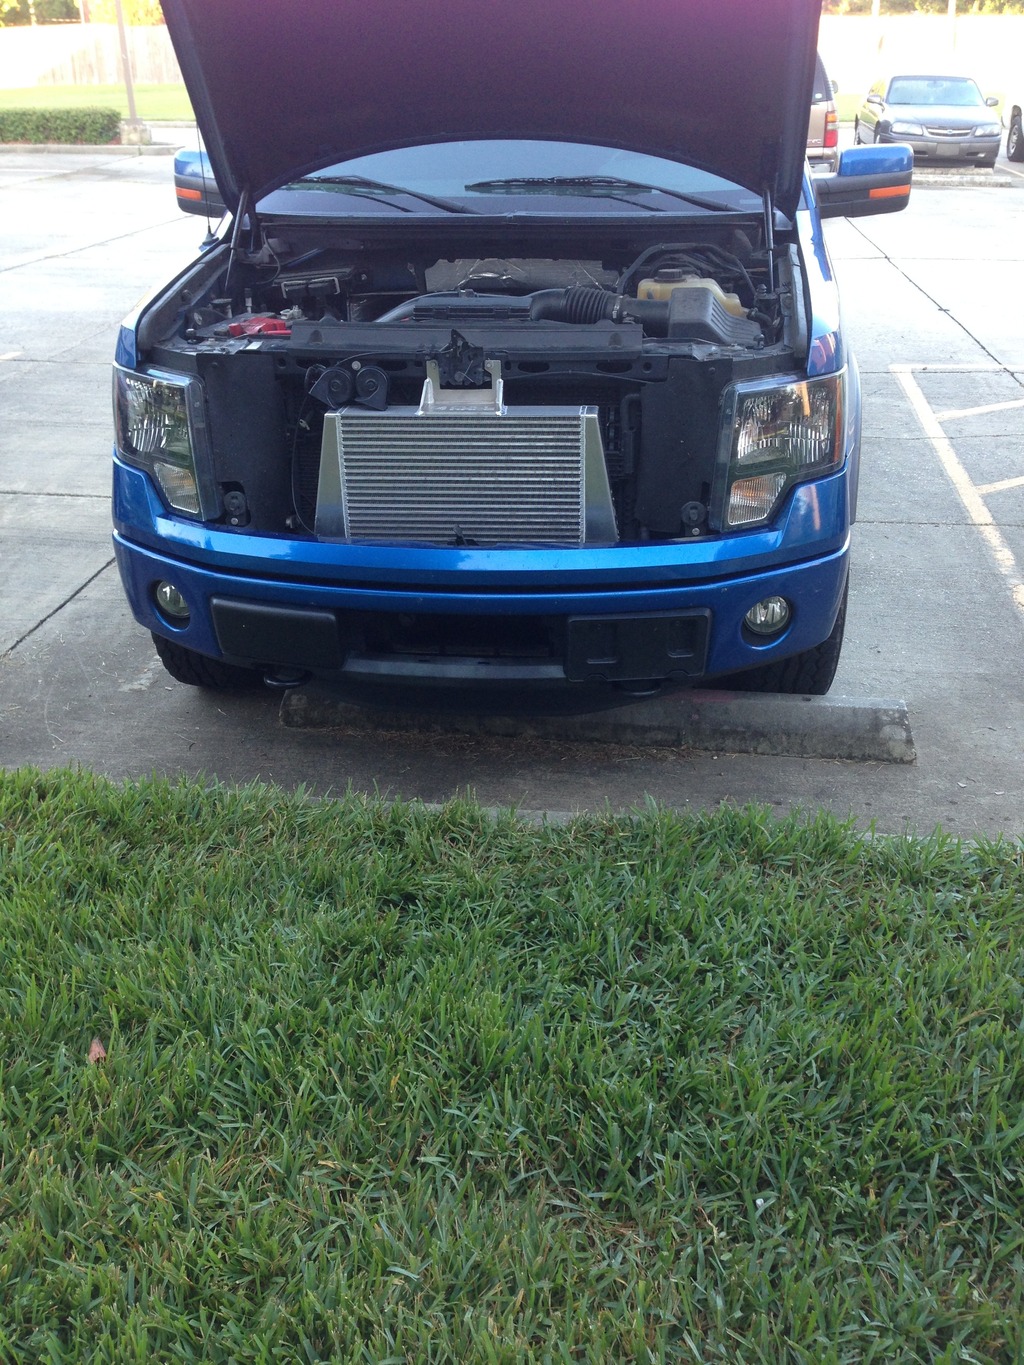
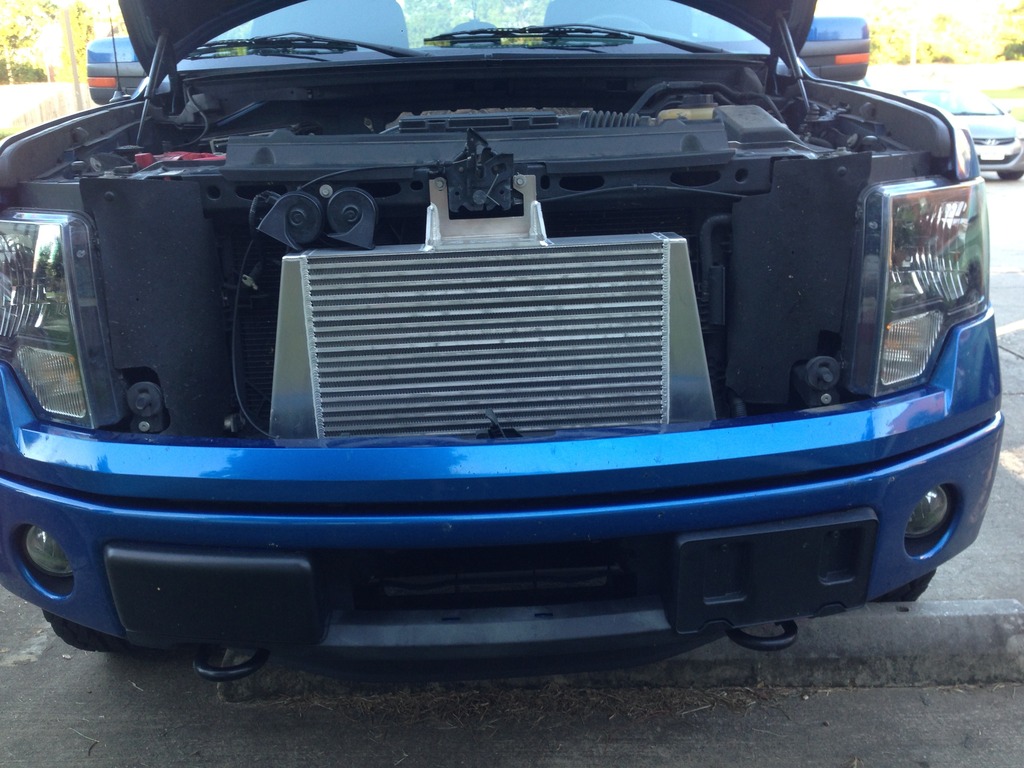
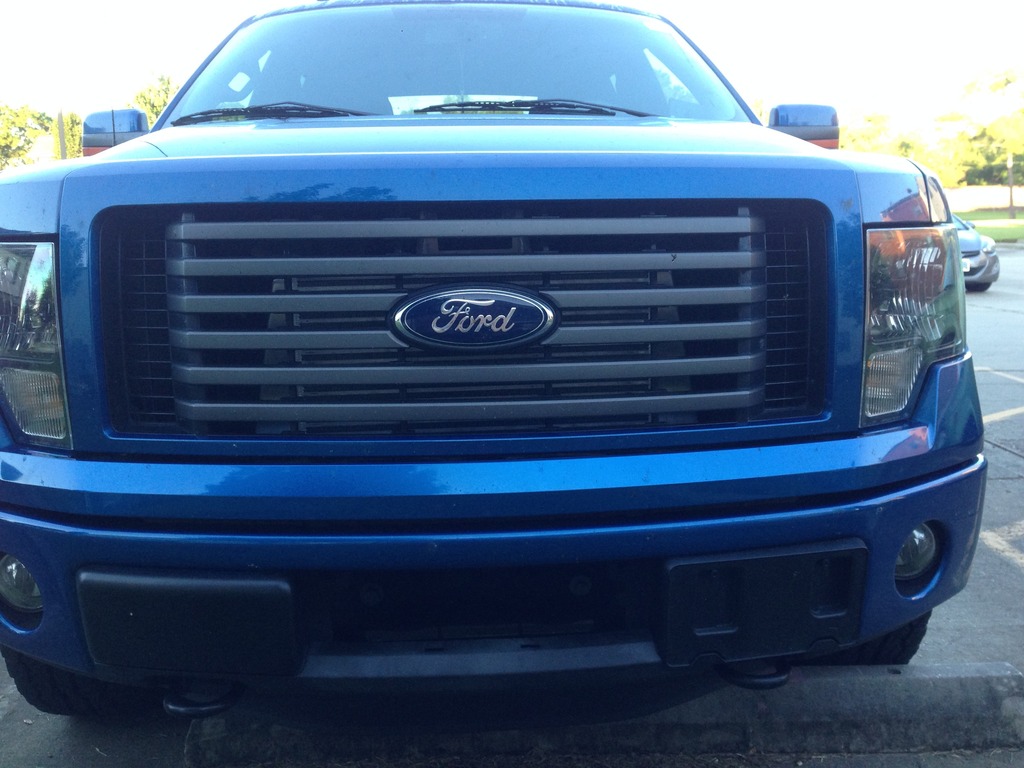
Anyway, here are some post-install pictures:
I'm not a mechanic. In fact, the only things I've done on vehicles as been putting on a suspension lift, bumpers, winch, rocker guards, and a few other little odds and ends on my old '12 Jeep Rubicon Unlimited. However, I've built a dining table, bed, and done other little "fix-its" around the house. Here's the table I built out of pallets:


So, with that said, I have a little bit of "handiness," and I was ready to tackle the intercooler. (the first mod to this truck)
When I started, I had these tools:
-Milwaukee 18v Impact
-Pittsburgh Ratchet and Socket Set (from Harbor Freight) and Matching Extensions and Adapters
-Gearwrench Ratchet Set like this one: (if you don't have it, BUY IT!)
-Flathead Screwdriver
-Leatherman Wave Multi-Tool
-Flashlight
-Tool for Prying
All work was completed in a parking lot space on my school's campus.
When I started, everything went smoothly until I got to the removal of the Charge Pipe from the Intercooler. I could see the spring clip, but couldn't figure out how to get it off the pipe. When I crawled up under the truck, I couldn't see the intercooler because of the splash guard. I took a minute or two and pulled off the splash guard. Then, with a flathead screwdriver, I pushed each side of the clip until I got the clip off and could remove the charge pipe. With that done, I turned my attention to the pipe connector on the hot-side.
To be honest, this was one of the most frustrating parts of the install. When I got my extension out and the 10mm socket, I was having to pull and pry on the intercooler to get the socket down to the bolt. Well, after a few minutes of fighting with the extension, wrench, and intercooler to get to the bolts, I realized that the bolts were actually 8mm (not noted in the instructions). So, I changed out the socket, and then found out that the bolts were ceased up on the clamps. Because I couldn't get good enough leverage in the tiny area between the intercooler and radiator, I got my impact and made short work of them.
Now, with the intercooler disconnected, and the support beam removed, I needed to pull off the intercooler and begin installing the new parts. When I went to pull the intercooler up through the engine bay, I quickly realized that would not work. So, I crawled under the truck to try and pull it down, but the air dam was in the way...and I had initially parked too close to the curb to adequately pull off the air dam since the air dam was touching the curb. FRUSTRATION! So, I got in the truck, turned the key enough to put the truck in neutral, and pushed my truck back away from the curb, put it back in park, and removed the key. I got back under the truck and once I could the right socket, the impact made quick work of the bolts holding it to the truck. After that, the intercooler literally fell out onto the ground.
Ahhh, the dreaded couplers! I did not bring any soap and water in a spray bottle from my apartment, so I just resorted to "muscling-them-on" to their specified locations. Well, I got the bottom one on first on the hot side and quickly realized that was a mistake since I couldn't see what I was doing on the top pipe, so I removed the bottom and installed it on the top and then did the bottom one. After that, I tried to put on the clamps and hold them in place while I put on the y-pipe...BIG MISTAKE. The clamps slid around, fell off, and would hit me in the face since I was under the truck laying on the ground. So, I resorted to putting the clamps on last and went on to putting on the y-pipe. I got the bottom connection and then had my friend (who showed up at the perfect time) to hold the top pipe while I slid/rotated the top part of the y-pipe onto the upper hot-side pipe.
Then, we put the intercooler onto the bracket that we mounted per Full-Race's instructions, and we tried to put the y-pipe into the coupler for the intercooler. Well, like a dummy, I put the coupler on the intercooler and the y-pipe pushed the coupler further onto the intercooler, so we had to remove the coupler, install it onto the y-pipe, and then push the y-pipe with the coupler onto the bottom of the intercooler. After that, we put the clamps where they needed to go, and tightened them with the impact.
NOTE: If you do this install, get deep sockets or ratcheting wrenched for the clamps. I only had shallow sockets and once they ran out of room, we had to hand tighten the nuts with closed faced wrenches, and that took FOREVER! If I had my set of deep sockets with me, we could have cut the install time in 1/2 (or more).
So, with the hot-side attached, we moved to putting on the charge pipe. This proved to take the most finagling because you have to thread thread the charge pipe through the engine bay, attach it to the throttle body, and then put on the pipe and coupler for the connection to the intercooler. We tried to put it all in at once and that didn't work. So, we put in the charge pipe, then slid the couplers onto the last pipe, slid the pipe onto the upper part of the charge pipe, and then rotated the bottom piece around to line up with the intercooler. Once we did that, we put on the clamps and got to tightening!
With 98% of the install behind us, we moved to putting the PCV hose and MAP sensor onto the charge pipe. Well, I don't know why, but I read right over the part about using the new screws, and after a few minutes of it not working, my wife picked up the back of screws and said, "Hey, what are these? Do you need them?" I laughed and then used them to finish installing the MAP sensor. Next was the PCV hose, and we pried and pried and pushed and pushed and could not get the attachment back onto the pipe. I grabbed a file and filed down the nipple and then we tried again, and the hose went right on no problem! Then we hooked up the horn and we were done!
All-in-all, the install took 3 hours. That includes a break, searching for the right tools, moving the truck, and removing the air dam and splash guard underneath the truck. Not bad! If I had to do this install again, I would have used deep sockets on everything and put the truck on jack stands to make it easier to get under the truck and work.
Well, since we had everything on, we went back over everything to make sure it was all tight and nothing was missing. Everything looked good, so we took it out for a drive and no codes or anything like that. It worked great! We drove some areas and in a way that I used to get the shuddering and I didn't get anymore shuddering. I love the look (I've had tons of compliments on it already), finish (super high-quality welds), and performance of this intercooler (need to datalog sometime, but I'm sure it's benefiting my stock truck). I'd highly recommend this product to everyone!
I had bought a UPR dual-valve catch can, but with the limited space to mount it, and the fact that my intercooler "fixed" the issue, I'd like to return the catch can and get a tuner.
Probably the best and funniest thing that happened last night was when we were done, my wife asked, "Hey, that's a big hole in the front, what can we put there to cover that up? It looks awful." I said, "Well, since we put in this intercooler, I could really put a winch right there with the Rough Country mount." She smiled and said, "Maybe you should ask for that for Christmas." Best wife ever? CHECK!
Anyway, here are some post-install pictures:


Last edited by ryanralston07; 09-18-2015 at 10:54 AM.
 09-18-2015, 10:38 AM
#2
Senior Member
Thread Starter
Edited to include:
If I had to do this install again, I would have used deep sockets on everything and put the truck on jack stands to make it easier to get under the truck and work.
If I had to do this install again, I would have used deep sockets on everything and put the truck on jack stands to make it easier to get under the truck and work.

