When you click on links to various merchants on this site and make a purchase, this can result in this site earning a commission. Affiliate programs and affiliations include, but are not limited to, the eBay Partner Network.
TL/DR - I installed a 20" single row bar, a pair of driving lights, and a pair of reverse lights through a junction box and am pleased with the results.
I finished this a couple months ago but thought I'd share. I completed my LED driving and reverse light installation and couldn't be more pleased. It's added much needed light up front and solves the obvious problem of being able to see while backing up.
The plan was to add a 20" combo light bar and a pair of driving lights up front to improve the lighting on many of the unlit, winding, tree-lined 2-lane roads I frequent. Many of these roads have no shoulder and immediate fall off into a ditch. I wanted to use the light bar for immediately straight ahead lighting and the driving lights for seeing into the ditches ahead. The addition of reverse lights needs no explanation
All the lights and wiring harnesses came from superbrightleds. I would have loved to go Rigid or Baja, but I couldn't justify the expense. I opted for superbrightleds because they offer a lifetime warranty on all LED "work lights" which include their off-road offerings. All the lights and harnesses came with DT connectors. I did cut the harnesses where needed to add or remove wire.
The first "stage" of this install was installing a 20" single row bar in the bumper gap. I was able to utilize the existing holes in the metal plates behind the bumper to attach aluminum brackets that hold the light. This has been done by countless others, so I won't go into more detail. The wiring harness was attached to the battery and frame ground, and the wiring harness switch was run into the cab but never properly mounted.
To be honest, the difference was so much improved I was doubtful that my plan for the driving lights would improve much. Fortunately, I was wrong.
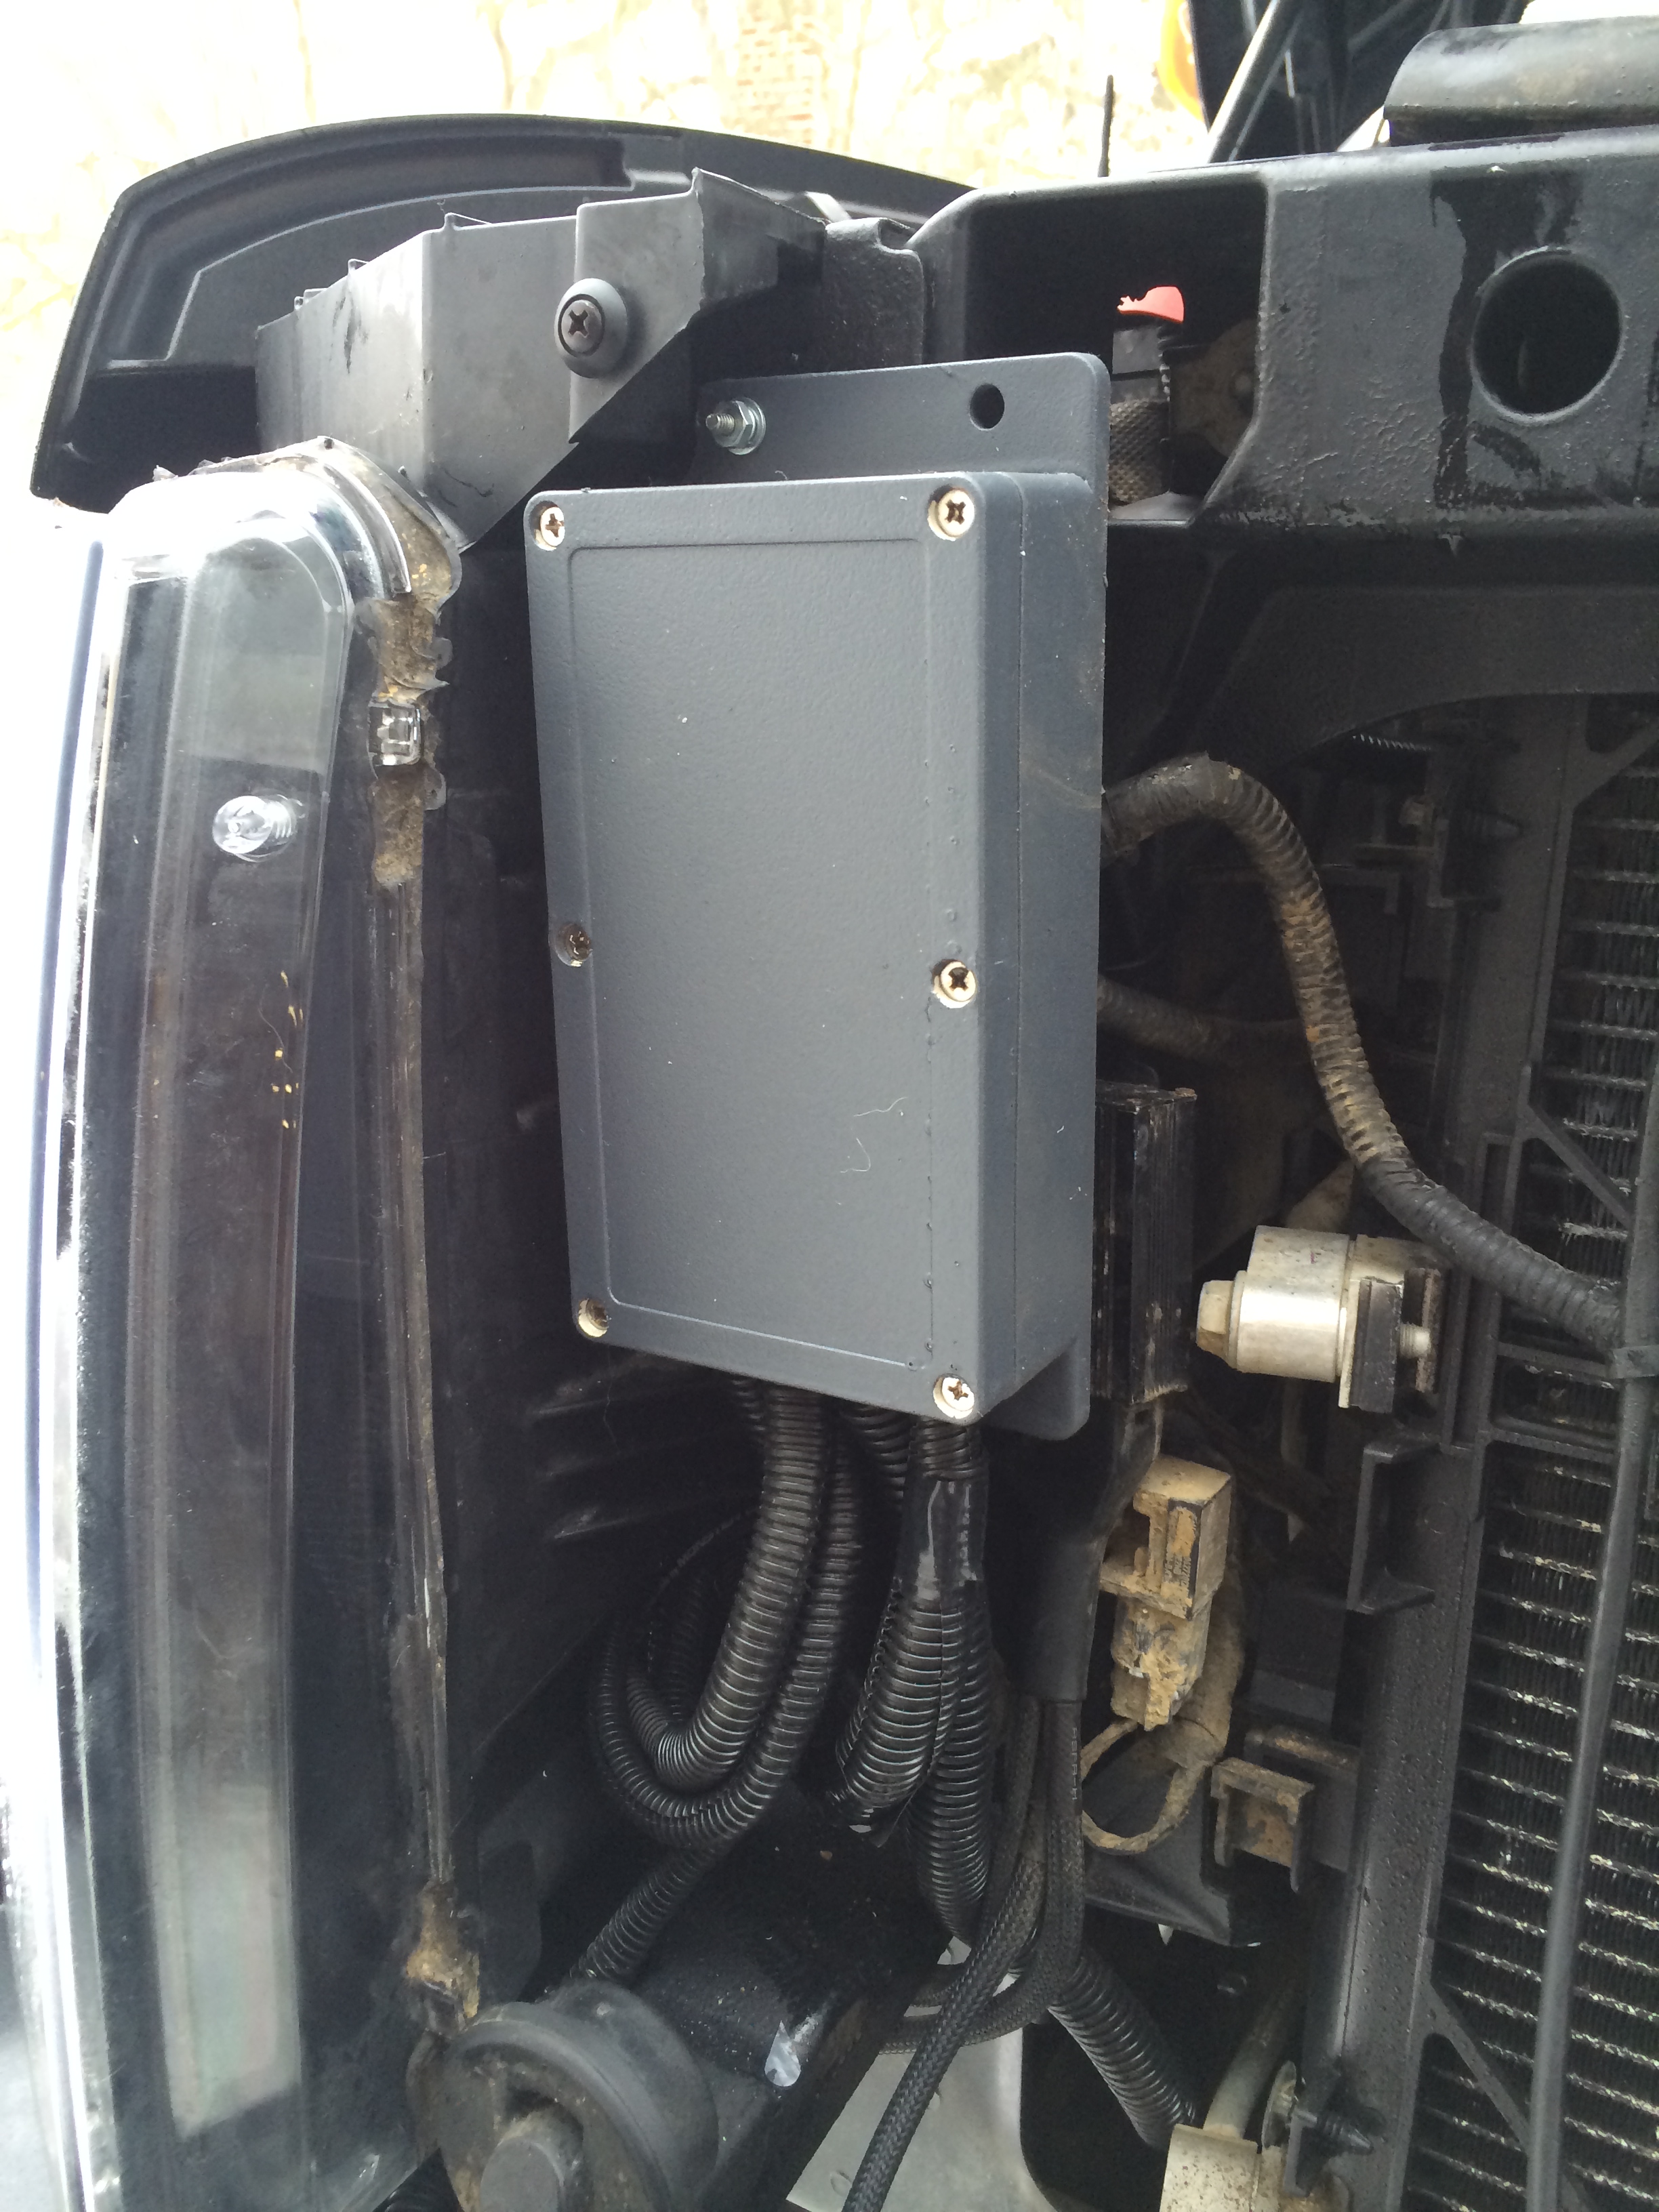
The second stage was to install the driving lights, reverse lights, switch panel, and a junction box for the wiring harnesses. I started with the junction box, following the idea from a Raptor forum to install it behind weather guard by the passenger headlight, like the one below. I ended up stuffing the relays in the gap between the battery and the front panel, but I may find a better location for them later. So far they've held up fine.
I then installed the driving lights behind the grill. I bought 3" corner braces from Home Depot, hit them with some black Plastidip, and mounted them to the existing holes in the grill supports.
For the reverse lights, the most time consuming part was running the wires from the front of the cab. I followed the the factory harness down the drivers side to the rear. Like many other installs, I attached the lights using the existing bumper fasteners. I thought about mounting them to the shackles, but I figured I could do that later if I didn't like the look. I think they look good as is.
The switches were mounted to the right of the dimmer switch. They are Carling switches installed in a 3 switch mounting plate. I may opt for the custom OTRATTW switches later, but these were less than half the cost and available through Amazon.
I still need to get night shots, but the improvement is exactly what I was looking for. With the light bar and driving lights on, I wash out my high beams. I would still love to get factory HIDs because they look awesome, but for less than half the typical cost, I was able to solve my lighting problem.
Which LED cubes did you get? Any pictures from behind the grill of how you mounted them? I'm a big fan of Superbrightleds - recently bought and installed their curved 20" light bar and could not be more pleased.
Somewhat similarly for auxiliary rear lighting, I added twin 18W lamps under the bumper valance strictly for utility purposes rather than backing. As such, no need to tie into my reverse lamp wiring since I'll only toggle them on when needed. Lamps such as these, IMO, are much too bright for courteous (whether lawful or not) use when driving the truck.

 07-07-2015, 09:36 AM