When you click on links to various merchants on this site and make a purchase, this can result in this site earning a commission. Affiliate programs and affiliations include, but are not limited to, the eBay Partner Network.
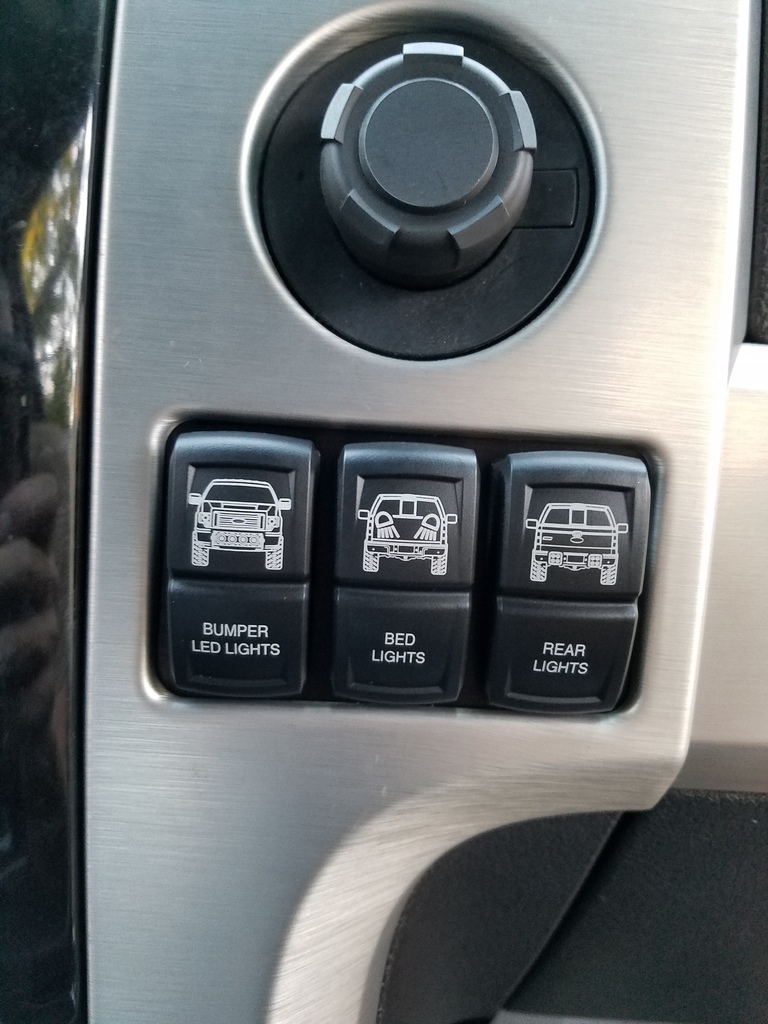
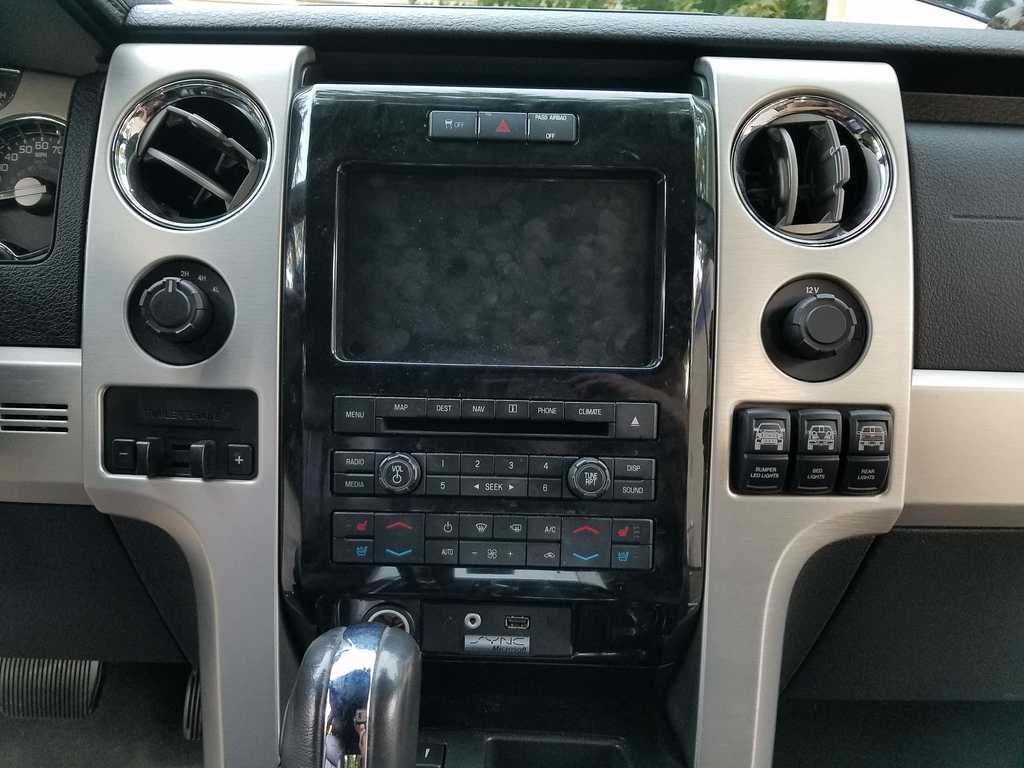
My best under $50 mod so far is this 3 hole switch plate https://www.f150forum.com/f37/sale-c...panels-349903/ from KustomFX here on the board. It is a nicely made anodized aluminum plate that eliminates the useless cubby by the glovebox and give you an excellent switch location that looks like it is supposed to be there.
The plate is the cheap part though, as I spent plenty on the rest of the wiring and switches to go with it.
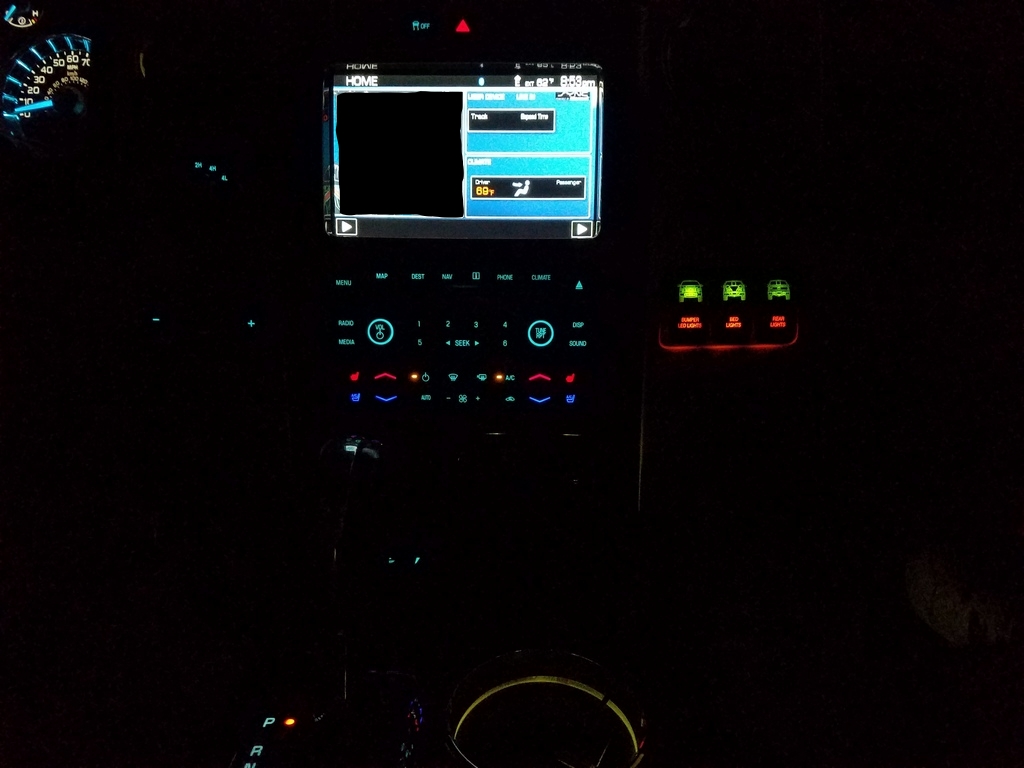
marker lights on:
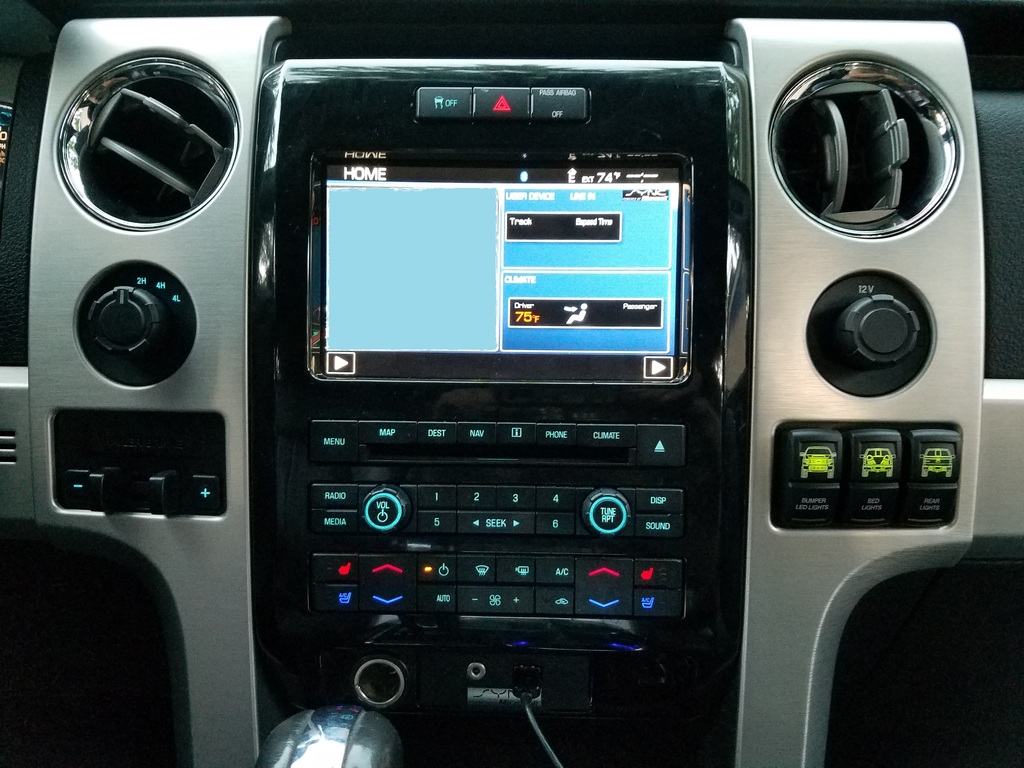
Switches turned on:
Last edited by brunosplace; 09-19-2016 at 10:56 PM.
Wanted to mount 2 of them above the hood for some extra offroad lighting when need be. Read a lot of reviews on these chinese cree led pods and they seemed to be mostly positive. Almost all LED pods you'll find are using some form of cree lighting, so the output on a 18 dollar generic pod is going to be able the same as a 100 dollar rigid pod or whatever. Most companies are ordering the same pods from the same chinese factories and just having them branded for profits, seems to me.
Anyway, I digress. Started out making some custom mounts that I bolted down to the hood latch. Used a simple steel bracket and a vice grip to bend into shape. Best bet is getting a very thick, strong bracket for these so its not bouncing all over
Mounted 2 of the LED pods to these brackets using the supplied bolts, they're on there good.
Ran wiring to the 20 amp fuse for the horn, used a simple toggle switch to turn on off. This way I can use it with the truck off.
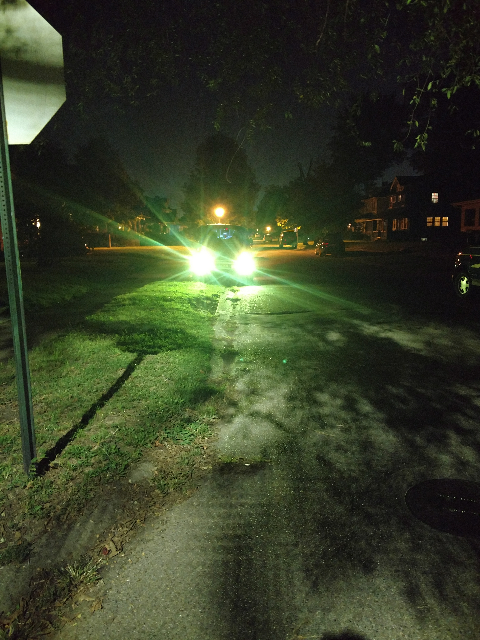
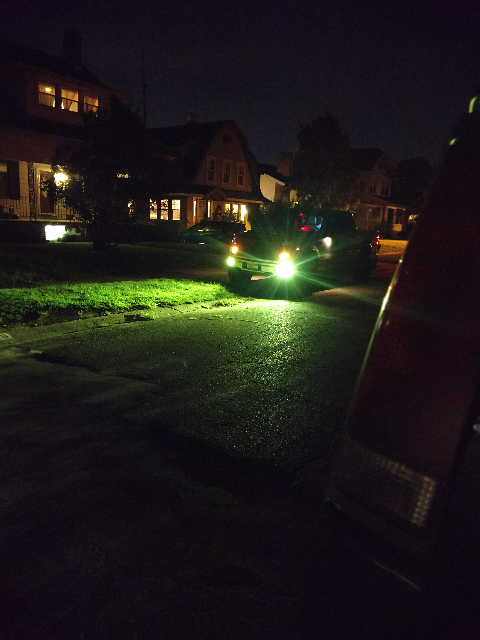
Output is great, lights up increadibly well. I was hesitent about the 18 watts figure, since i saw a few 24 watt+ pods, but any brighter than these and it's gotta be crazy illegal. hell, these things have to be illegal already.
Pretty good, satisfied with my project so far...but wanted more bright white light and had 2 more pods to do something with. Decided to put the other 2 in the fog light housing. Always liked the look and the stock fogs are borderline useless. Started by pulling the fog light housings out using the 3 bolts into the bumper. Removed the allignment screw in the back and pulled the 2 tabs on the side of the bowl outward using a flathead to remove the fog housings.
decided to mount with the bracket at a 90 degree angle facing up, which kind of allows the pod to dig into the bowl to keep the light stable. Just drilled a hole in the top of the bowl and used the supplied bolts and torqued them down, a few pics:
Threw them back on and alligned. Spliced into existing wiring from stock fogs, yellow line for positive, grey for negative as per usual.
Tested the output...amazing. You can't even tell the headlights are on while both of these sets are lit up, incredible output.
You should grab some high temp RTV and silicone up where the glass and the housing meet on those. There's also an ingress point on the back where the cables enter the housing, you should seal that as well.
You should grab some high temp RTV and silicone up where the glass and the housing meet on those. There's also an ingress point on the back where the cables enter the housing, you should seal that as well.
Good to know, thanks! I was wondering how air tight these were.
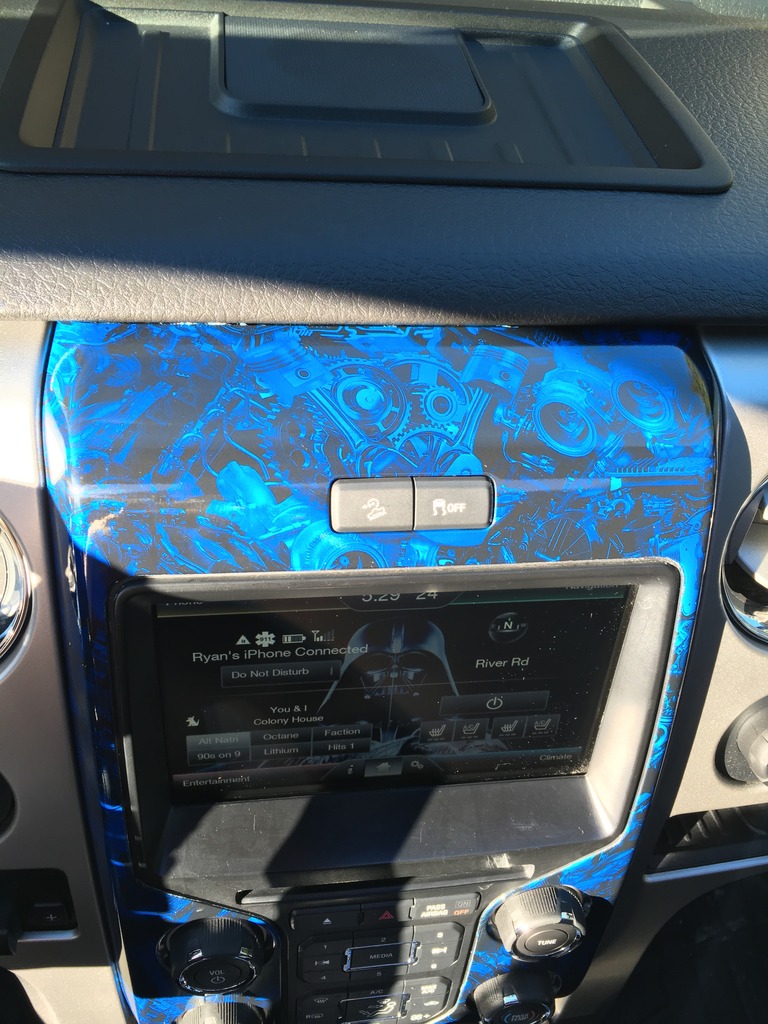
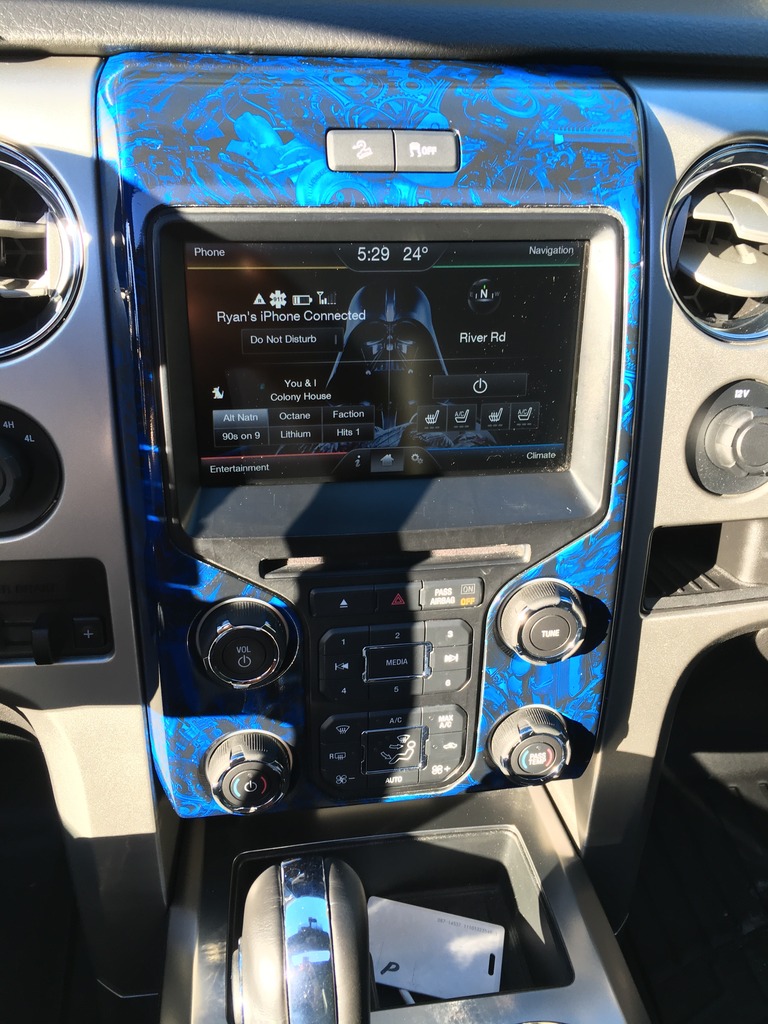
My favorite one so far. Film was $21 and I had activator and paint. You could still do it all in for less than $50 if you have a container big enough to Dip in.
Wanted to mount 2 of them above the hood for some extra offroad lighting when need be. Read a lot of reviews on these chinese cree led pods and they seemed to be mostly positive. Almost all LED pods you'll find are using some form of cree lighting, so the output on a 18 dollar generic pod is going to be able the same as a 100 dollar rigid pod or whatever. Most companies are ordering the same pods from the same chinese factories and just having them branded for profits, seems to me.
Anyway, I digress. Started out making some custom mounts that I bolted down to the hood latch. Used a simple steel bracket and a vice grip to bend into shape. Best bet is getting a very thick, strong bracket for these so its not bouncing all over
Mounted 2 of the LED pods to these brackets using the supplied bolts, they're on there good.
Ran wiring to the 20 amp fuse for the horn, used a simple toggle switch to turn on off. This way I can use it with the truck off.
Output is great, lights up increadibly well. I was hesitent about the 18 watts figure, since i saw a few 24 watt+ pods, but any brighter than these and it's gotta be crazy illegal. hell, these things have to be illegal already.
Pretty good, satisfied with my project so far...but wanted more bright white light and had 2 more pods to do something with. Decided to put the other 2 in the fog light housing. Always liked the look and the stock fogs are borderline useless. Started by pulling the fog light housings out using the 3 bolts into the bumper. Removed the allignment screw in the back and pulled the 2 tabs on the side of the bowl outward using a flathead to remove the fog housings.
decided to mount with the bracket at a 90 degree angle facing up, which kind of allows the pod to dig into the bowl to keep the light stable. Just drilled a hole in the top of the bowl and used the supplied bolts and torqued them down, a few pics:
Threw them back on and alligned. Spliced into existing wiring from stock fogs, yellow line for positive, grey for negative as per usual.
Tested the output...amazing. You can't even tell the headlights are on while both of these sets are lit up, incredible output.
Obligatory day shot:
Looks pretty bright to me. I was gonna do pods in my fog light holes but I picked up a set of yellow leds off ebay imma try out if I don't like em I'm def gonna order some pods
Originally Posted by Blown F-150
My favorite one so far. Film was $21 and I had activator and paint. You could still do it all in for less than $50 if you have a container big enough to Dip in.
That is badass man. I wanna do my interior pieces so bad or just wrap em

 09-19-2016, 10:52 PM