When you click on links to various merchants on this site and make a purchase, this can result in this site earning a commission. Affiliate programs and affiliations include, but are not limited to, the eBay Partner Network.
Go to amazon and search for "jdm astar 800". The 921 bulb in xenon white is the one you want.
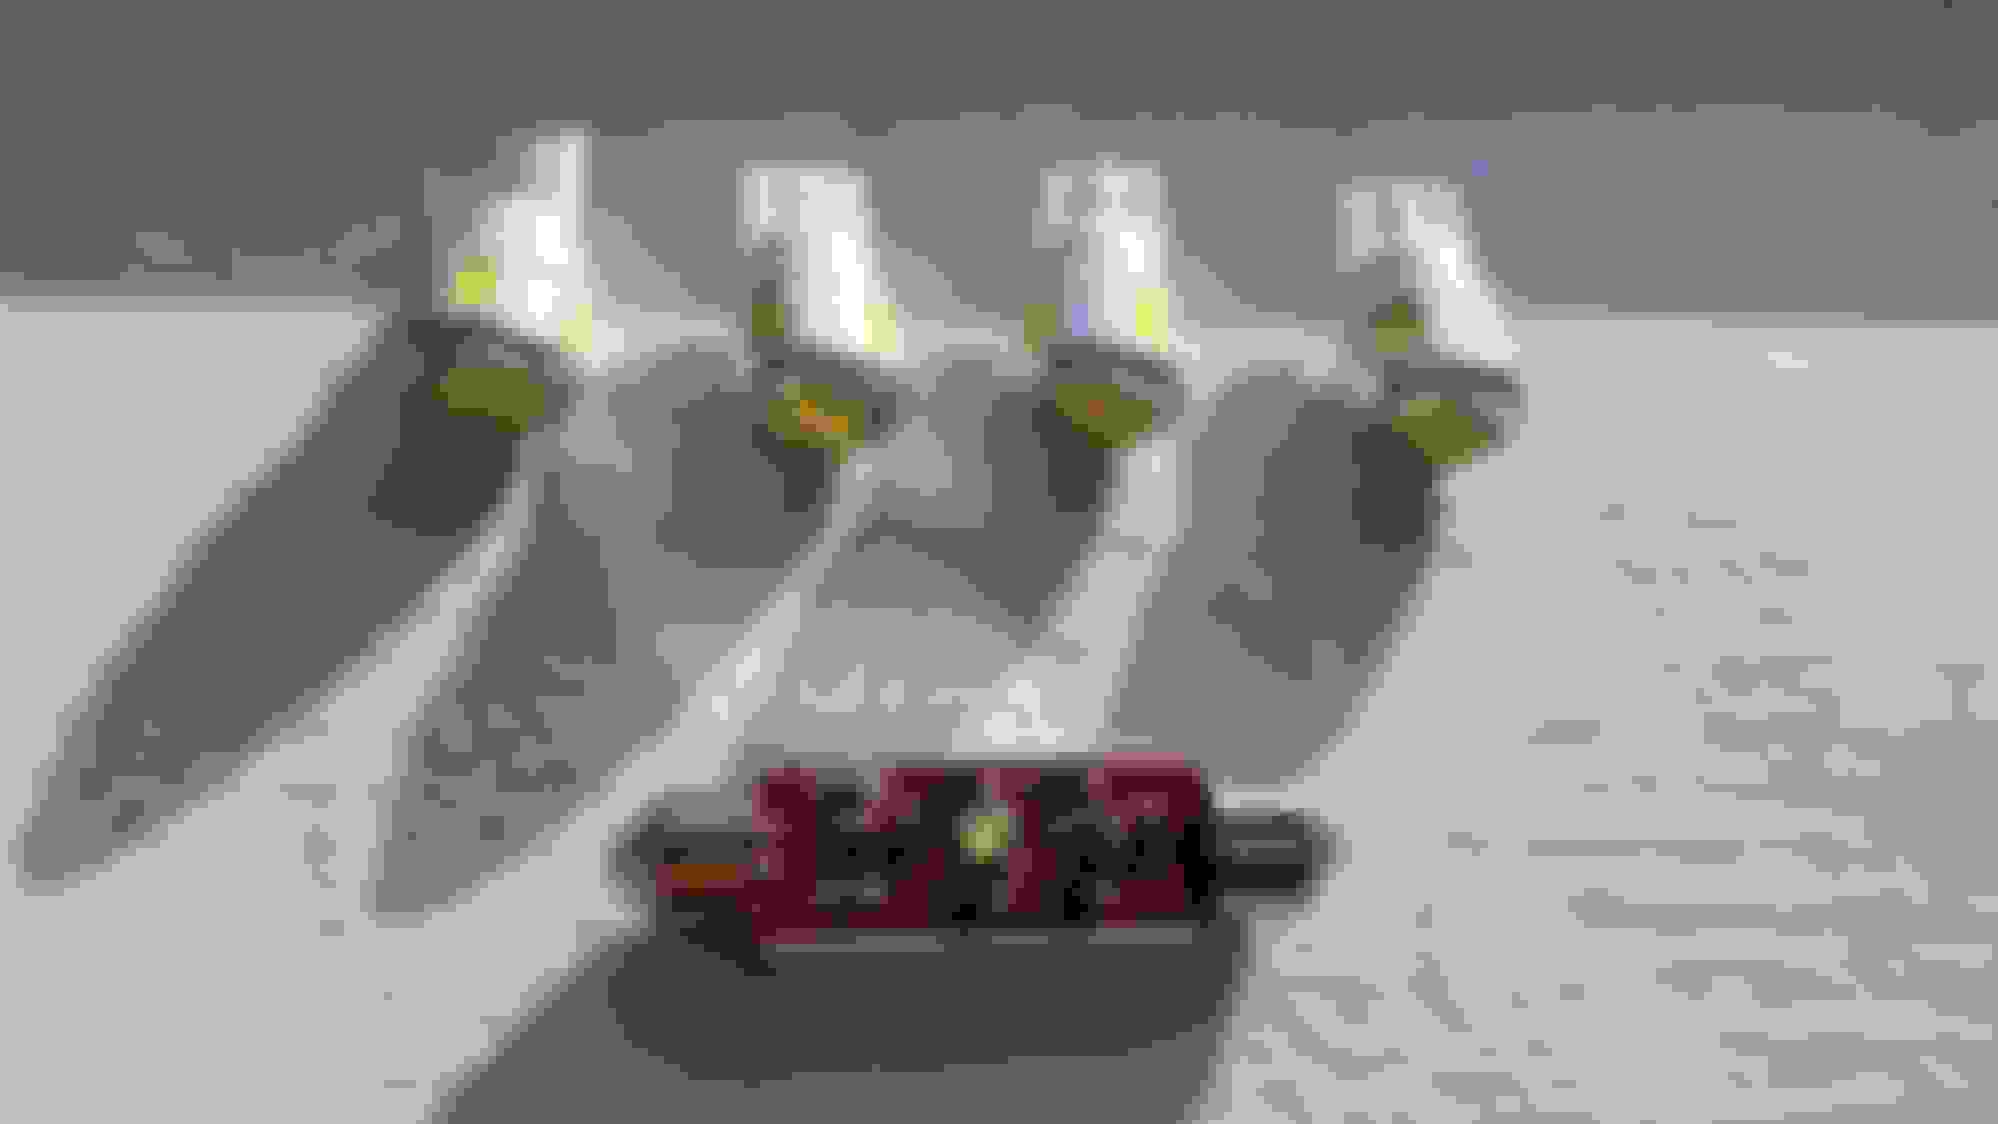
I replaced the reverse light bulbs with those, they're awesome. I couldn't see anything with the stock halogen ones, then another member mentioned those on this thread I think and I got em when I was doing other LED replacements. Bright as daylight, helps me dodge all the plows, vehicles, and other fun stuff in the driveway when it's pitch black and I'm backing in haha.
Since I'm happy with the Park/Turn/Stop lights I got from http://www.superbrightleds.com I dropped another $30 and bought two map lights, the dome light, and the license plate lights. Installed the interior bulbs on friday night but it's been too cold to crawl under the truck and do the license plate bulbs.
Also picked up a Uniden CB on friday, but that's for the $100+ Mod Thread.
You do not need to crawl under to do the license plate lights. they pop out using the small notch on the light housing from the outside. barely any bending required let alone having to crawl on the ground!! Love the LED upgrades!!!
You do not need to crawl under to do the license plate lights. they pop out using the small notch on the light housing from the outside. barely any bending required let alone having to crawl on the ground!! Love the LED upgrades!!!
It's quite easy to separate the black housing from the internal lens and eff it up, much better to go behind bumper and push the tabs in.
Don't ask me how I know. Nothing silicone couldn't fix.
It's quite easy to separate the black housing from the internal lens and eff it up, much better to go behind bumper and push the tabs in.
Don't ask me how I know. Nothing silicone couldn't fix.
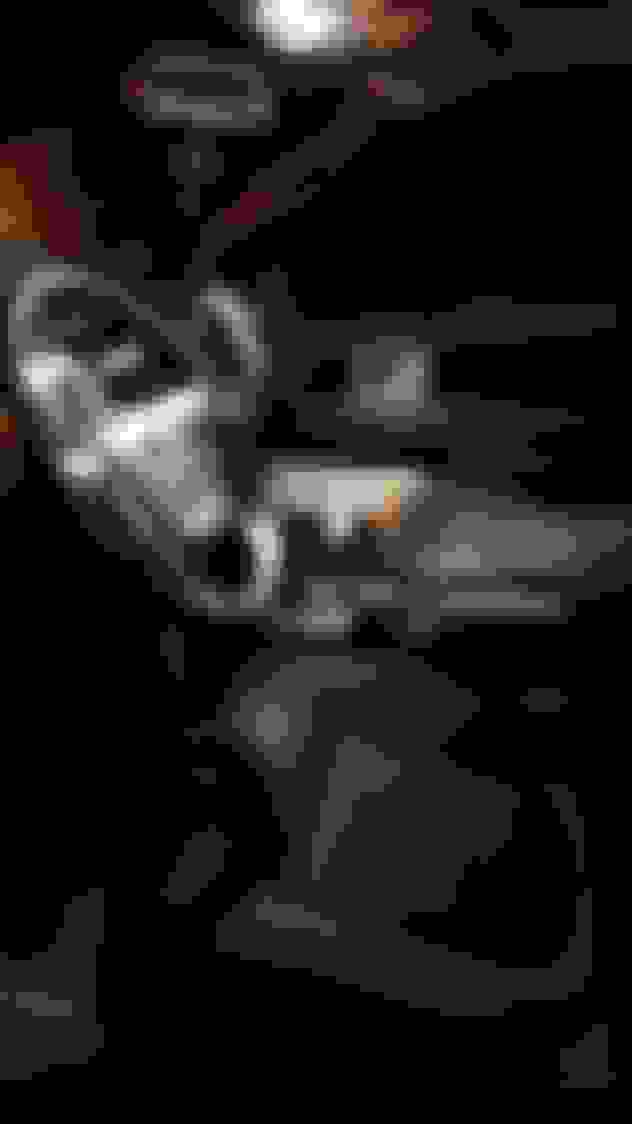
I know this is unorthodox, but.. wait for it.. I consulted my owners manual; and the license plate lights have the same counter-clockwise-quarter-turn-removal as all the other lights. So that's what I just did. I'll edit this tomorrow and add a picture of them lit in the dark. Headed in to work day #6 at 04:30. FML.
Last edited by The Beer Baron; 04-25-2015 at 05:46 PM.
I knelt on one knee (I'm tall,save my back) reached hand in,turned, and like magic the light came out!!
id be shocked if you broke it trying to do this... Either it was defective or I'm guessing your mother used to refer to you as a "bull in a china shop" as a child LOL!
I know this is unorthodox, but.. wait for it.. I consulted my owners manual; and the license plate lights have the same counter-clockwise-quarter-turn-removal as all the other lights. So that's what I just did. I'll edit this tomorrow and add a picture of them lit in the dark. Headed in to work day #6 at 04:30. FML.
Originally Posted by winchested
It's quite easy to separate the black housing from the internal lens and eff it up, much better to go behind bumper and push the tabs in.
Don't ask me how I know. Nothing silicone couldn't fix.
Lol well im glad you got it fixed. Like many things, there is usually more then one way to "skin a cat". I am aware that they can be accessed from behind which would require not much more then taking a knee but I was trying to assist the one poster that did not want to get on the ground to change out lol. I actually just popped mine out using small flat head in the notch designed to remove the housing. worked like a charm although I could easily see how they could be broken. those plastic tabs on some of the pieces are quite brittle and fragile but none the less, Love this site and appreciate all the knowledge you guys share!!!
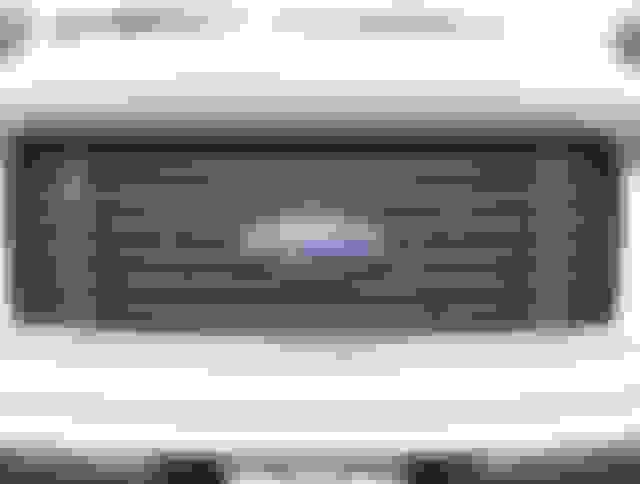
Bug Season is just getting underway here and thought I'd make a bug screen to keep my rad from getting plastered from bugs and keep it running cool.
Nylon screening - 24" x 62" @ $0.25/ft = $1.25
small bag of brass grommets = $1.00
4 8" zip ties - plenty around the shop
I doubled up the screen lengthwise, sewed it up to fit, added the grommets on each corner and installed it behind the grill with the zip ties.
I did that on my last truck, such a good mod I need to get on that as well, like you said bug seasons coming and we get it worse up North than you guys; I see you're from ontario as well
Last edited by Black_Thunder; 04-25-2015 at 02:26 PM.

 04-23-2015, 10:48 PM


 Love the LED upgrades!!!