
2013 OEM HID projector output pics


 03-05-2013, 07:45 AM
#22
Senior Member


Nice photos, thanks.
The following users liked this post:
HAK (03-05-2013)
03-10-2013, 10:17 PM
#23
Senior Member
Thread Starter
I forgot to post these pics the night I installed them.
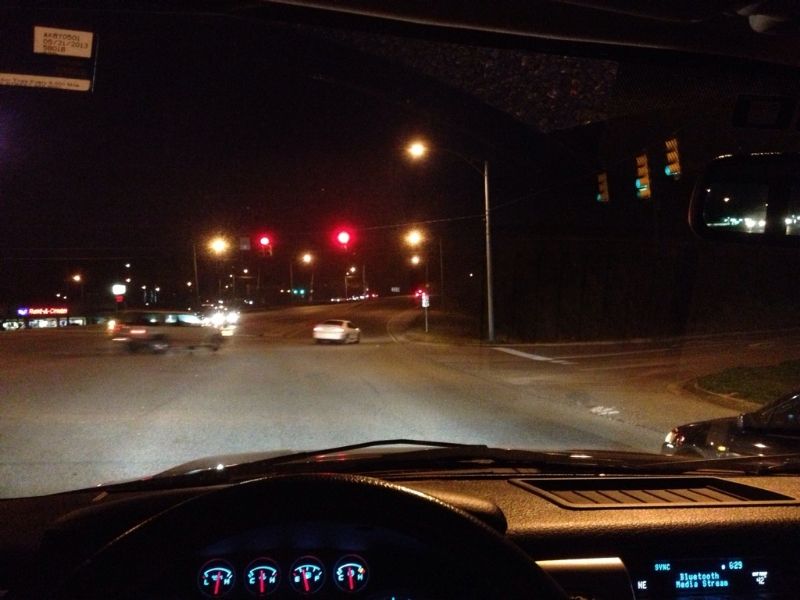
And to disappoint here are some crappy iPhone pics taken while driving...safely of course . So dot expect much for correct exposure, WB, etc. You get the idea.
Intersection showdown lol. Acura TL (first gen of projectors) in the right lane next to me....granted his bulbs are probably the original bulbs and severely aged and colorshifted so not really a fair comparison but figured I'd take a sneak pic lol
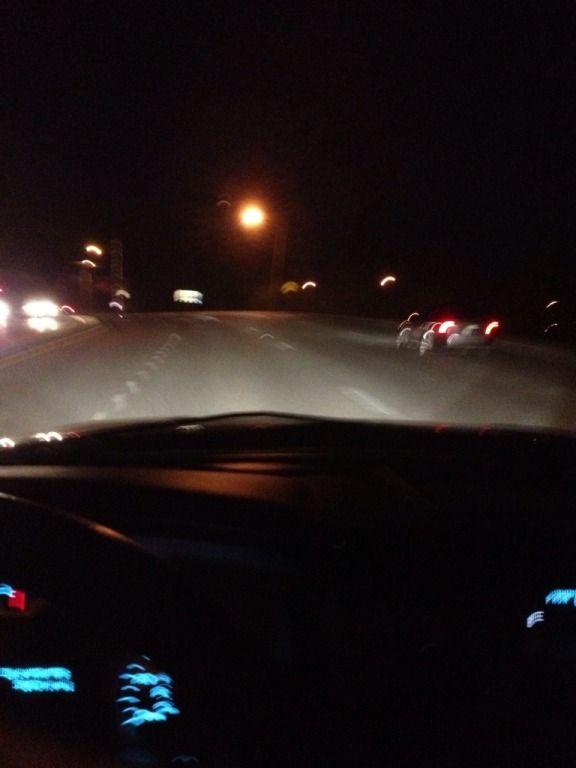
Low beam
High beam
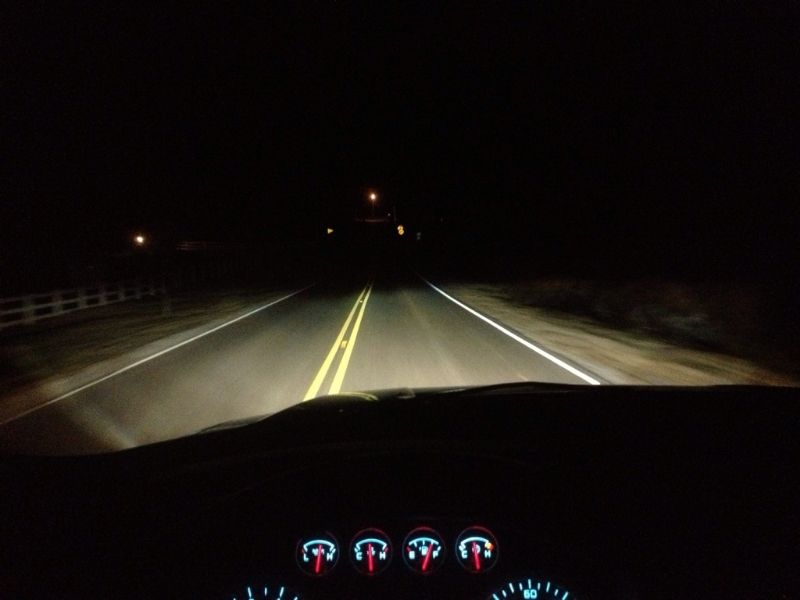
Low beam

High beam
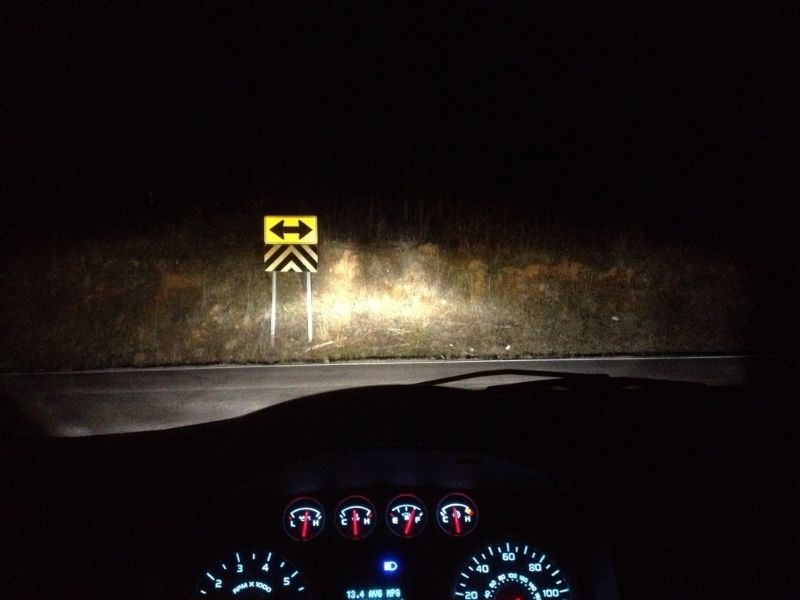
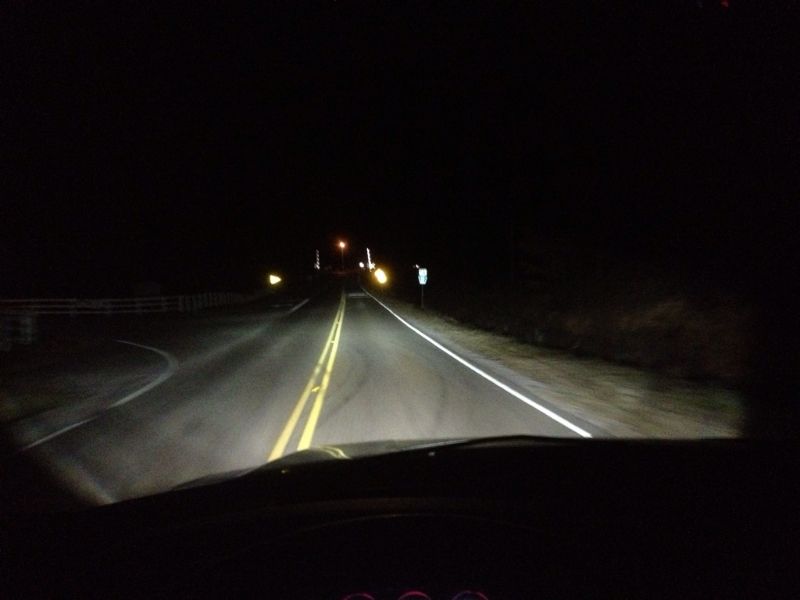
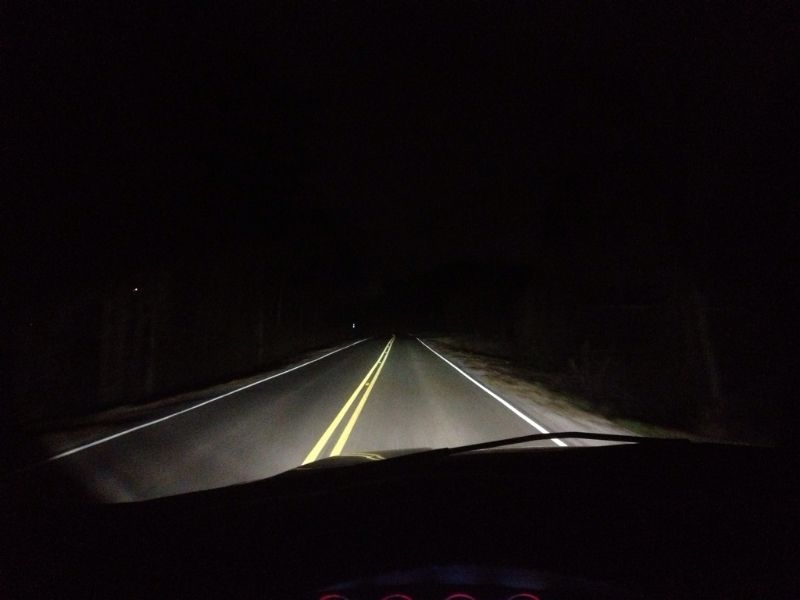
Good reach (low beam)
And to disappoint here are some crappy iPhone pics taken while driving...safely of course
. So dot expect much for correct exposure, WB, etc. You get the idea.Intersection showdown lol. Acura TL (first gen of projectors) in the right lane next to me....granted his bulbs are probably the original bulbs and severely aged and colorshifted so not really a fair comparison but figured I'd take a sneak pic lol
Low beam
High beam
Low beam
High beam
Good reach (low beam)
03-10-2013, 10:31 PM
#24
Love My Eco
About to ask a stupid question. but are the lights and the adapter kit worth the money? also wouldn't you have to change your fogs to yellow or something to work ? those look way bright i have the slvayna ZXE and a 9145fog light in mine and they match pretty well. i've just seen about a grand for the lights with the plug and play set is all.
03-10-2013, 10:48 PM
#25
Senior Member
Thread Starter
To me, yes these were worth it. Yes there are better projectors out there in terms of performance with a full retrofit but I love the looks of the new headlights and the stock projectors are more than enough for "the average Joe" out there. If you're a lighting enthusiasts or want a truly custom light then you would be better off making or buying your own retro. I've made retros for my past cars that were far more expensive than these oem headlights cost me, so to me the price wasn't that big of a deal.
The only issue or i should say annoyance to a degree with the OEM projectors is the shield design causes some vibration over bumps that is noticeable in the foreground and side areas of the beam pattern. Is not a big deal to me and something I easily look past when taking into account how these lights look and perform compared to stock halogen. A plus to the new headlights is that an EvoX projector will bolt right in place of the stock projector. So if you like the look of these but want high performance lighting it is definitely possible, plus the EvoX by its design won't have the vibration issues, so there is always that route. I intend at some point down the road to upgrade to them but for now I'm very happy with them with zero buyers remorse.
Either will require a relay harness. I made mine using the FoMoCo connectors and a TRS harness that I changed connectors for the FoMoCo ones. It was a simple harness to make. You could make your own even without the TRS motocontrol harness if you used a diode along with relays for safe ballast power supply. Saved a little $$ doing it myself.
Not sure what you mean by the fog lights. I don't want mine yellow even though I know its a better color to use for foul weather. I will probably go with a matchbox projector and 4300k HID or may retro in an LED module. I haven't used a coated halogen bulb in years so maybe they have come a long way. I will look into your ZXE's.
Last edited by HAK; 03-10-2013 at 10:55 PM.
03-12-2013, 12:18 AM
#28
Senior Member
Originally Posted by HAK;2509522
Good reach (low beam)
[IMG
Good reach (low beam)
[IMG
http://img.photobucket.com/albums/v128/haknslash2003/59C43229-9090-4FF4-B824-7ECE151D099D-9346-00000795E81B00CE_zpsc694ad86.jpg[/IMG]
Looks good. I have a "hole" in the center on with my low beams. Looking at yours, I'm guessing that its an aiming issue but I can't seem to get rid of it. I've focused my aiming on not blinding oncoming drivers but have never measured it out.
Ideas?
03-12-2013, 12:43 AM
#29
Senior Member
Thread Starter
Post a pic of your ouput so I can get a better idea. Have you checked to make sure your bulb is seated correctly?
Aiming Guidelines:
Find level ground with a wall to aim against.
Park 25ft away from wall.
Measure the height from the ground to the center of your headlight.
Now measure the same height on the wall and mark it 2" below that mark.
Aim headlights so the top of the right side of the "step" in the cutoff meets that 2" mark.
Red represents right side of the "step" in the cutoff. This is what you measure at 2" mark.
________/------------________/------------
Last edited by HAK; 03-12-2013 at 12:51 AM.
03-12-2013, 10:40 AM
#30
Senior Member
Post a pic of your ouput so I can get a better idea. Have you checked to make sure your bulb is seated correctly?
Aiming Guidelines:
Find level ground with a wall to aim against.
Park 25ft away from wall.
Measure the height from the ground to the center of your headlight.
Now measure the same height on the wall and mark it 2" below that mark.
Aim headlights so the top of the right side of the "step" in the cutoff meets that 2" mark.
Red represents right side of the "step" in the cutoff. This is what you measure at 2" mark.
________/------------________/------------
Aiming Guidelines:
Find level ground with a wall to aim against.
Park 25ft away from wall.
Measure the height from the ground to the center of your headlight.
Now measure the same height on the wall and mark it 2" below that mark.
Aim headlights so the top of the right side of the "step" in the cutoff meets that 2" mark.
Red represents right side of the "step" in the cutoff. This is what you measure at 2" mark.
________/------------________/------------
-Jeff