When you click on links to various merchants on this site and make a purchase, this can result in this site earning a commission. Affiliate programs and affiliations include, but are not limited to, the eBay Partner Network.
I have a build forum, but I want this thread to serve mainly as a guide for the DIY guy on the fence about a retrofit; It's not that bad guys, I promise. Just patience.
So here is what I ordered/bought:
D2S O lens/LHD
Apollo 1.0 Shroud
110mm XSB Halo (To be wired for orange only)
35W Ballasts with 5500k XB bulb
H13//9008 MotoControl Bi-Xenon Harness
Black Retrorubber to reseal
JB Quik Weld/Steel Stik
100mm Housing Cap
Picked up a set of stocker headlights to work on for $100 on Craigslist (Turned out to be a guy i used to wheel my Jeep with haha)
*Side note* I WILL BE CREATING A SECOND SET TO SELL! LET ME KNOW IF YOU ARE INTERESTED AND I WILL BUILD THEM TO YOUR SPECS. DO NOT REPLY TO THIS THREAD ASKING QUESTIONS ABOUT THEM, PM ME ONLY AS THIS IS A WRITE UP AND NOT A SALE THREAD. Thanks
Anyways, away we go.
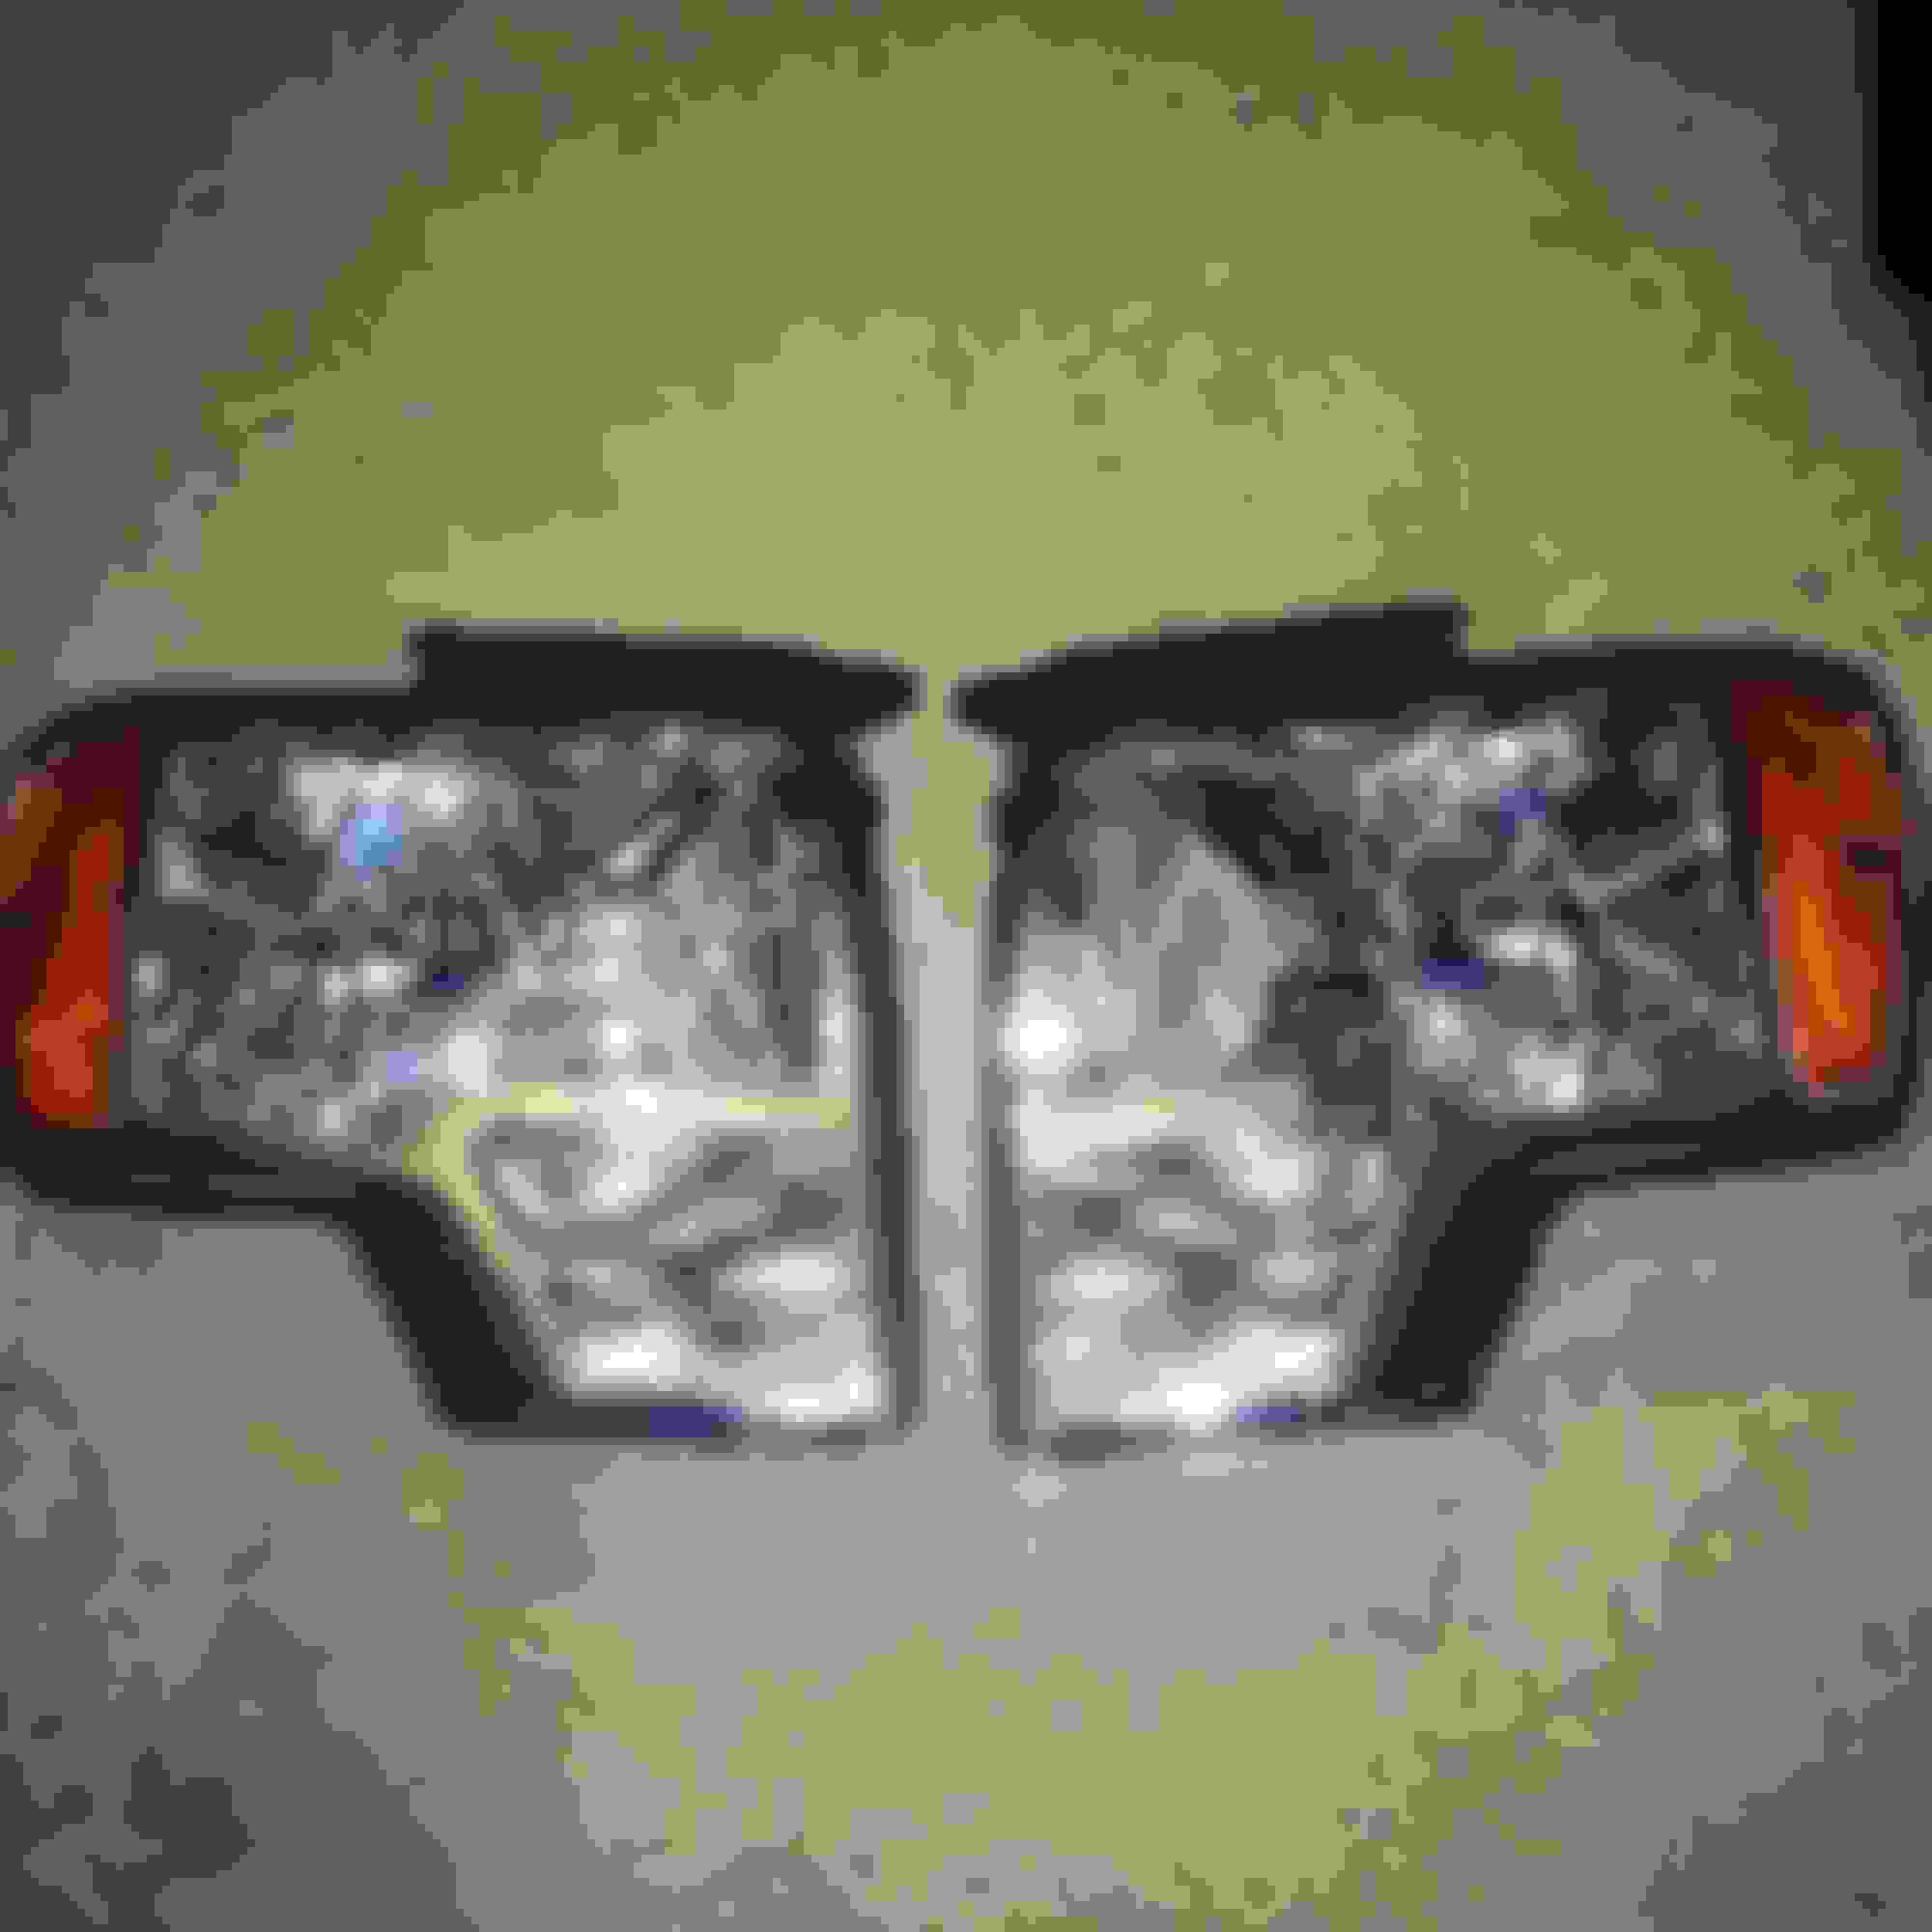
Here are the stockers that picked up for 100 bucks
Next I cleaned them up really well and got all the bugs and crap off. Set the over to 250 degrees on BAKE.
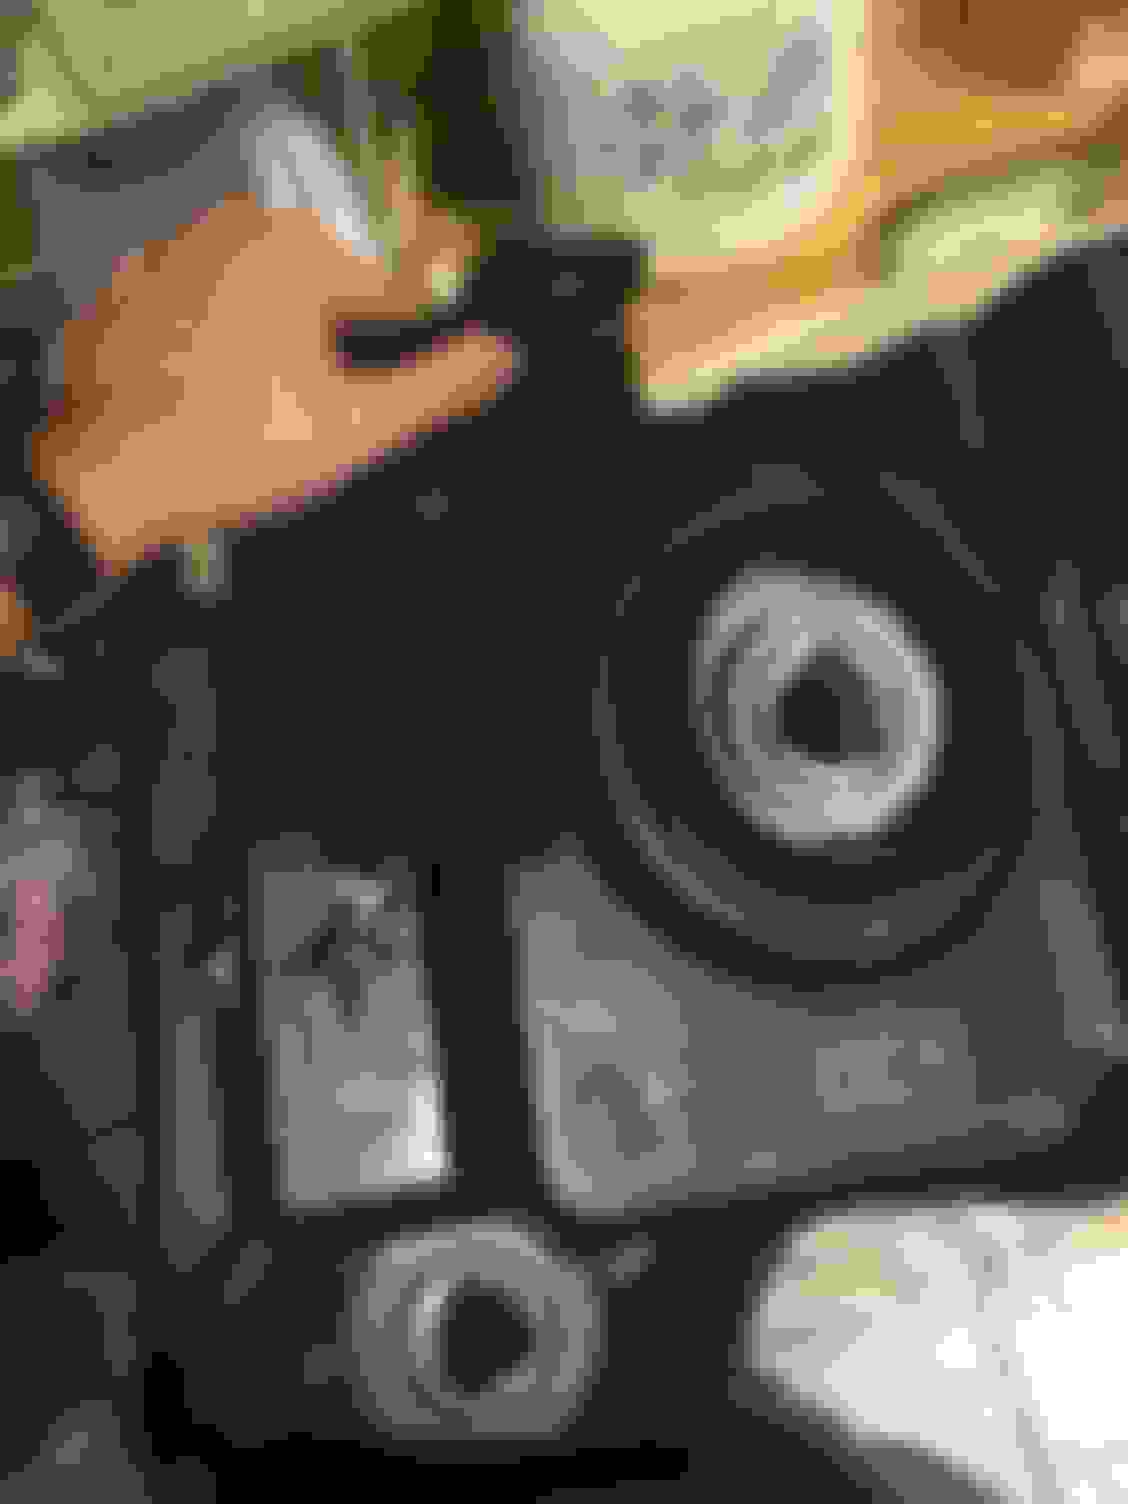
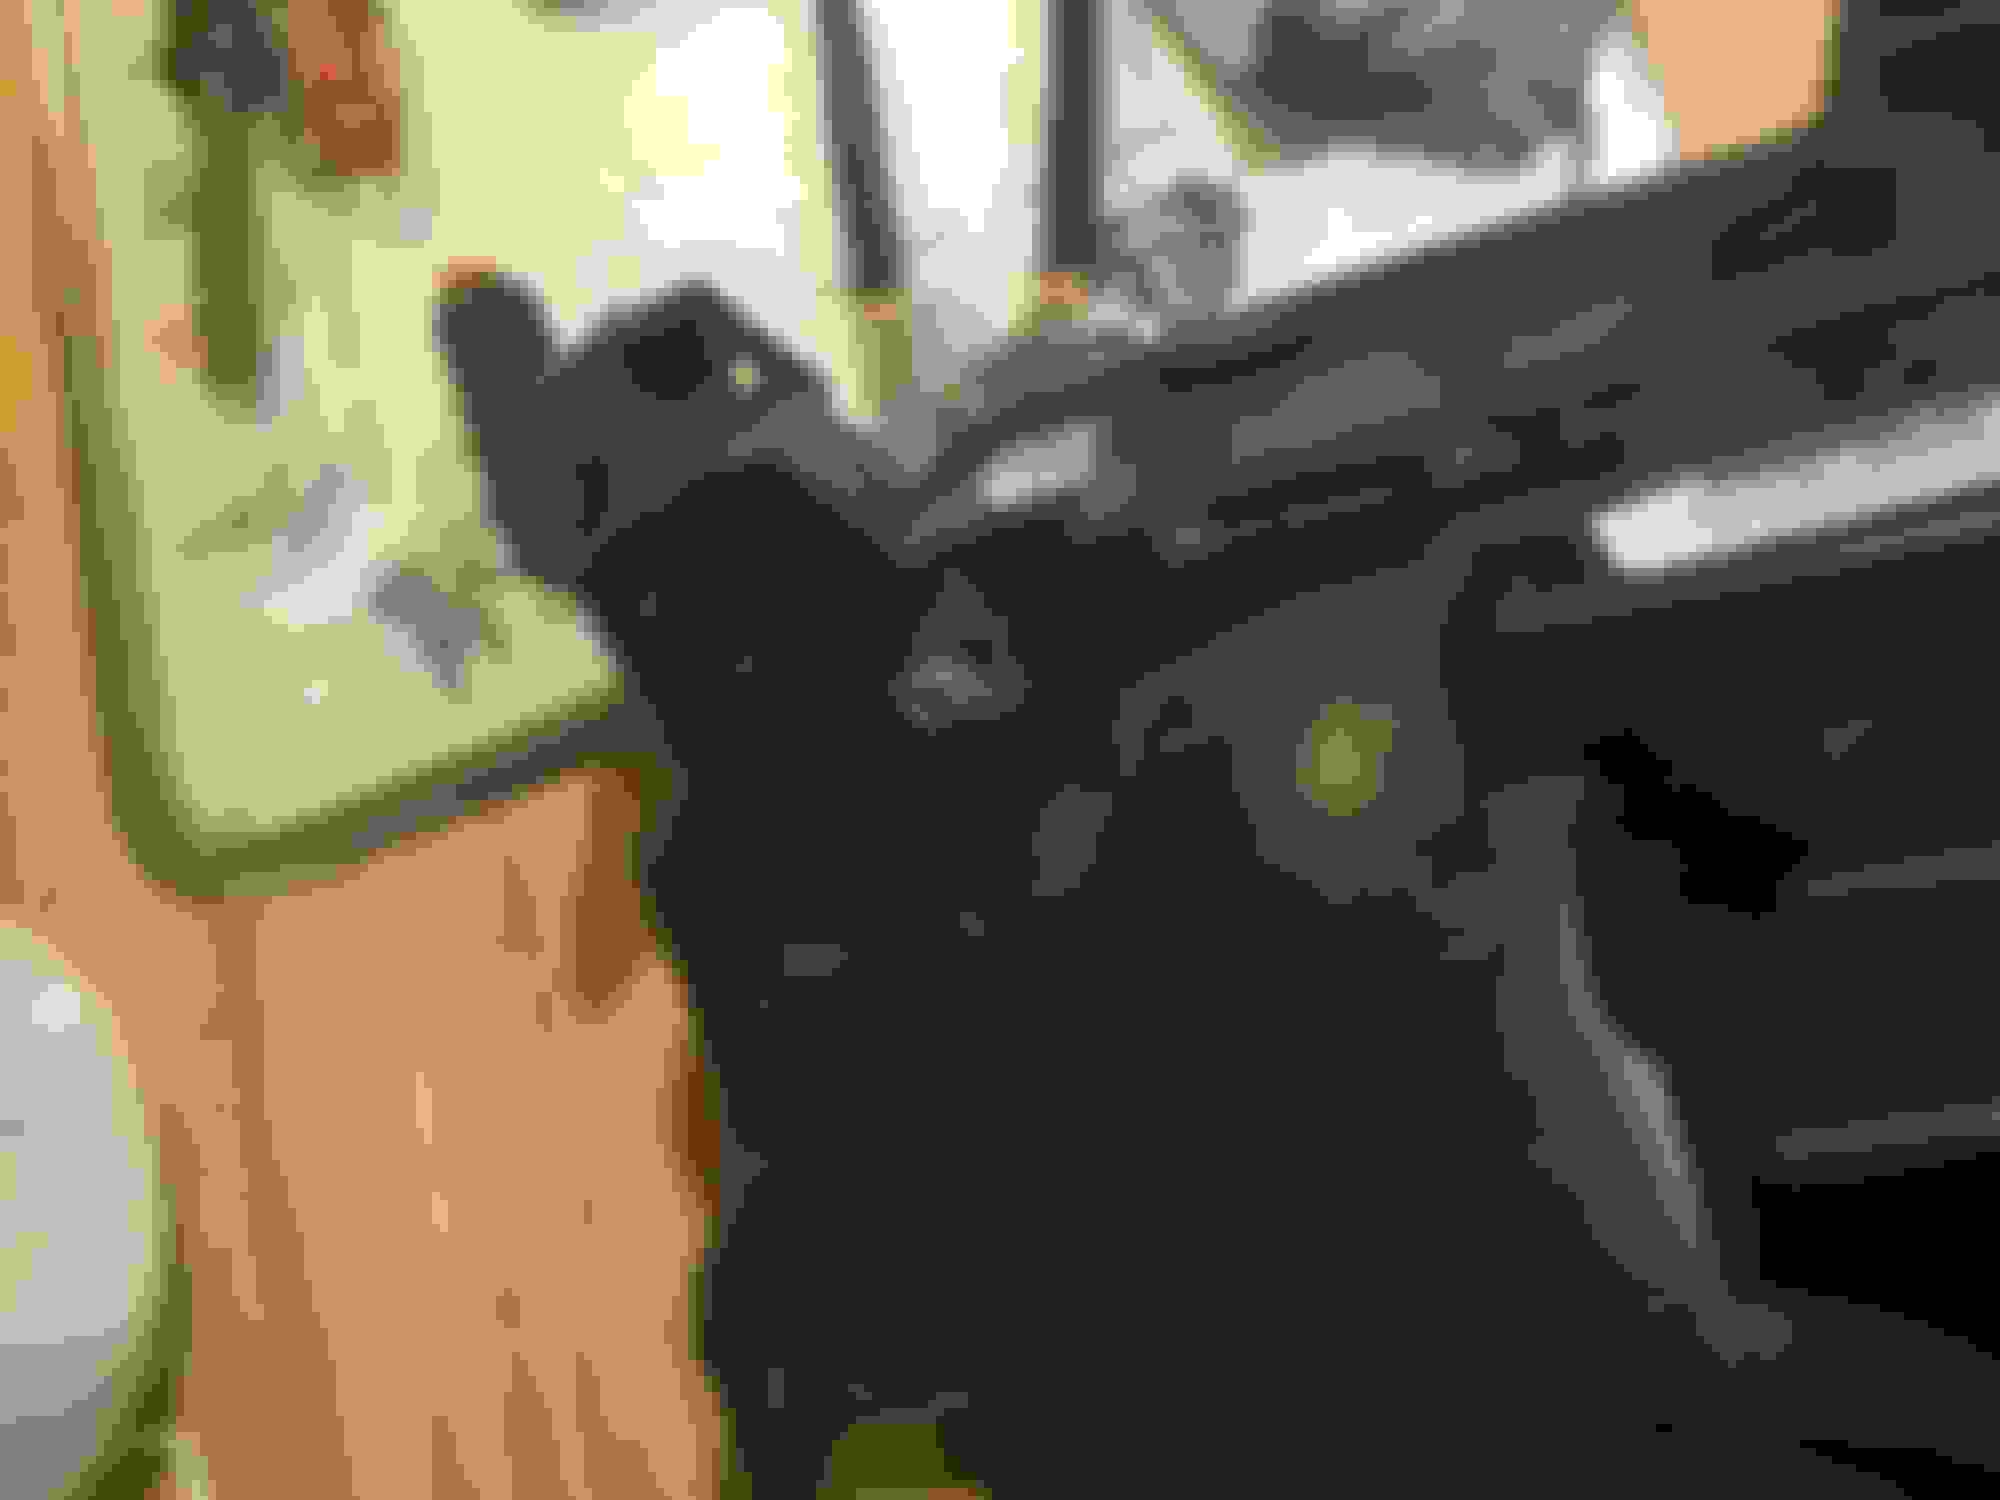
Before baking, go ahead and drill a big hole here to remove this torx screw. There is also a 7mm in the lower corner by the reflector, its recessed in there so a long socket or extension is needed. After removing all bulbs, grommets and screws, stick her in the oven for 30 minutes, on 250 degrees. I just set it right on the rack and had no issues at all. Do not set it on the lens, set it on the housing.
Here is the location of the hidden screw
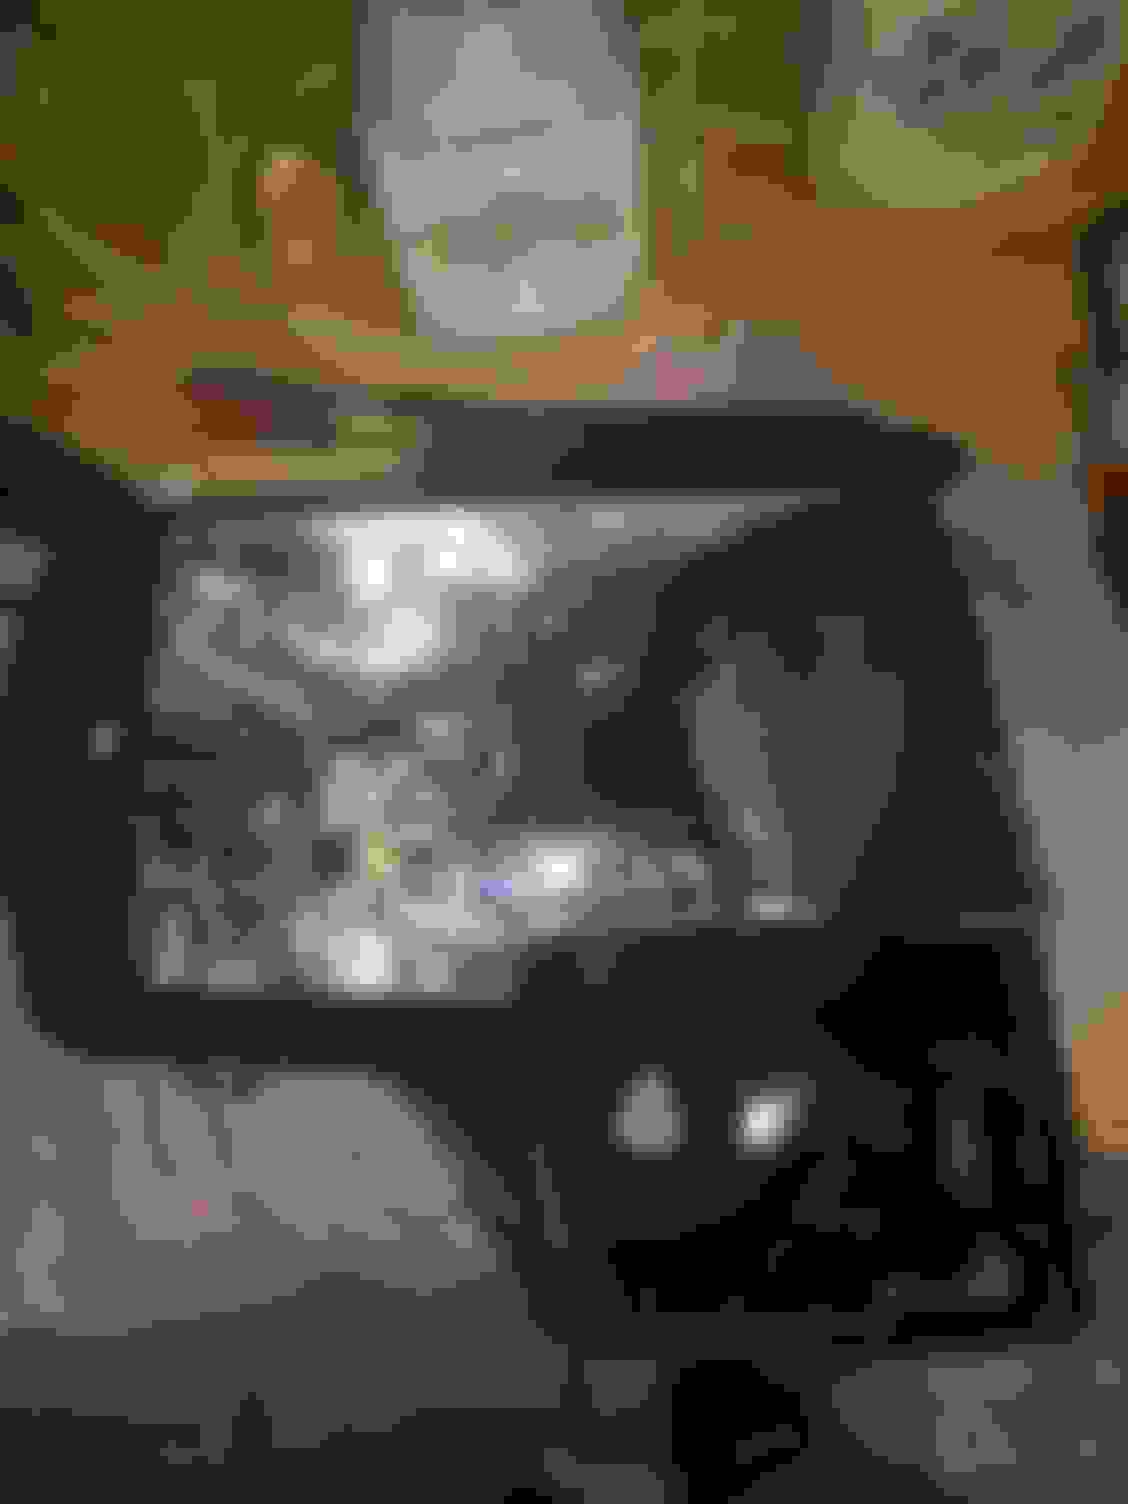
After 30 minutes, I pulled it out with gloves and long sleeves on, and used a thick, medium length flat head screw driver to carefully pry the retainer clips off all the way around and gently bend them out of the way. Then i started on the outside corner of the reflector and pryed in between the housing and lens and pushed down on the housing until it started separating, as soon as it started to separate, i worked counter clockwise until i could get my fingers in, once I got my fingers in, I slowly, but forcefully, yanked the sucker apart. Using this method I had both housings done in 5 minutes after 30 minutes in the oven. Was really simple. Broke one tab cause I'm dumb and was playing with it.
Here, there is 3 small torx screws holding the bezel to the lens. I removed them and slid the bezel out. Once you have completely disassembled the lens, i recomend putting it in a trashbag and wrapping it up so no dust gets in there because they scratch easily.
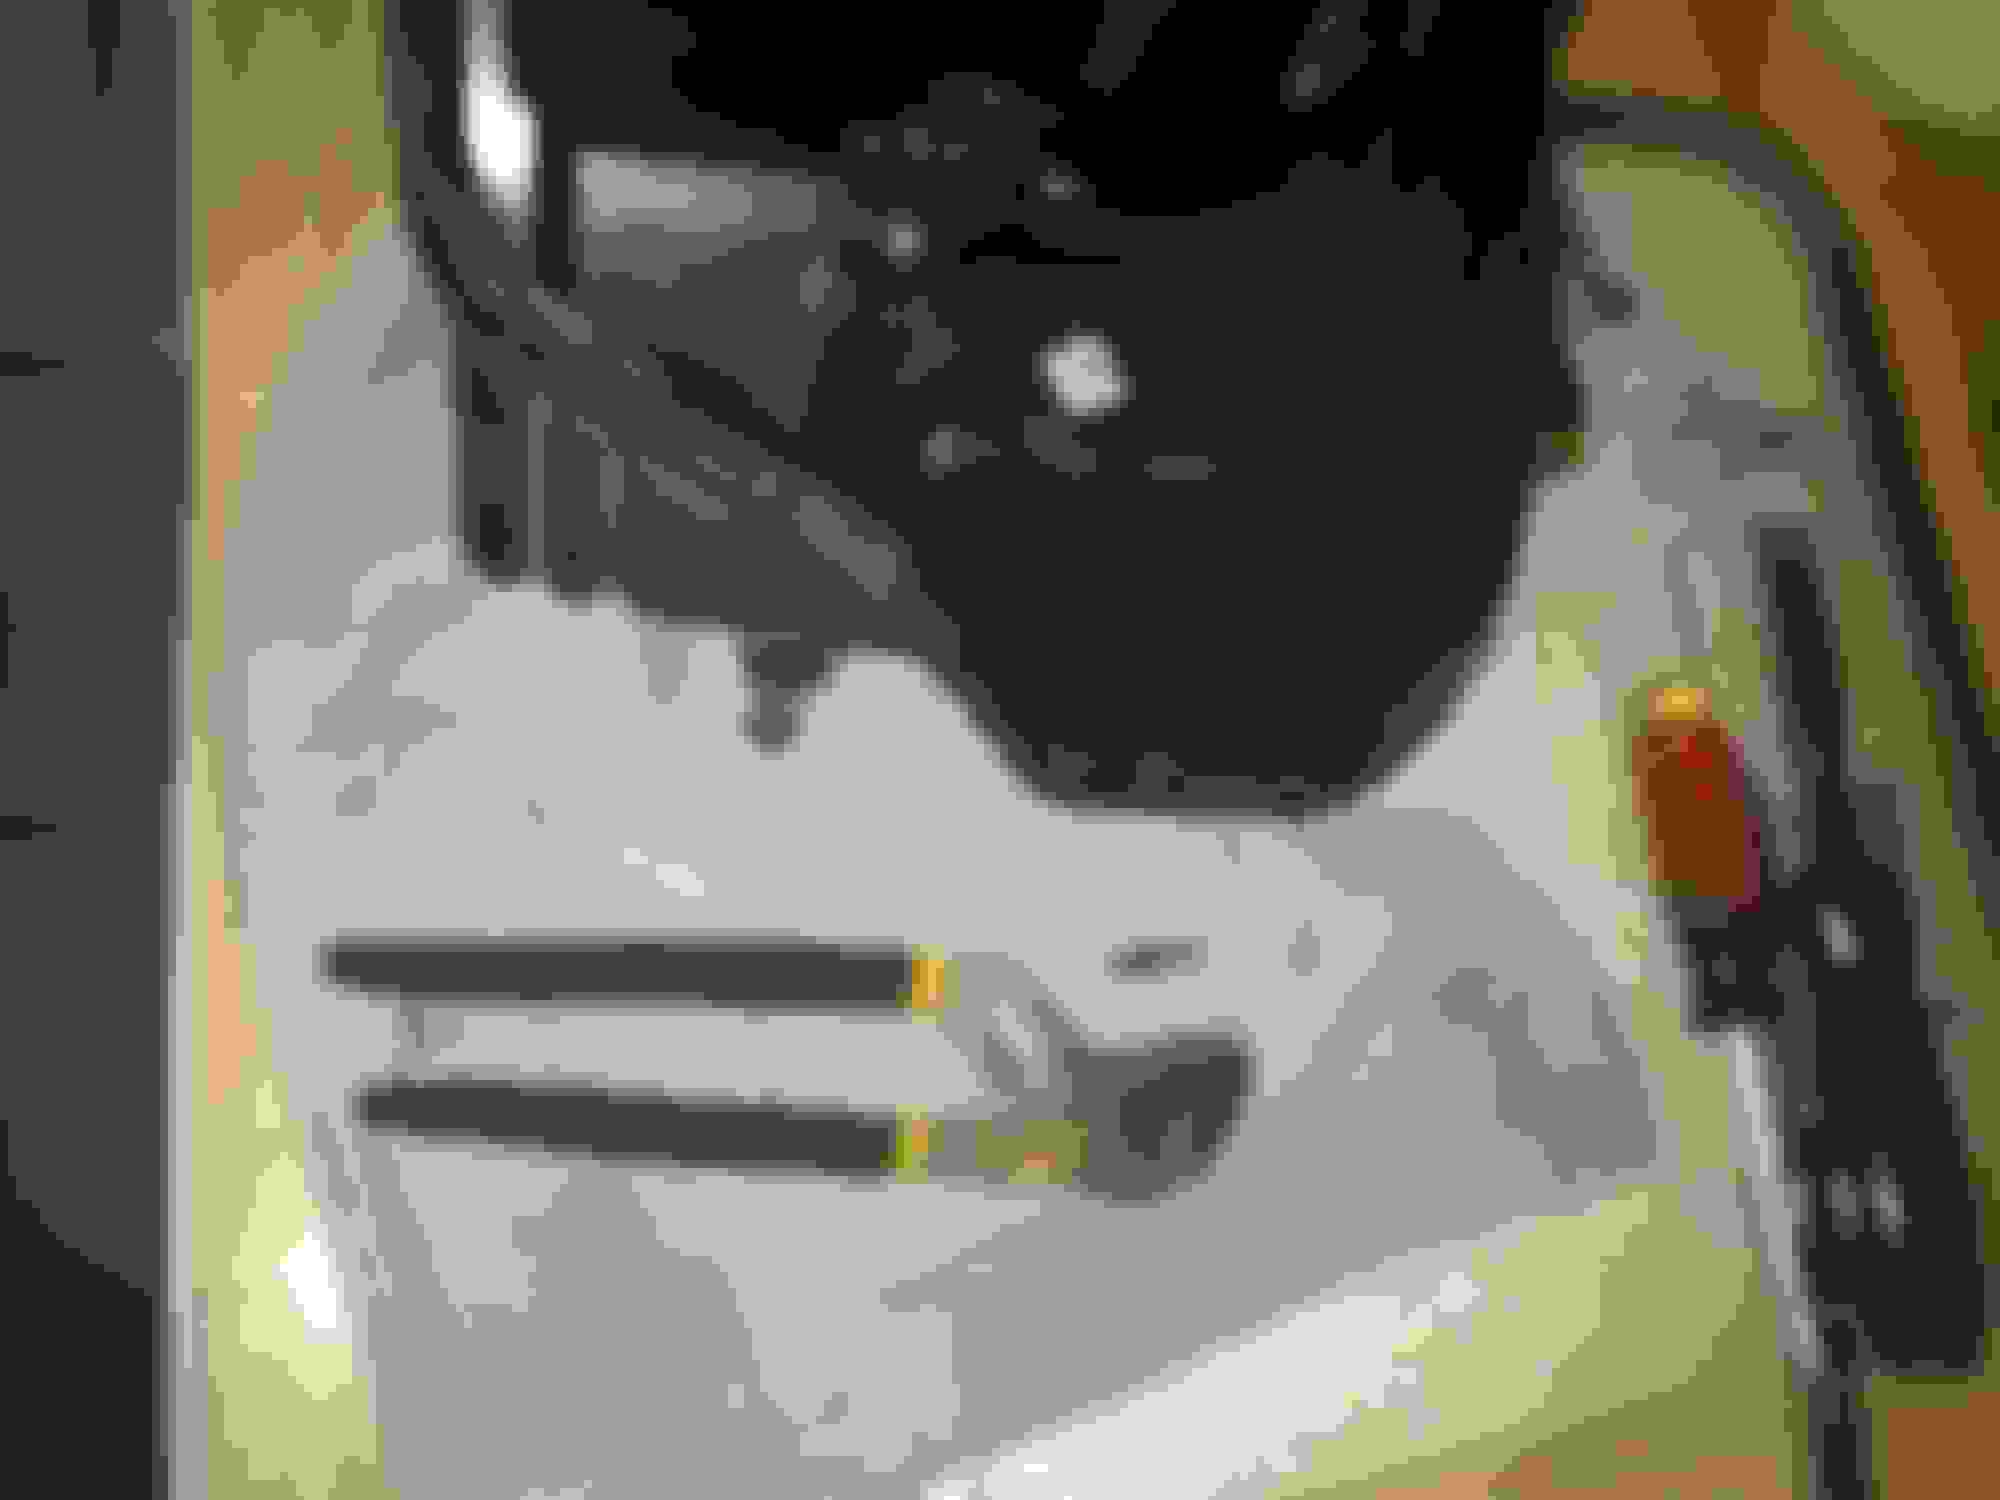
Here is the housing and reflector. Im pretty sure I did this next part wrong, but it's off nonetheless so that's all i care about.
To remove the reflector I turned the housing over and unscrewed the white hexagonal piece until it was free of the reflector.
I then used a little bitty torx bit and channel locks to break the torx screw on the left side loose and undid it by hand.
After that the reflector should slide right out. Im going to screw the black pieces back into the reflector and figure out how those ball sockets work lol.
That's as far as I am now, I'm currently going to go out and get paint and sandpaper to paint the bezels. Waiting on parts from TRS. I'll report back on how I painted and sanded the bezels.
OFFTOPIC. So I ordered 4 9 inch 96W Round LED ARB Intensity Knock - Off's to be mounted to a smittybilt bar. The bar came in yesterday. Here is a picture. Took 5 minutes to install, too bolts and bam.
Also ordered three samples from Metrostyling.com to match to my paint for a PTM vinyl wrap on the bumpers and grill surround, my truck is Oxford White, I'll report back with pictures and give my opinion on which matches the best. Going to get paint now, I'll post more pictures later tonight.
Make sure that if you paint, you wait a good amount of time for paint to cure and finish off gassing. If you put it back together too soon it will creat a haze on the inside of the lens.
Make sure that if you paint, you wait a good amount of time for paint to cure and finish off gassing. If you put it back together too soon it will creat a haze on the inside of the lens.
Thanks for the tip! These aren't going back together until I get my parts for the retrofit, and the paint has to be cured in order to finish up the mounting in the reflector.
Some progess.
I bought Krylon Dual Paint/Primer in gloss black and 400 grit sandpaper.
I started by scuffing the bezels pretty good, and then washing the fine dust off the bezel with a wet microfiber towel. I then dryed it off using paper towels.
After drying it off, I set up a little cardboard painting station, put on a mask and started painting. This is the product after one coat. I will probably apply 2 and let it cure and see how it turns out. I'm not the worlds best painter so, we will see. You harley mod guys, this is where we part ways pretty much, After you finish painting, throw it all back together using rubber sealant from TRS. I will finish up painting tonight and post pics in the sun tomorrow for better detail, however not much will get done this weekend due to a family christmas function. I'll start making my switch panel and set up the wiring for the offroad light probably monday. So stay tuned for that =D
Well, I haven't gotten very far on the retrofit, as I am waiting for parts. I've been trying to get the paint right on the bezels, and I just wet sanded and applied another coat to see how it turns out. HOWEVER!
I did finish my other project. If you were ever wondering how the knock off ARB Intensity lights are, they are fantastic.
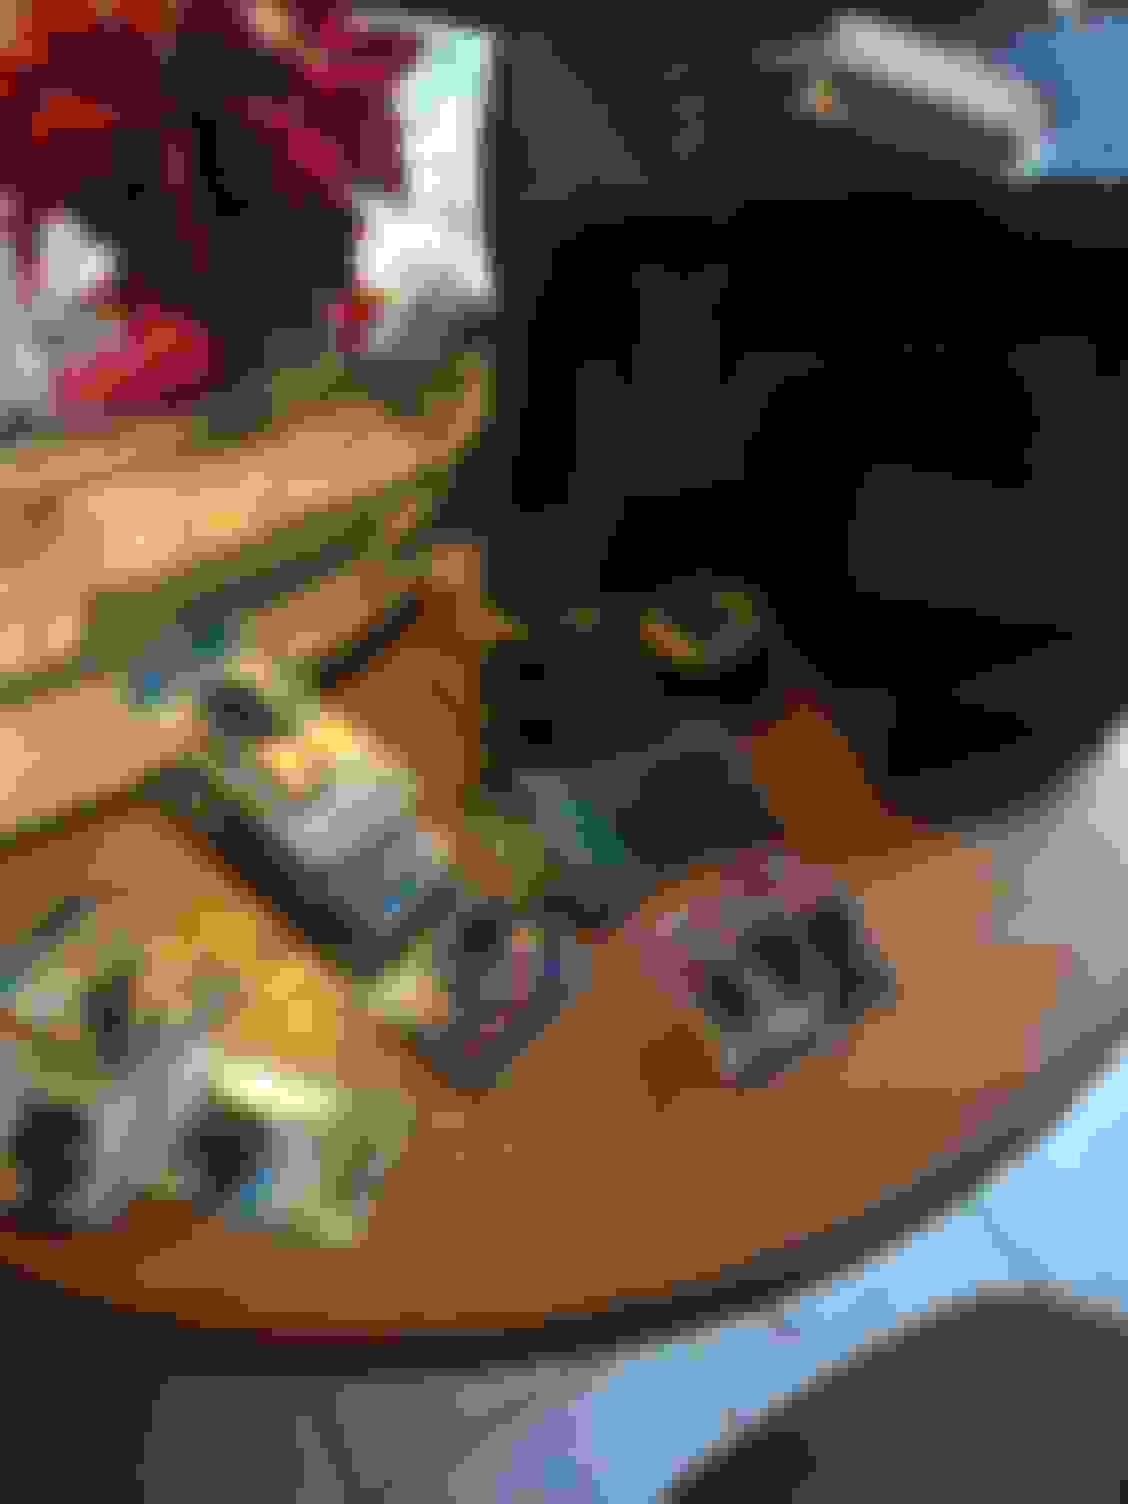
I built switch setup for three switches, but I didnt document all of it as that's a million steps hahaha. So I took a picture of the 5 year old schematics and parts list and all the parts I bought before I started.
I can elborate on how i wired up the box and all that more if you want. Oh, and of course my partner in crime, Chico was helping out.
After some beer, curse words and fustration (I hate wiring up these things, but doing it the right way pays off)
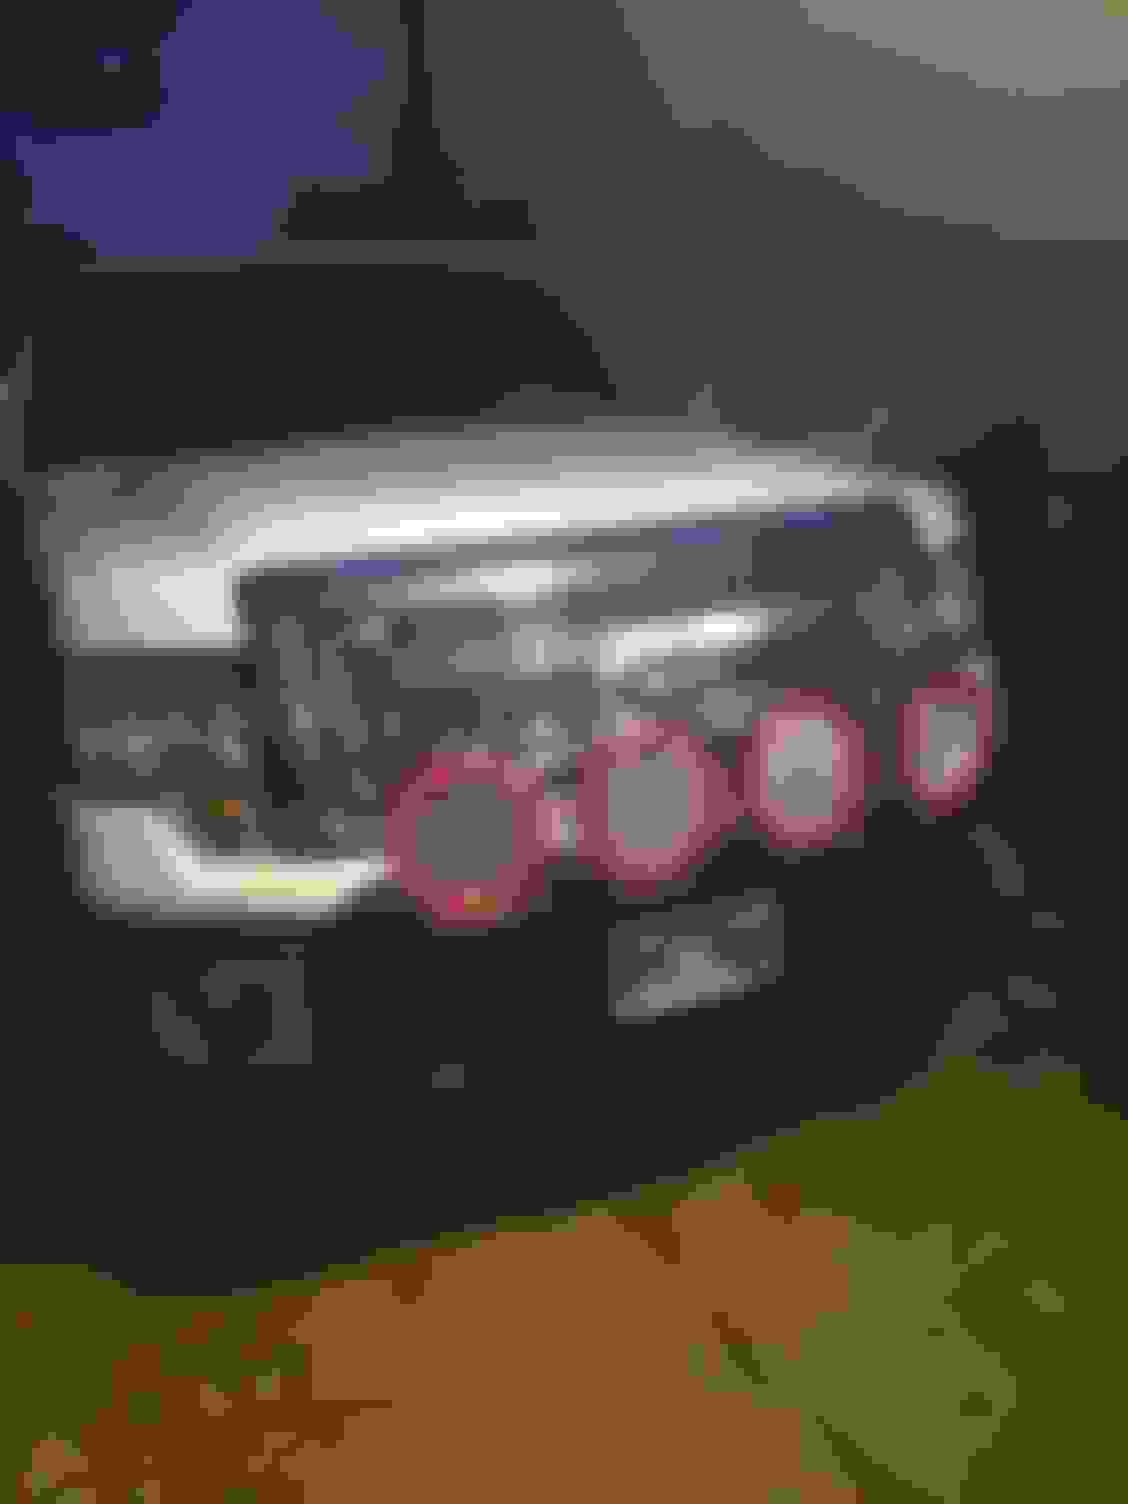
And the highly anticipated output shots. This was before I aimed them, and let me tell you, the picture does no justice. I'll post better ones tonight, but all i have to say is WOW.
Headlights only.
Lights on
Still awaiting parts and vinyl wrap. I'll keep you all updated. I paid less than 400 for this entire offroad light setup and im damn happy with it. Like I said, these pictures dont do any justice, so I'll try to find a better spot for the pictures.
Also debating if i really want to put halos in. It seems more trouble than its worth, and i just want good headlights, and with or without halos, the lights still look awesome. Opinions?
Man, they copied it all the way down to the sticker! Lol
That there is a lot of light!
Not my cup of tea but it's a nice throw back to the 80's-90's off-road lights!
I bet you'll have no issues with light on those long Texas stretches!
Haha yea it looks a little more funky than I thought, but my truck is leveled and I think that really helps the look. A raked truck with front end mods looks weird to me. A profile shot looks better than that. The lights are incredible though and anyone that knows me is im all about function even if it doesnt look the best and for the money, i really doubt I could have gotten better lights. But you're right! Light wont be an issue on those stretches!
Also reporting back on the paint. Im a perfectionist and this stuff isnt cutting it, even with wetsanding and all. So I'm going to sand them down real nice and probably get a duplicolor tuxedo black and clear coat, and see how that holds up after a few coats and some wetsanding. Also doesnt help that im painting in my back yard, and i strung the bezels up over the grass so i could hang and get even coating, and the wire fell an dropped one bezel with wet paint straight into the grass =| Oh well, Ill sand it down lol. That seems to be the go to thing. Dont like the paint? Sand it and paint again. Anyways, I'm going to try a different route on the paint. Sanding in the crevices is a real PITA.

 12-18-2015, 06:43 PM