
What did you do to your 2013 sound system?
 01-16-2014, 10:11 PM
#31

Well, perhaps I'm just not that picky when it comes to my truck. As I producer I have become somewhat of an audiophile, and after reading several books on acoustics and monitoring I can't stand knowing when a system or a room can sound better. It was a fun time convincing my girlfriend that we needed bass traps and studio monitors in the living room. Where I differ from this though, is my truck. The fact that its a work truck, with road noise, and questionable acoustics from the get go, it would be a losing battle for me to seek perfection. I'll leave that for at home. I can understand people wanting to upgrade if they have the time and the means though.
 02-12-2014, 10:52 PM
#32
Happy new owner
Thread Starter

I finally got my sound system finalized and put in. Took many hours of work, as well as swearing and cut hands. Here's what I put in:
JL Audio JX500/1D Mono amp
JL Audio XD400/4 Four Channel amp
AudioControl LC6i
Polk Audio db5251 5 1/4" Component speakers (front)
Kicker KS68 Coaxial speakers (rear)
JL Audio CP208LG-W3v3 Dual 8" Microsubs
Nothing too fancy or deafening but a nice boost to a mediocre sound system.
Here's how I did it:
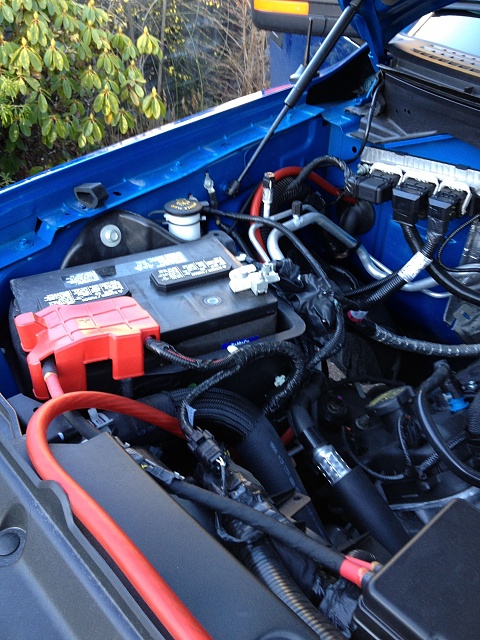
Getting the 0 gauge in through the truck was not fun, took probably two hours
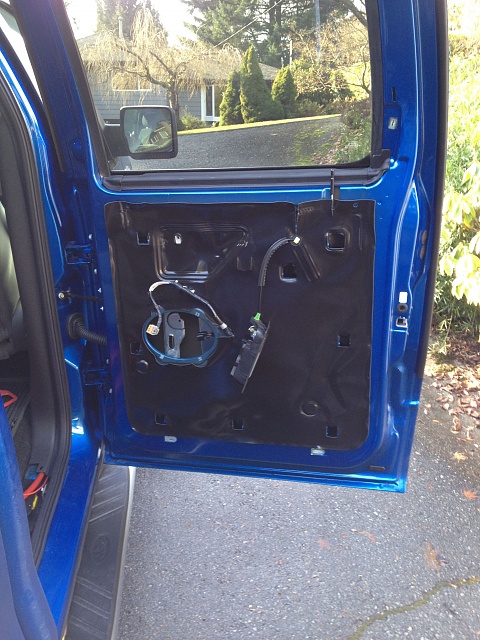
Got the door panels off with ease and replaced all the speakers, had to use speaker brackets for the fronts.
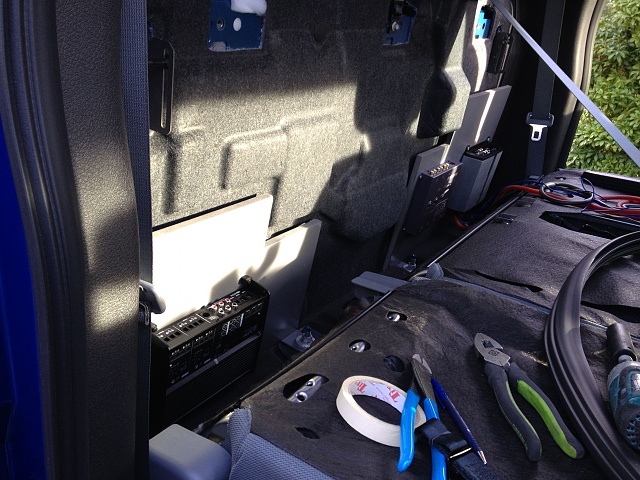
Rough in of the amp mounting boards. I used 1/2" MDF board and simpson brackets and painted both with rustoleum, thanks to F150Lasso for idea.
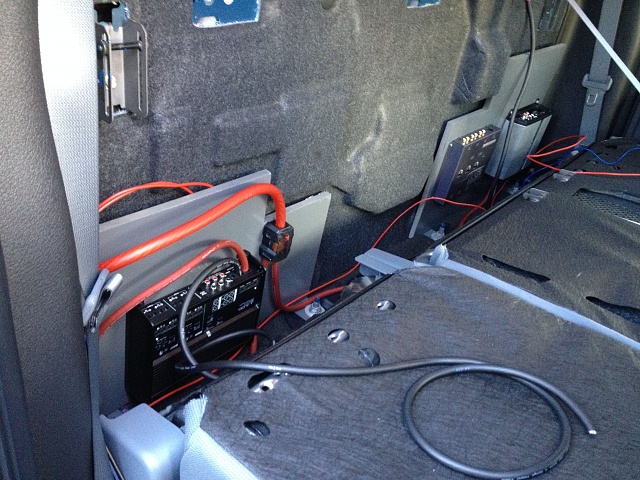
Got some of the wire pulled in and connected. Seats still go up and down just fine.

Cut out a space for my subs in the weather mats, there not secured in anyway and so far the subs haven't moved at all.
Last edited by Heyyou1982; 02-12-2014 at 11:15 PM.
02-12-2014, 10:58 PM
#33
Happy new owner
Thread Starter

I took both front doors off to drill through the molex connector. That was the scariest **** I've done as I wasn't able to get the connector separated from the vehicle to make sure I didn't drill through any wires. I just took my time and was super careful
 everything still works though!. Also thanks to nate977p for the idea.
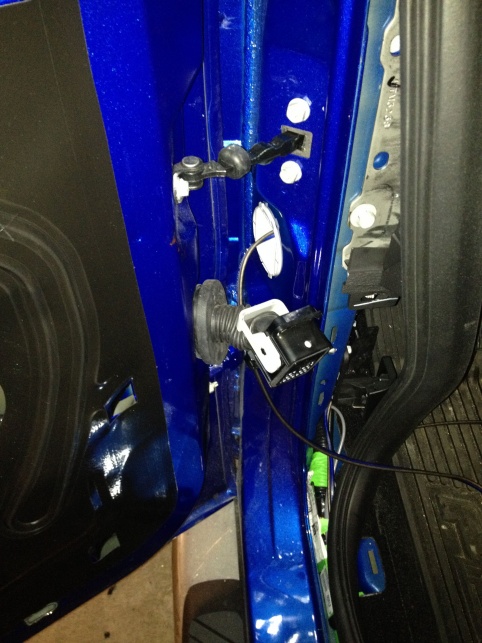
I used Posi-taps to tap into the existing speaker wires and then ran 16 gauge back to my LOC
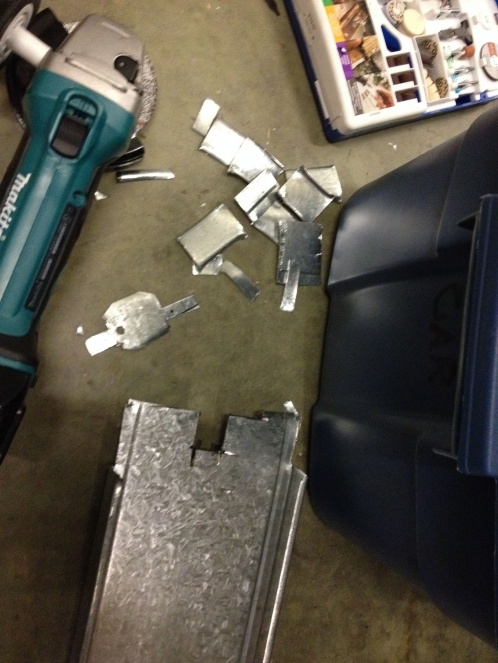
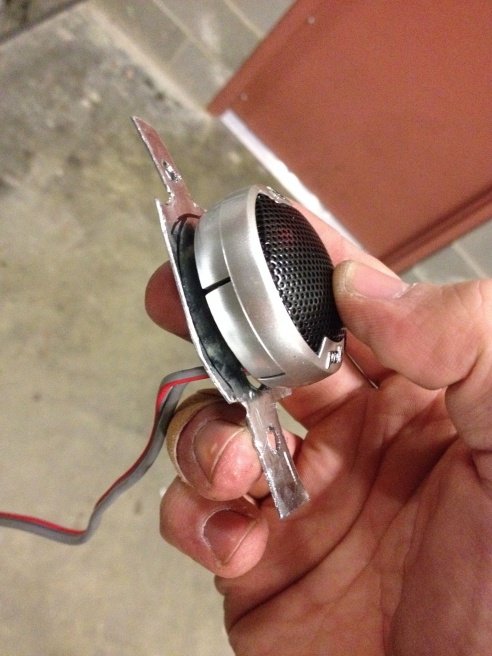
Since I took out the existing tweeters I had to fabricate some sort of bracket to keep the new tweeters in place and this is the beautiful thing I came up with... well it works.


Last edited by Heyyou1982; 02-12-2014 at 11:05 PM.
02-12-2014, 11:03 PM
#34
Happy new owner
Thread Starter
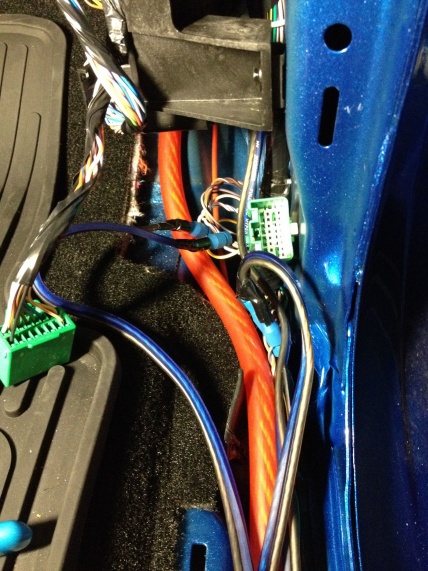
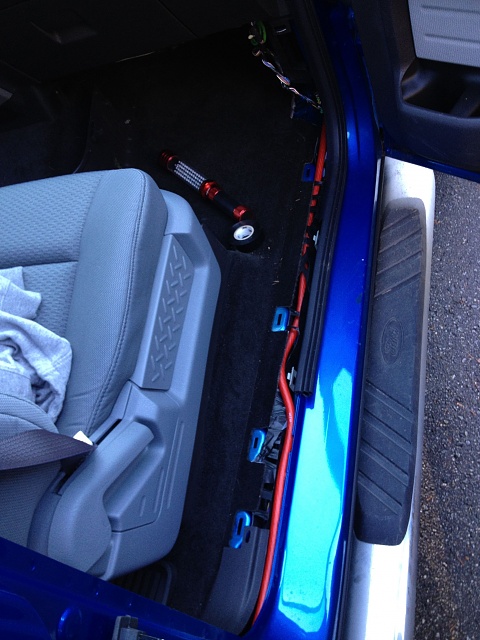
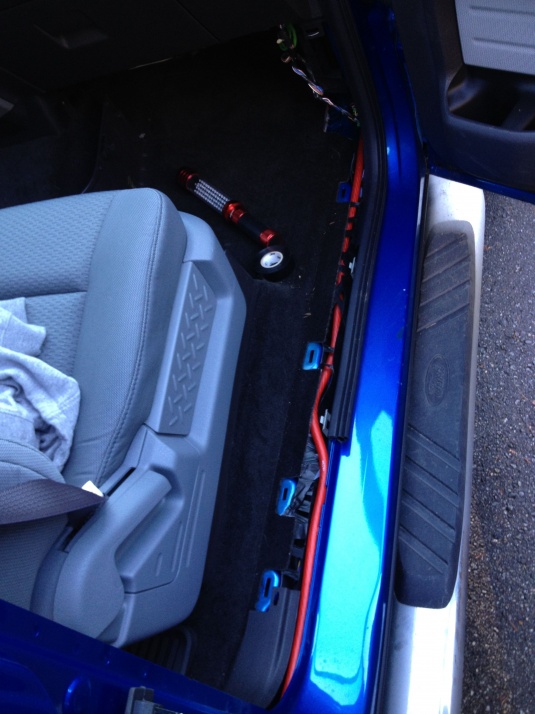
This is the right side of the truck where I ran the power wire and tapped into the existing front and rear speakers

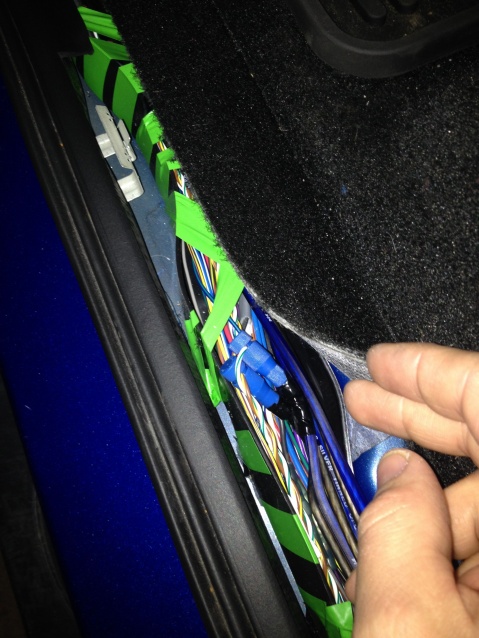
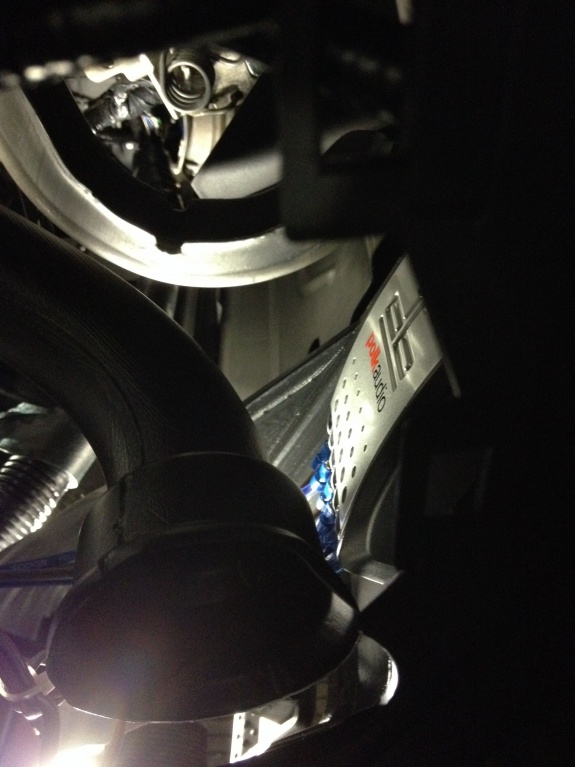
This is where I mounted my passenger side crossover since I did not want to drill any more holes in the molex connected to run the tweeter wire. Its behind the box with a bunch of wires plugged into it on the passenger side below the glove box.
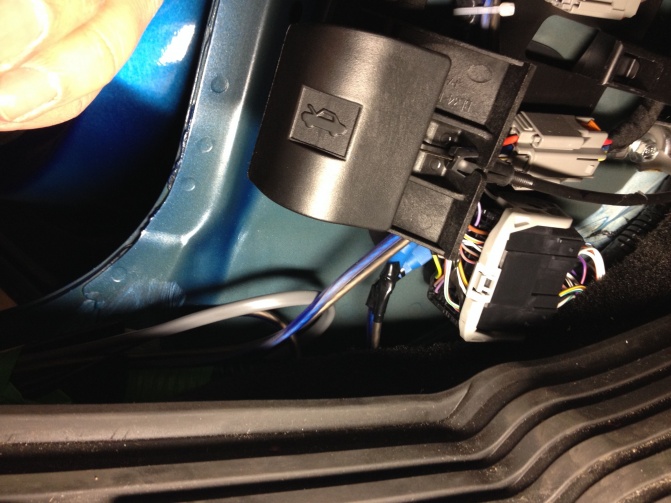
This is where I tapped into the front speakers, not so fun to get too.
This is wear I mounted my driver side crossover, right behind the parking brake release.
All in all it took a few days of labour and was well worth it. Sounds great! Just need to do some fine tuning and hopefully take a few more pics of the final wiring all cleaned up.
Last edited by Heyyou1982; 02-12-2014 at 11:07 PM.
02-13-2014, 06:58 PM
#35
Awesome set up man! Even though mine was far more simple, I can definitely relate to the cussing and cuts and bruises. Is it not one of the most satisfying mods you can make though? The novelty still hasn't worn off for me. Especially since it was my first experience with car audio/ electrical. Lots of doubting myself, and couldn't be happier with how it all turned out.
02-13-2014, 07:57 PM
#36
Happy new owner
Thread Starter
it is very satisfying because you get to hear it everyday  This is my second time doing my own car audio setup and I was able to plan it out a lot better than my first attempt so things went smoother, practice makes perfect . Now if only car manufactures would just start offering decent sound systems to begin with, although I'm sure I'd find something to complain about anyway and change it all, haha.
This is my second time doing my own car audio setup and I was able to plan it out a lot better than my first attempt so things went smoother, practice makes perfect . Now if only car manufactures would just start offering decent sound systems to begin with, although I'm sure I'd find something to complain about anyway and change it all, haha.
02-13-2014, 09:56 PM
#37

[MENTION=169771]Heyyou1982[/MENTION] can you get a pic of the front of your tweeter in the pillar? Is the part that you see a grill or is that an integral part of the factory tweeter
02-14-2014, 01:17 AM
#38
Happy new owner
Thread Starter
The front of the tweeter looks exactly the same as stock, it has the same silver metal mesh cover. I just made the metal bracket so the tweeter would stay in place directly behind the grill.
04-16-2014, 02:06 AM
#39
Junior Member

Join Date: Feb 2013
Posts: 7
Likes: 0
Received 0 Likes
on
0 Posts
i have the sony premium, which i regret. It makes upgrades much more difficult with central amp and processor.
With Sync w/ Myford touch it makes it difficult to replace the headunit, so you're left with muddled signal as the factory processor & amp (located under the center console) controls everything including the sub.
The 'Correct' approach I believe (and plan to eventually do) is to use a JL audio CleanSweep to feed multichannel amp for complete door speaker replacement (dont forget the wires!). Then use passthrough RCA to class D mono amp for subs in rear. This will create the cleanest sound without a new HU.
Currently, i have all stock door channels.
For low end:
AudioControl LC2i - LOC
Infinity Reference 1211a mono 1300w RMS @ 1 ohm stable.
2 downfiring infinity kappa perfect 10's in custom Fox Box under rear seat. - I HIGHLY recommend these boxes. Perfectly crafted & line-x sprayed w/ custom ford logo on front. Ported tuned to 26Hz.
With such a low tuned box, you'll see a big difference in bass w/ different music types. run the remote boost or you will regret it.
00 gauge from optima red.
big 3 upgrade.
2 farad audiobahn capacitor (don't let big names fool you on capacitors. as an engineer i can state a cap is a cap. Take an audiobahn vs a rockford. charge it. measure the voltage & current. Apply the same load (i used a home built transformer) on both for the same period of time at different levels but same impedance. Note the near exact dissipation from each. Allot for variation in experimental setup.
start with your lows, then move to your mid replacements ( reference or component, whichever you want to invest the money in. Hit the tweeters last. The factory screamers actually arent THAT bad.
If you want to see my setup let me know and i can upload pics.
Aaron
2013 Tuxedo Black SCREW FX4 loaded
Ecoboost V6 DFI
K&N cold air intake
Nitto Terra Grappers nitrogen filled
2x10" Infinity Kappa Perfects @ 1300w RMS

