
Installing 6x9 speakers in doors
 07-24-2012, 12:52 PM
#1

I looked on this site but didn't really find a lot of "HOW TO" install 6x9 speakers in the doors of F150's. I know there is not a huge market for such a task but since I have a F150.. 6x9 speakers.. the material and knowledge on how to install them as well as a digital camera, I thought what the heck. So, I'll be taking plenty of pictures of what I am going to do. Anyone can do this type of install as it is not hard. However you will need a few tools and some patience. If you are not comfortable cutting on your doors, by all means, DO NOT ATTEMPT THIS PROJECT! Pictures will soon follow.

The following users liked this post:
Shane803 (04-20-2023)
07-24-2012, 04:49 PM
#2
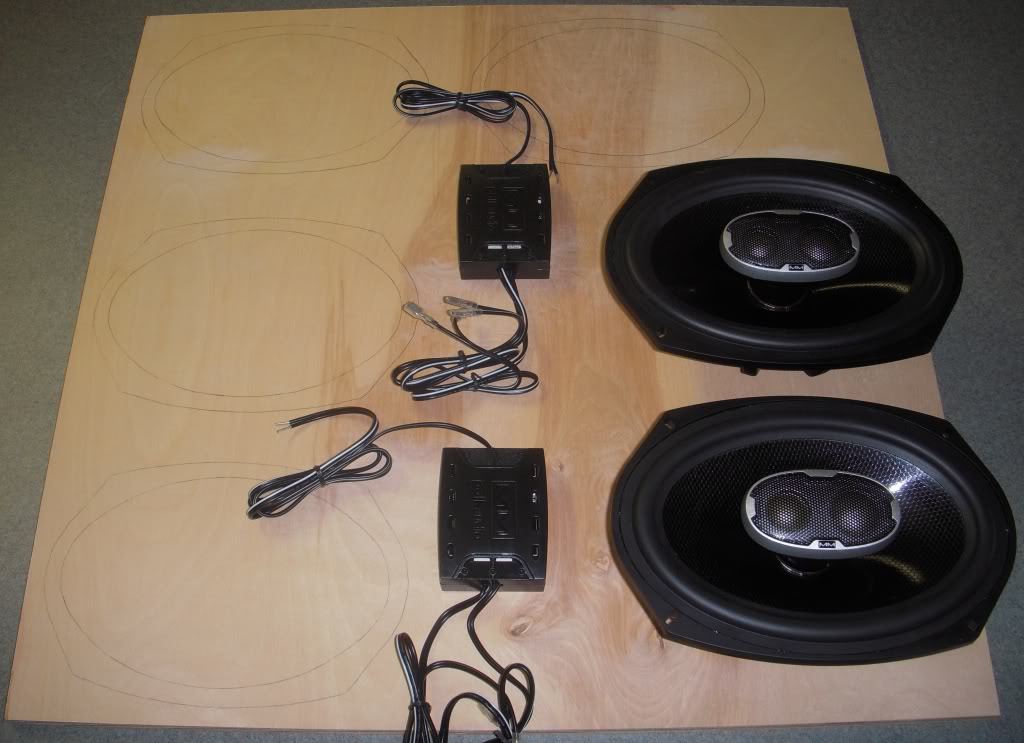
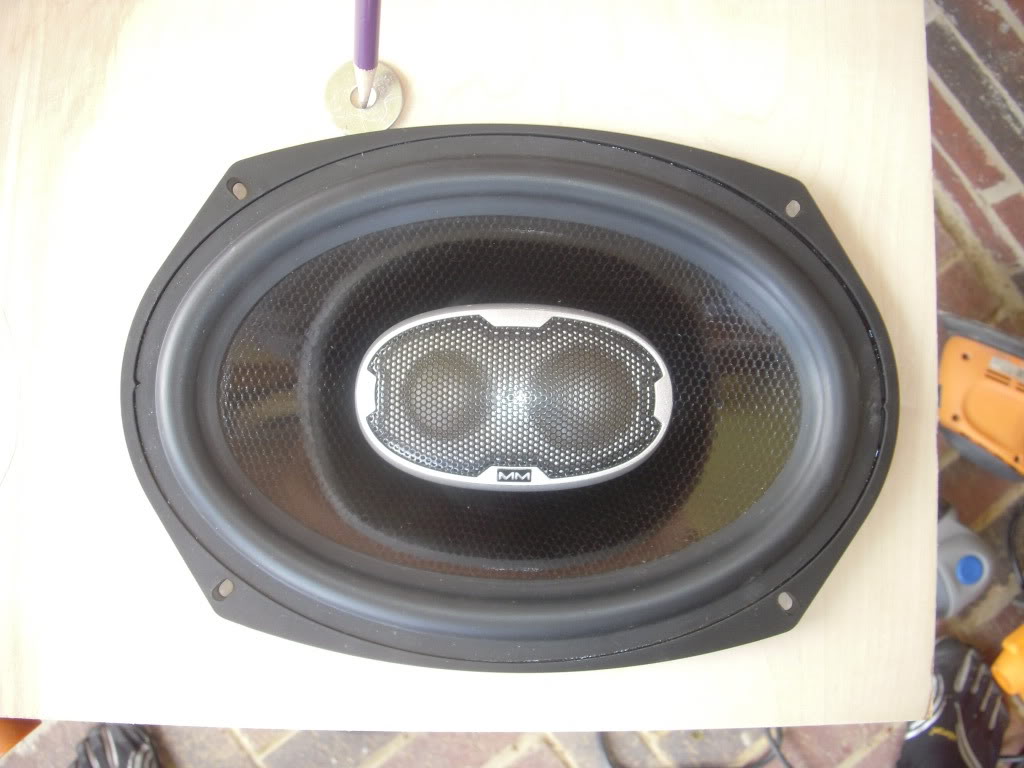
Just got finished with round 1. I cut out my templates. In order to do that, I had to fabricate a make shift template out of cardboard (not shown) because Polk Audio did not include a 6x9 template with these speakers. As you can see in this picture, I have two of my 6x9's, my cross-overs and a small 1/2" sheet of birch wood.
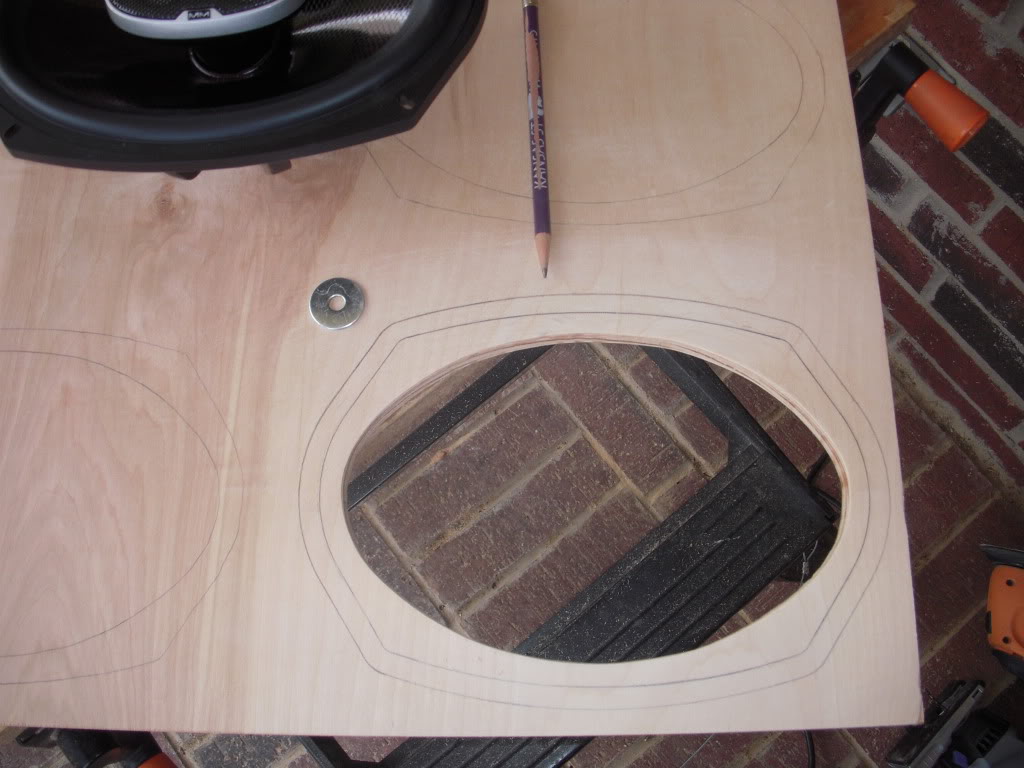
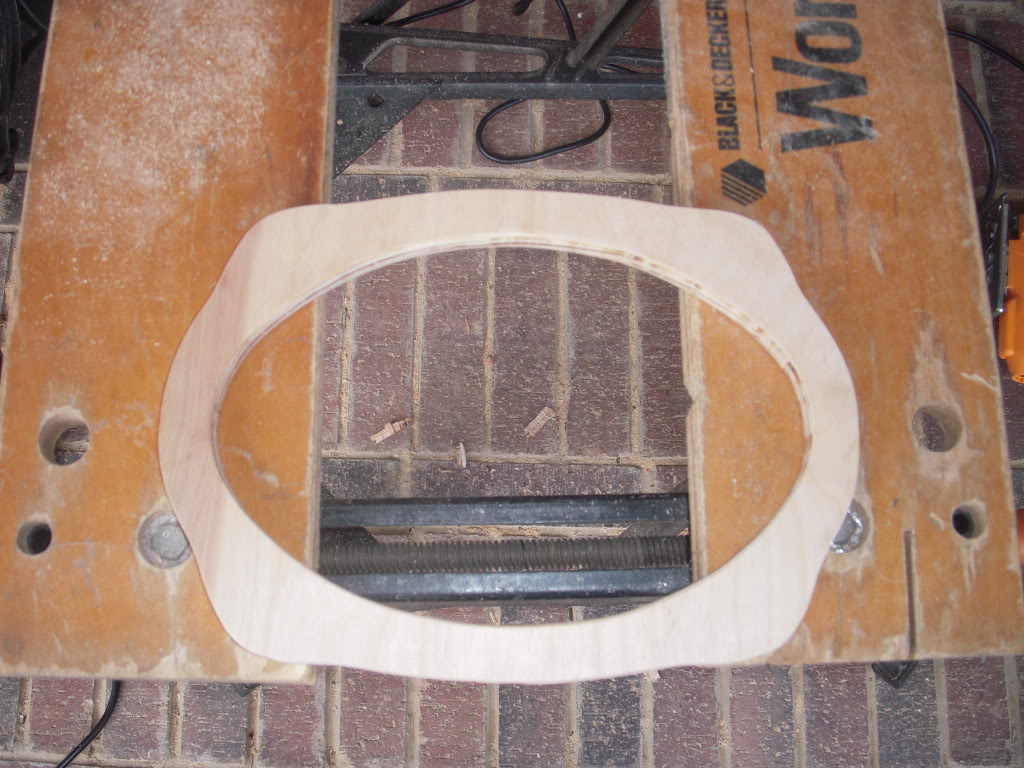
After I was finished measuring out (rough measurements) of where each 6x9 template was going to be cut from, I took my wood outside and started cutting out the centers of my templates where the 6x9's will mount up..
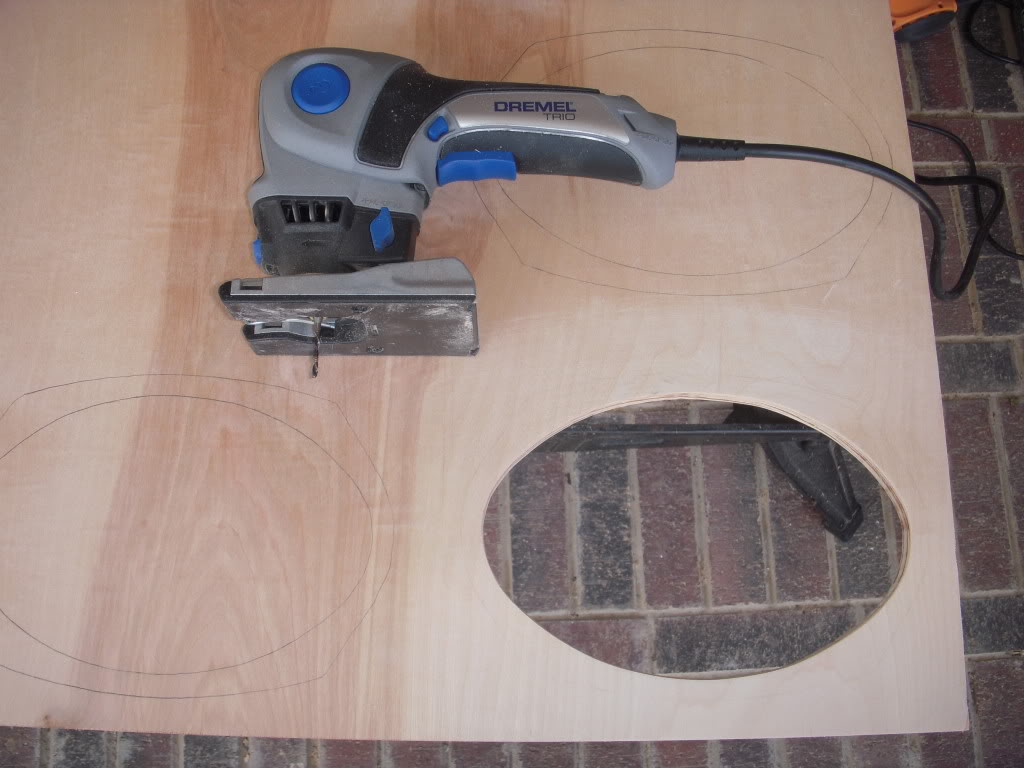
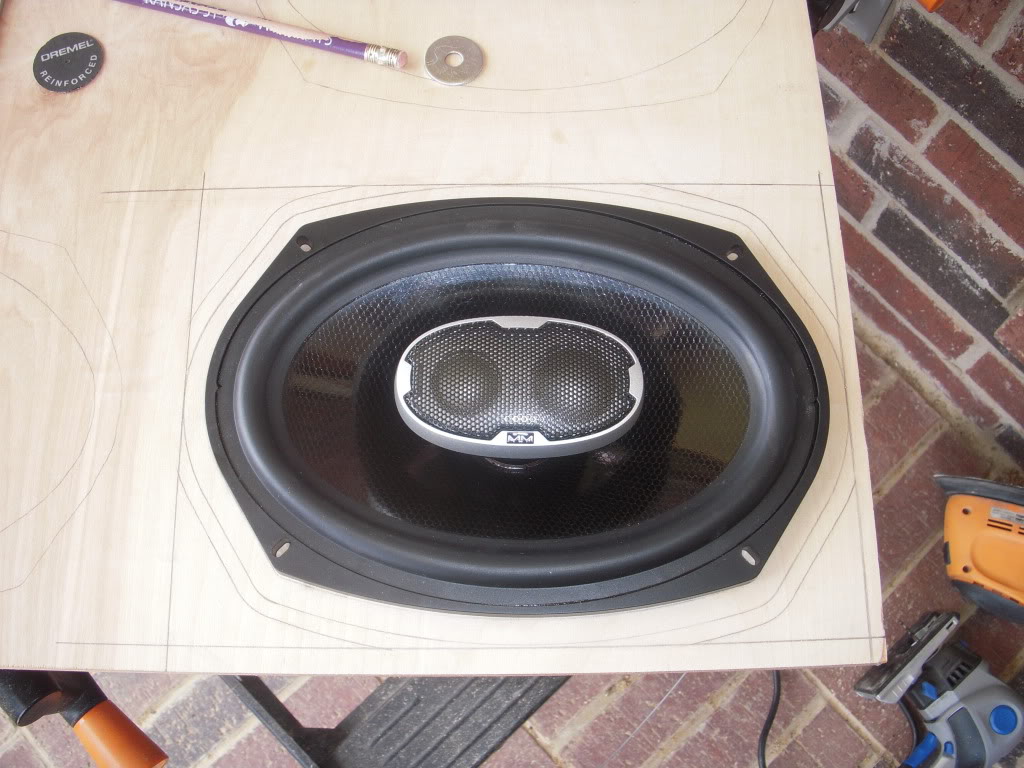
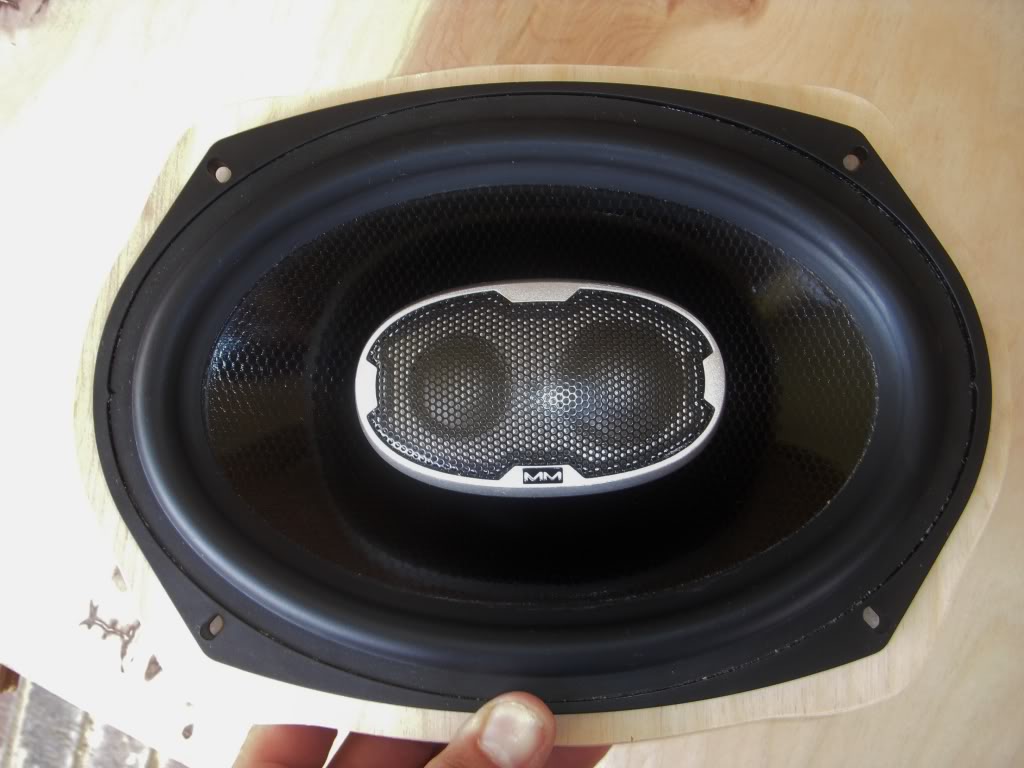
After cutting the hole out, I made sure the speaker would physically fit inside the newly cut out hole..
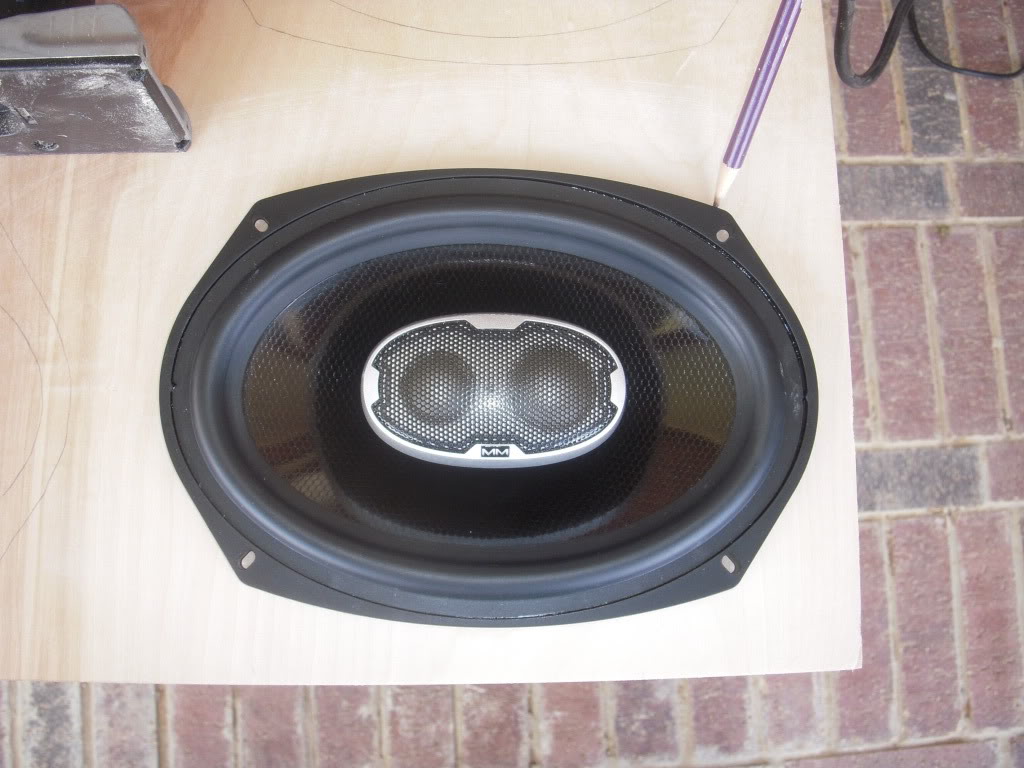
For piece of mind, I traced around the speaker basket..
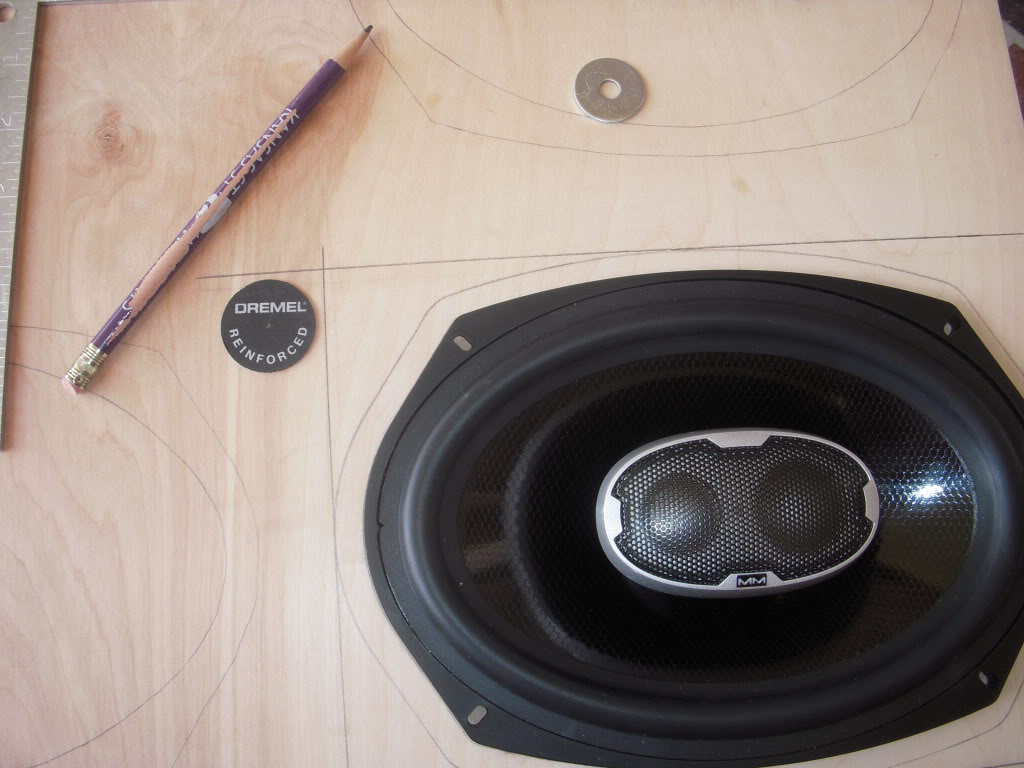
Then I took a washer and again, I traced around the speaker basket. This time, I inserted a pencil in the middle of washer and that provided a small amount of extra surface area for the 6x9..
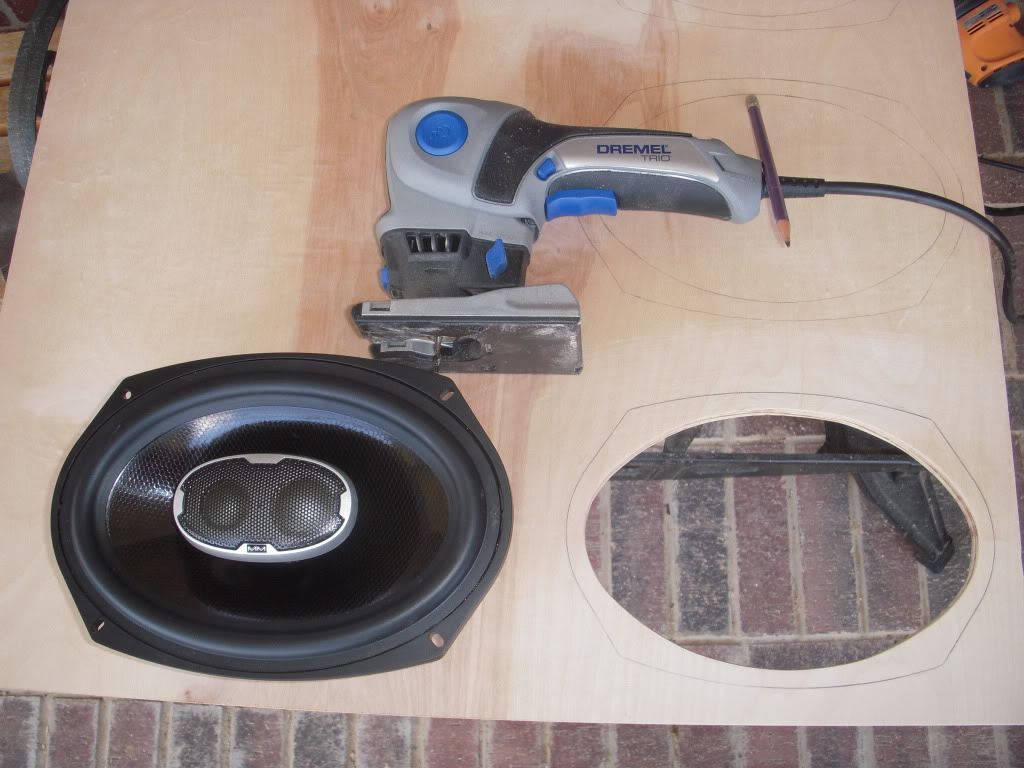
I squared off the speaker template by using a 90 degree angle ruler. I used a dremel wheel (because I couldn't find a bigger washer.. haha). I repeated the same process as the washer and make the edges of the template a tad bit bigger. This will help when you mount the template to the door for a little extra area for a bolt to go through..
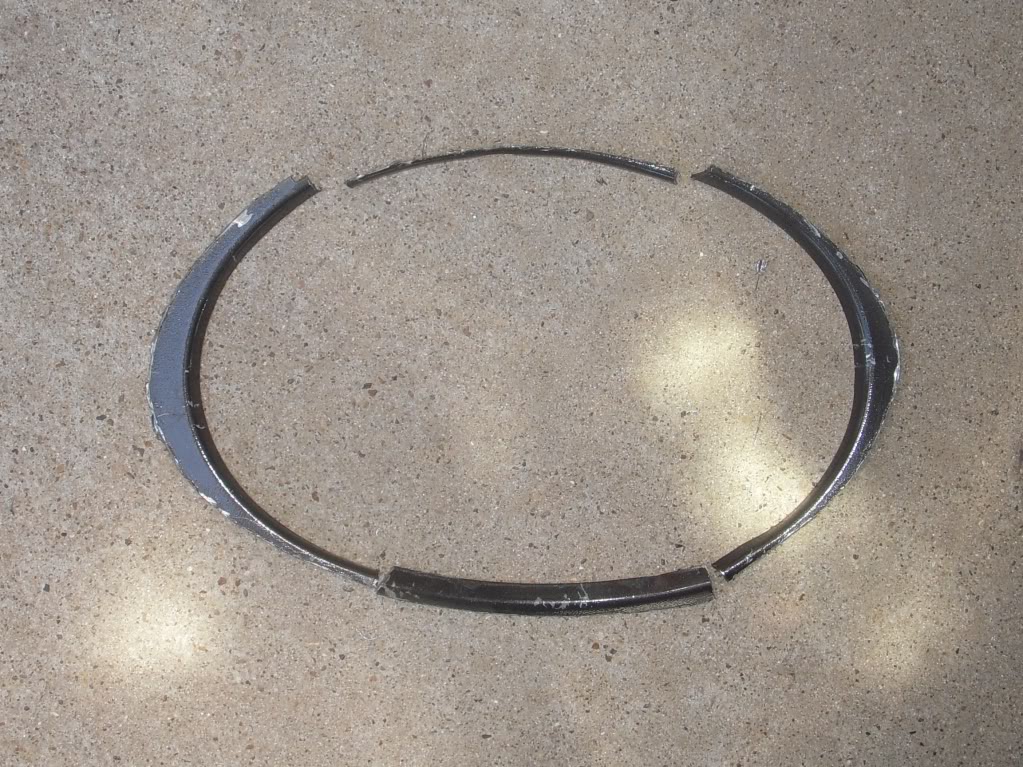
After I made the necessary cuts, my template emerged. I simply sanded it down a bit and this is more or less the final product..
After I was finished measuring out (rough measurements) of where each 6x9 template was going to be cut from, I took my wood outside and started cutting out the centers of my templates where the 6x9's will mount up..
After cutting the hole out, I made sure the speaker would physically fit inside the newly cut out hole..
For piece of mind, I traced around the speaker basket..
Then I took a washer and again, I traced around the speaker basket. This time, I inserted a pencil in the middle of washer and that provided a small amount of extra surface area for the 6x9..
I squared off the speaker template by using a 90 degree angle ruler. I used a dremel wheel (because I couldn't find a bigger washer.. haha). I repeated the same process as the washer and make the edges of the template a tad bit bigger. This will help when you mount the template to the door for a little extra area for a bolt to go through..
After I made the necessary cuts, my template emerged. I simply sanded it down a bit and this is more or less the final product..
Last edited by officermartinez; 07-24-2012 at 04:54 PM.

 07-24-2012, 07:31 PM
#4
 07-24-2012, 09:35 PM
#6
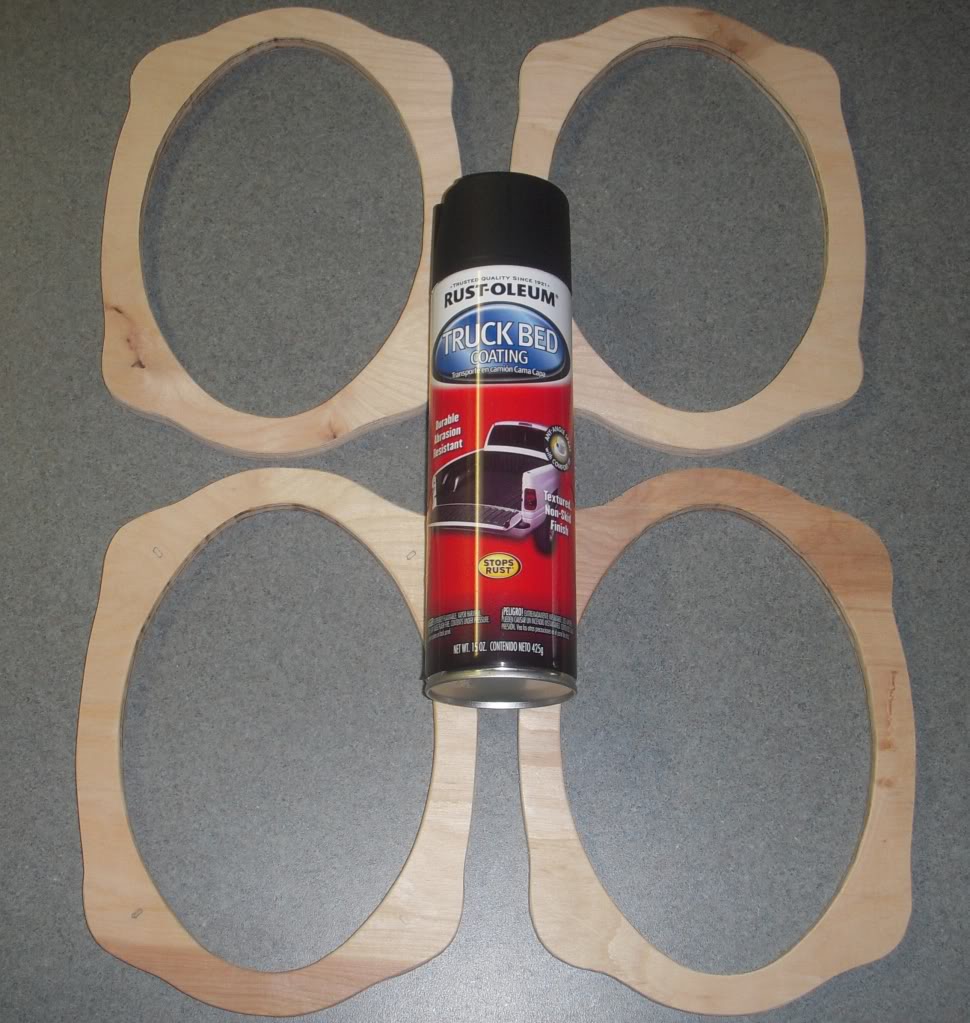
Thanks.. Got everything spray coated (3 coats). It's drying now. It will be ready in the morning. So, I have to sit and wait until tomorrow. I'll start back on it after my morning coffee :-)
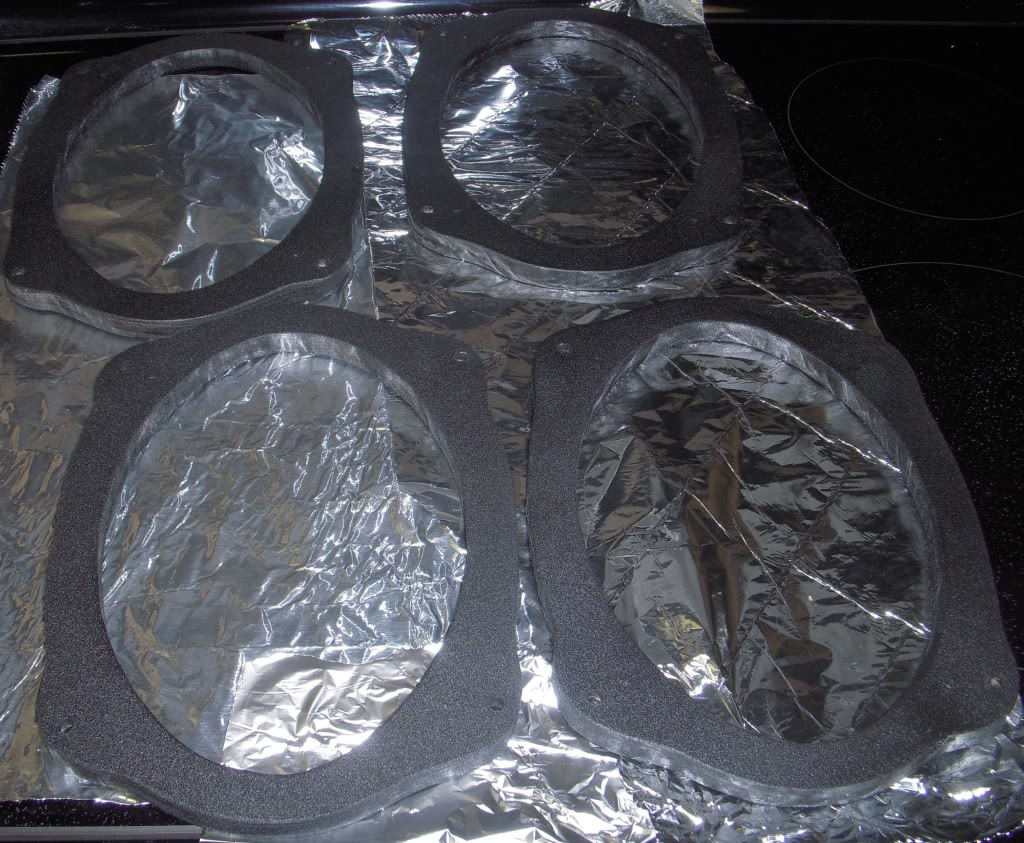
*** EDIT *** I brought my templates inside and laid them on tin foil. They are more or less dry but I am going to keep them on the foil until morning..
*** EDIT *** I brought my templates inside and laid them on tin foil. They are more or less dry but I am going to keep them on the foil until morning..
Last edited by officermartinez; 07-24-2012 at 10:35 PM.
07-25-2012, 02:23 PM
#7
Member

I looked on this site but didn't really find a lot of "HOW TO" install 6x9 speakers in the doors of F150's. I know there is not a huge market for such a task but since I have a F150.. 6x9 speakers.. the material and knowledge on how to install them as well as a digital camera, I thought what the heck. So, I'll be taking plenty of pictures of what I am going to do. Anyone can do this type of install as it is not hard. However you will need a few tools and some patience. If you are not comfortable cutting on your doors, by all means, DO NOT ATTEMPT THIS PROJECT! Pictures will soon follow.
subscribed....
Trending Topics
07-25-2012, 02:51 PM
#8
I've reached a stopping point for a bit but let me update the progress for those who are interested in this thread..
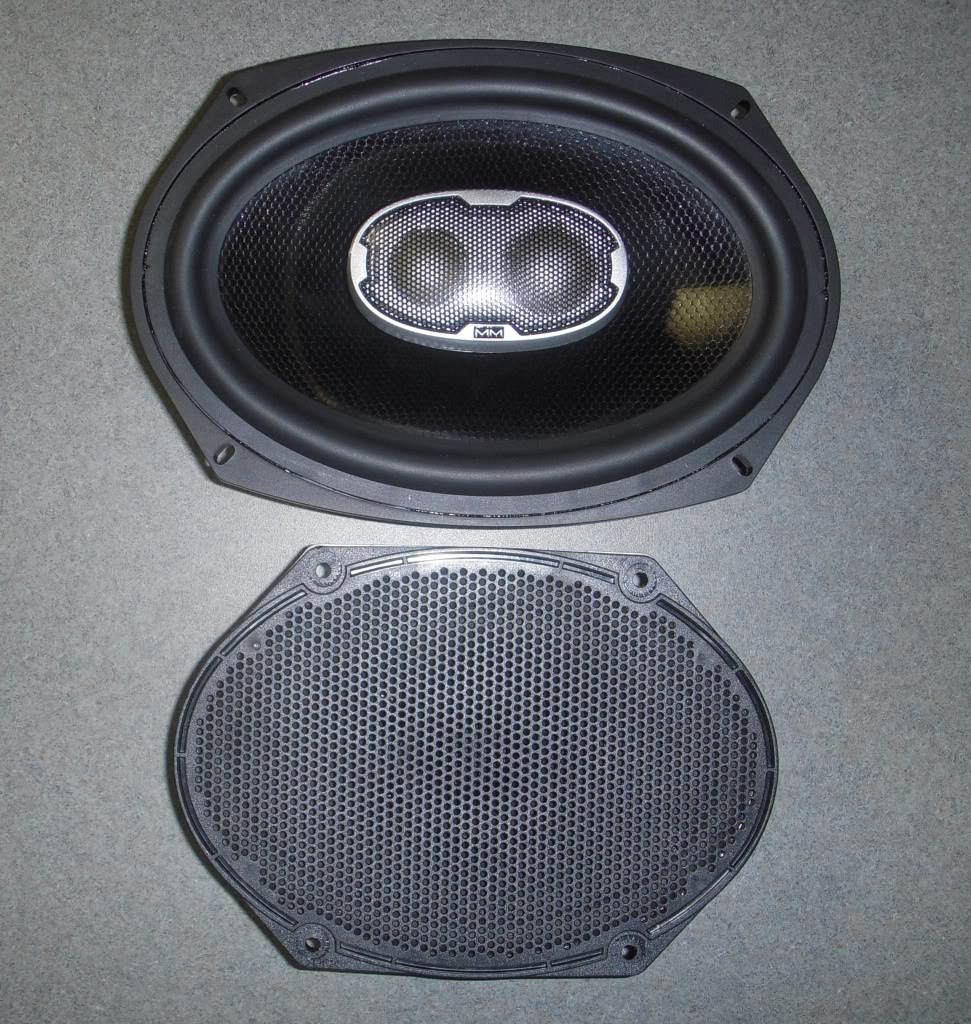
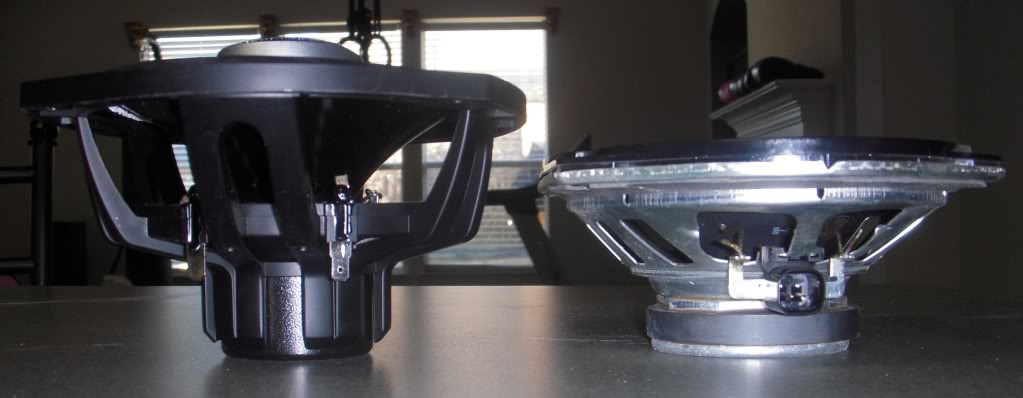
First picture is just a comparison of the Polk Audio MM691 6x9 vs Ford factory 5x7 speaker..
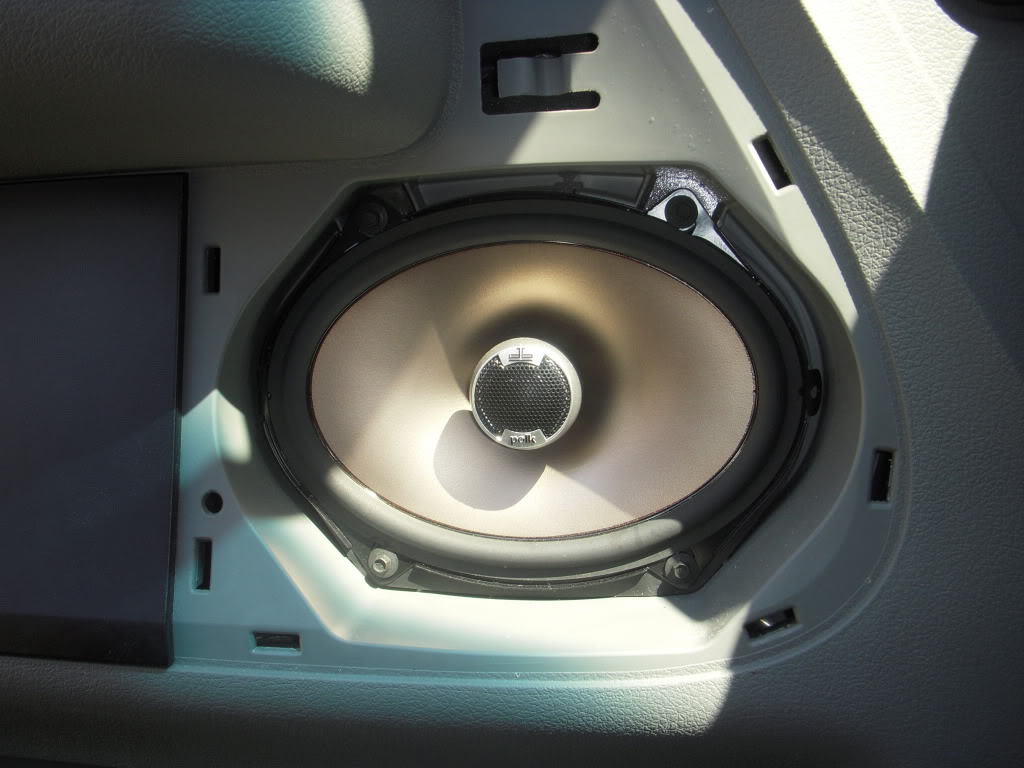
This is the speaker that I am replacing (Polk Audio dB571 5x7)..
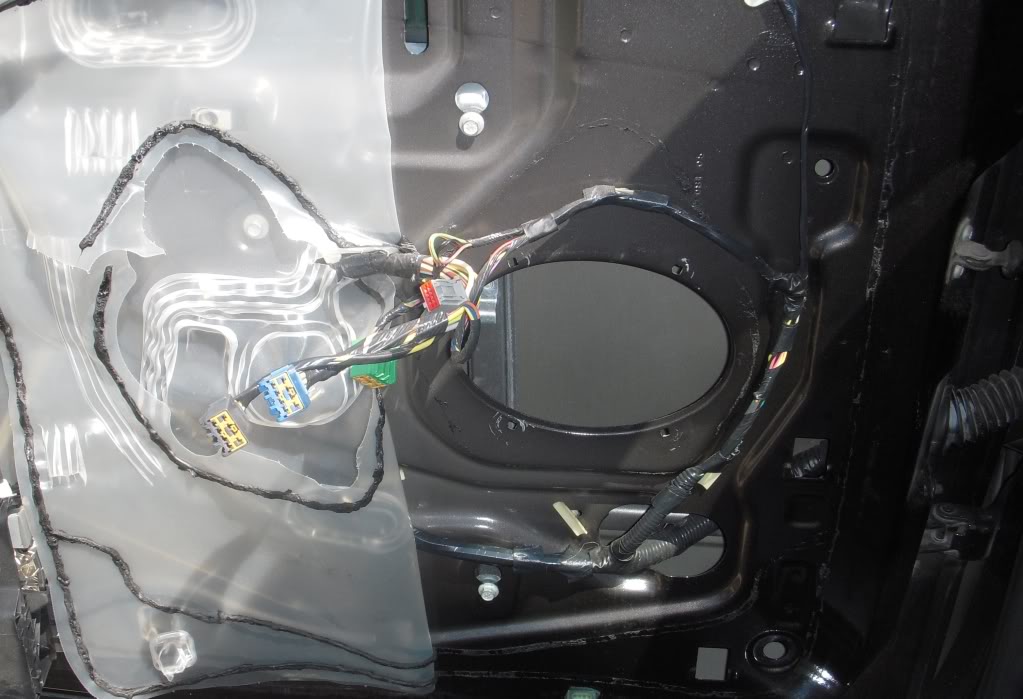
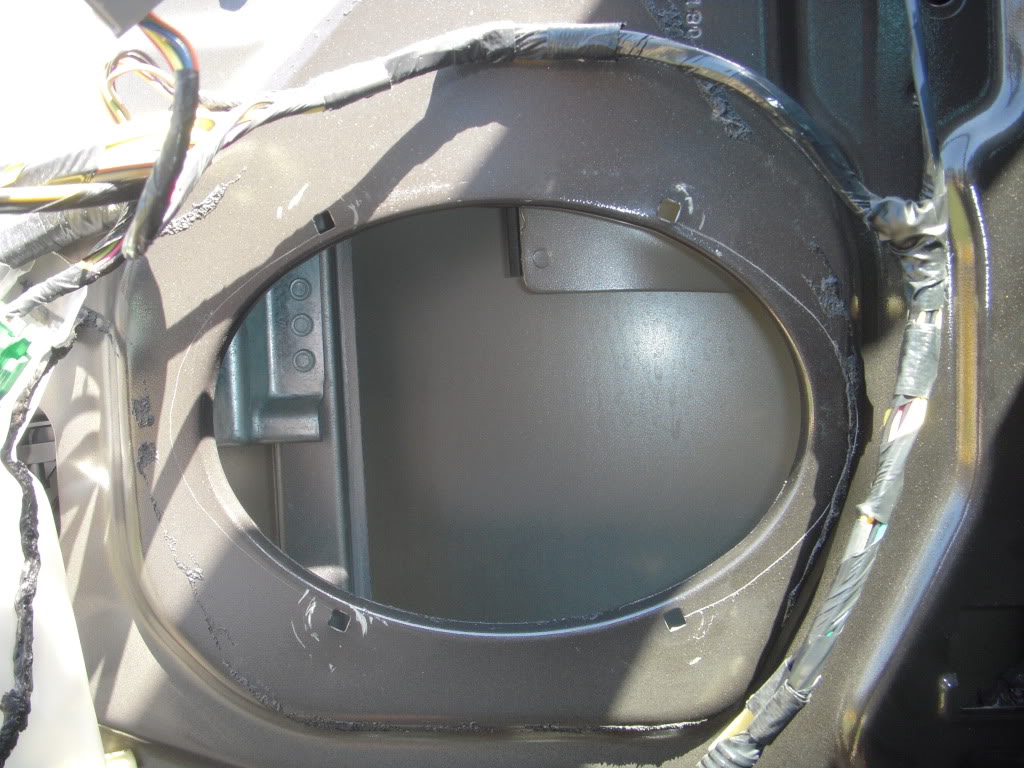
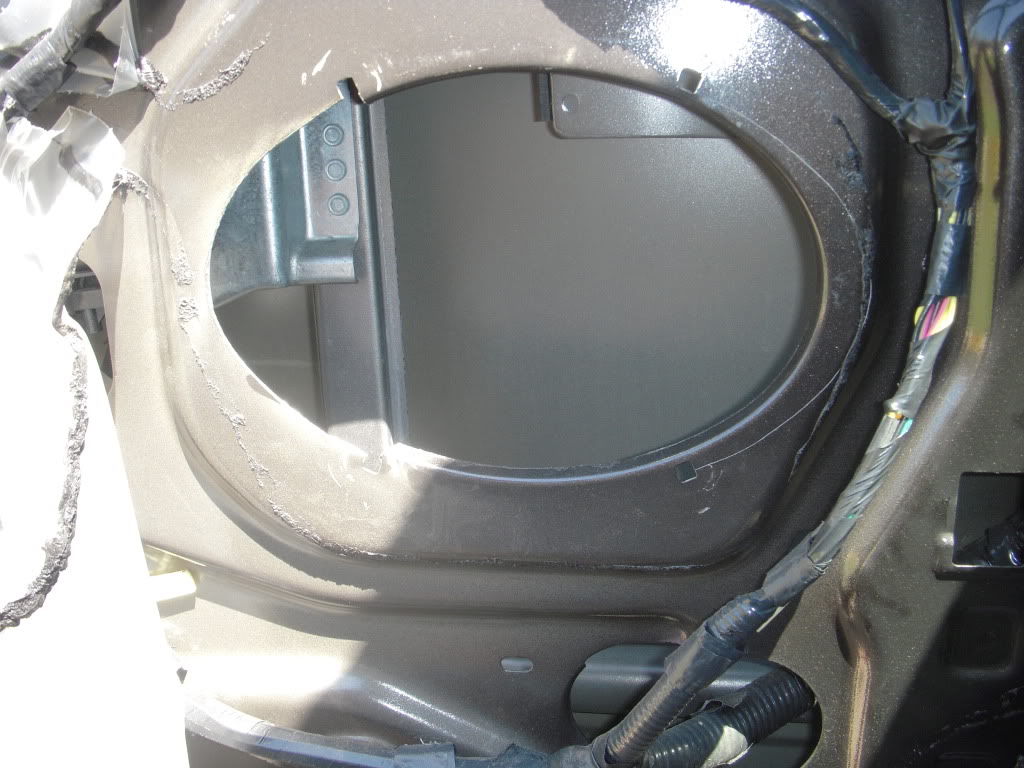
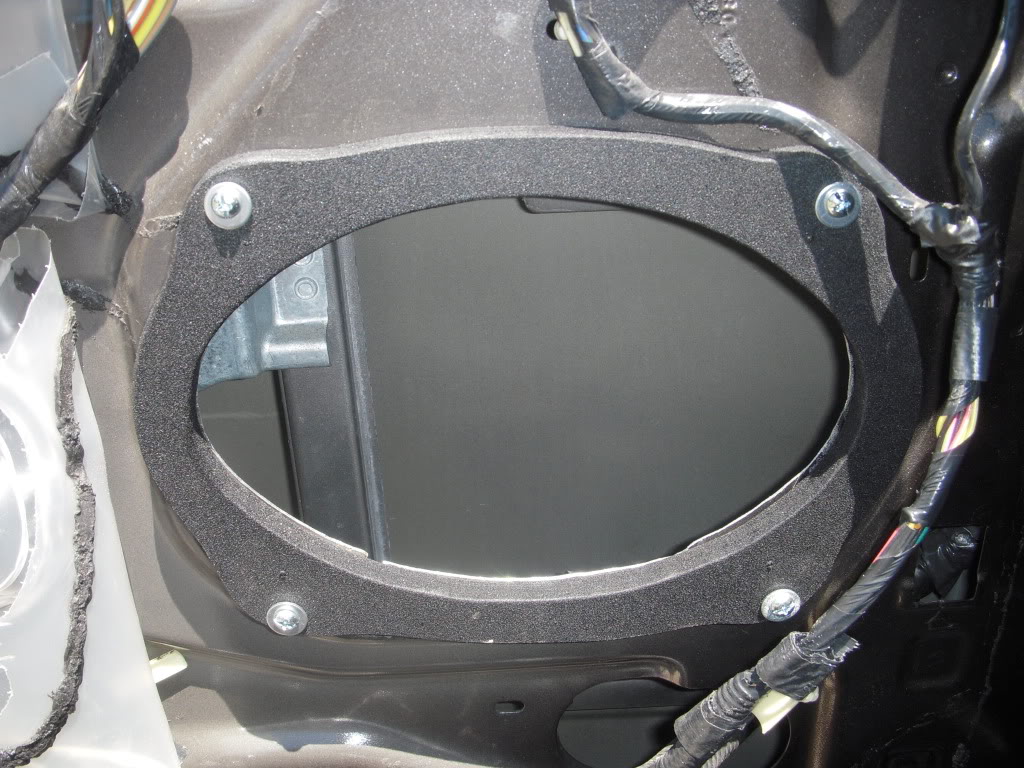
Took the door panel off and explosed the bare metal area where the speaker mounts..
I traced my template outline on the door. I made sure it was even on all four sides of the speaker. After tracing the outline, I used a rotary tool with a cutting wheel and carefully cut out the new 6x9 hole..
First picture is just a comparison of the Polk Audio MM691 6x9 vs Ford factory 5x7 speaker..
This is the speaker that I am replacing (Polk Audio dB571 5x7)..
Took the door panel off and explosed the bare metal area where the speaker mounts..
I traced my template outline on the door. I made sure it was even on all four sides of the speaker. After tracing the outline, I used a rotary tool with a cutting wheel and carefully cut out the new 6x9 hole..
07-25-2012, 02:51 PM
#9
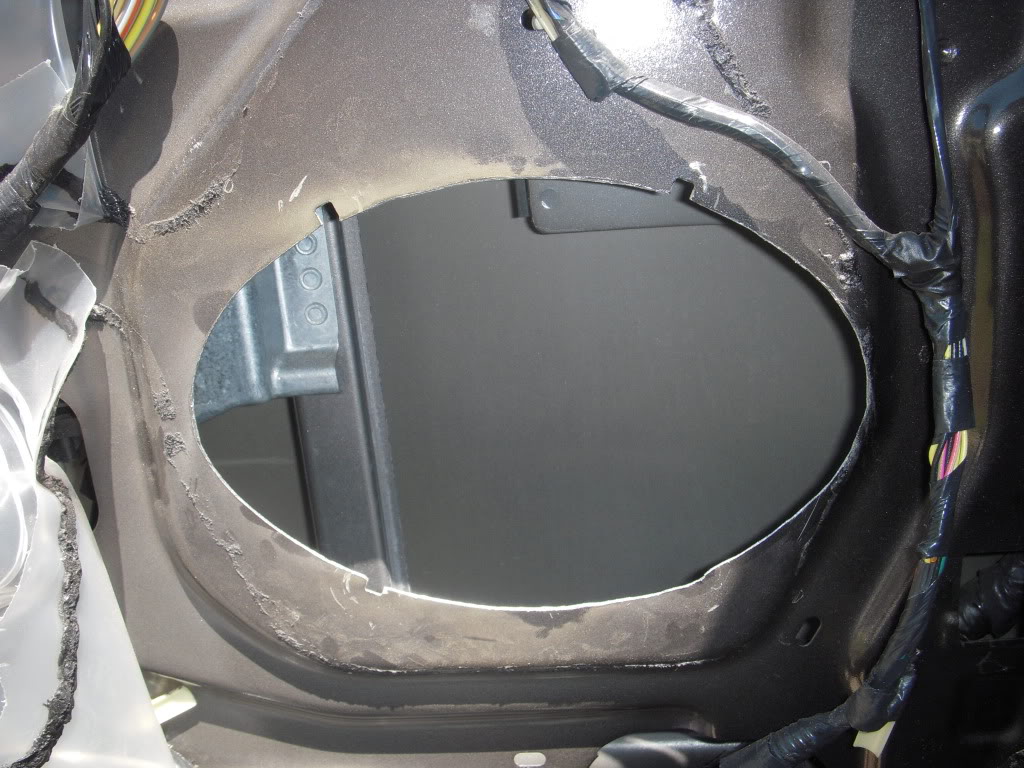
I made sure the speaker fit (of course it did). I drilled the mounting holes into the door with a drill and proper size drill bit. After that, I "test fit" the bracket to make sure all 4 mounting holes matched up to my template. When I was satisfied that it matched, touched up the bare metal with my bed liner spray. It was dry to the touch 15 minutes later. Then I decided to use two layers of fatmat sound deadening material over the speaker area..
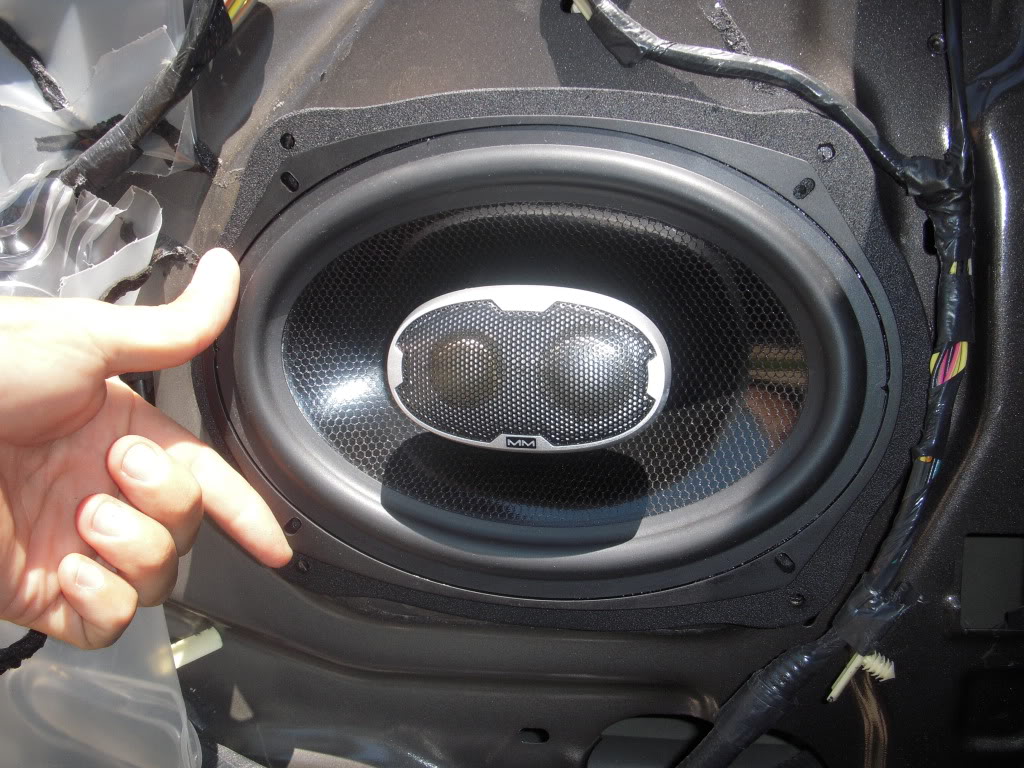
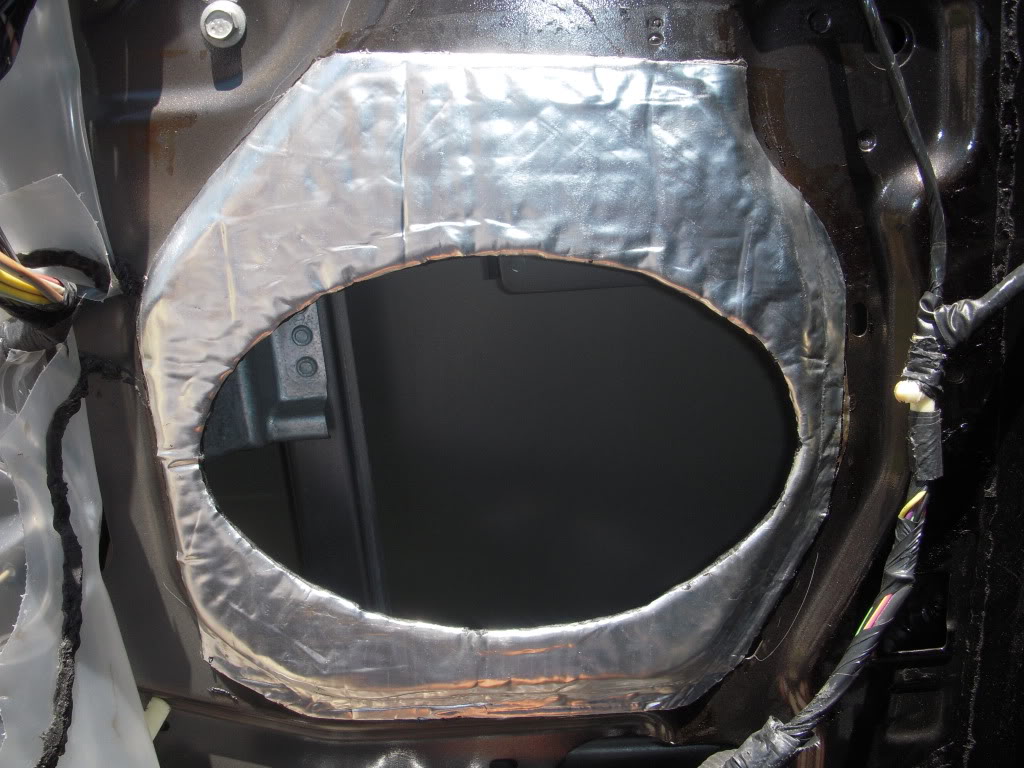
More to come (taking a lunch break).. haha
More to come (taking a lunch break).. haha