
(1) What did you and your truck do today?
 12-02-2013, 10:44 PM
Member

gone - Well it's dead simple. If you just want to do the lights, you will need a 10A fuseholder and about 25ft of 14 ga wire. You'll need to connect one end of the fuse holder to the + side of the battery and the other to the long wire which you will run along the frame to the back of the truck. If you remove one tail light (two screws) you can see a hole into the truck bed for the wiring. You will also need a ground wire which just needs to be only long enough to reach a screw into the body or frame. Instructions come with the dimmer. The LED's also come with instructions. They are real simple. Every 3 LEDs you will see four circular solder pads with a line between them. That is a cut line. You can cut the string at any cut line then solder two wires to the pads (I used small gauge speaker wire). I cut the velcro into strips as wide as the lights, then peeled backing off of both and stuck them together. Work a few inches at a time. Both are really sticky. I also used the velcro to hold the wire to the shell. Makes a neat installation.


The following users liked this post:
ComQuest (12-05-2013)

 12-03-2013, 04:21 PM
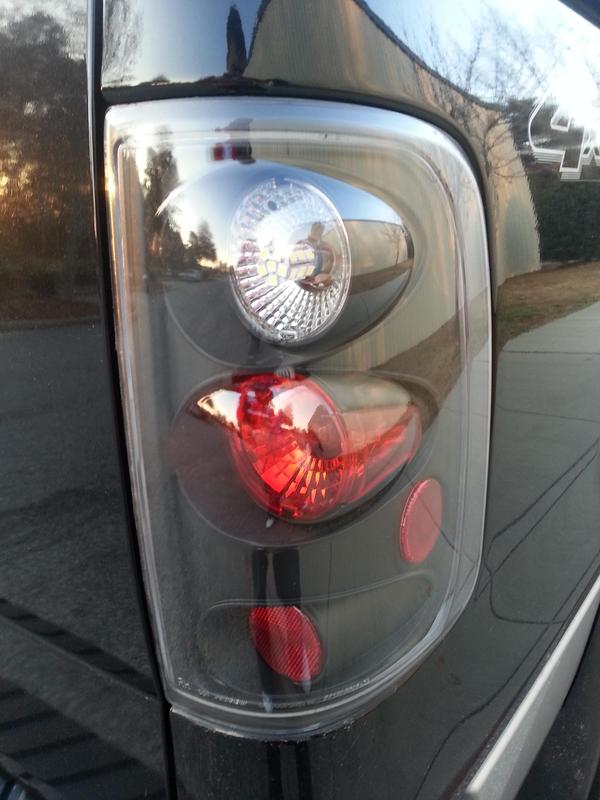
I installed these tail lights I bought from a member. I like the way they look a lot, but even better than that, I wanted to get some extra reverse lights, I couldn't see anything behind me at night. I got a LED light kit off ebay, and out them in when I installed the new tails. OMG I can't believe how bright they are! couldn't be happier
Last edited by pcastal; 12-03-2013 at 07:39 PM.
12-03-2013, 05:10 PM
Senior Member

Join Date: Aug 2013
Location: North Toronto, Hwy 400/Steeles
Posts: 860
Received 218 Likes
on
160 Posts
Installed a resonator on my loud exhaust. Now the dog has no bark. 
12-05-2013, 12:25 AM
Unique & Different
With an 8ft bed and a cap and bedrug, you just have to have lights. They are LED strips from http://www.theledlight.com/ ST 60LPM WW RL
That's a whole roll. 5 meters. I have only used two 6ft strips so far and it is plenty of light. I used the hook side of velcro to attach it to the carpeted inside of my shell. I also ordered a dimmer Z 15900. Not cheap but very well made.
Should be great for camping now. I also added a 12V power port and some additional outputs for more lights.
The shell comes with a small light in the rear. They usually install a circuit from the battery. I asked the shell installer to use large wire.They installed a 10A fuse holder and 15A fuse at the battery and 12ga wire. I replaced that with a 30a fuse and holder. Also removed quite a bit of corrosion around the positive terminal and treated it so it should not return.
Wow...Awesome. Look good too.
12-06-2013, 11:48 AM
Senior Member
12-06-2013, 12:37 PM