When you click on links to various merchants on this site and make a purchase, this can result in this site earning a commission. Affiliate programs and affiliations include, but are not limited to, the eBay Partner Network.
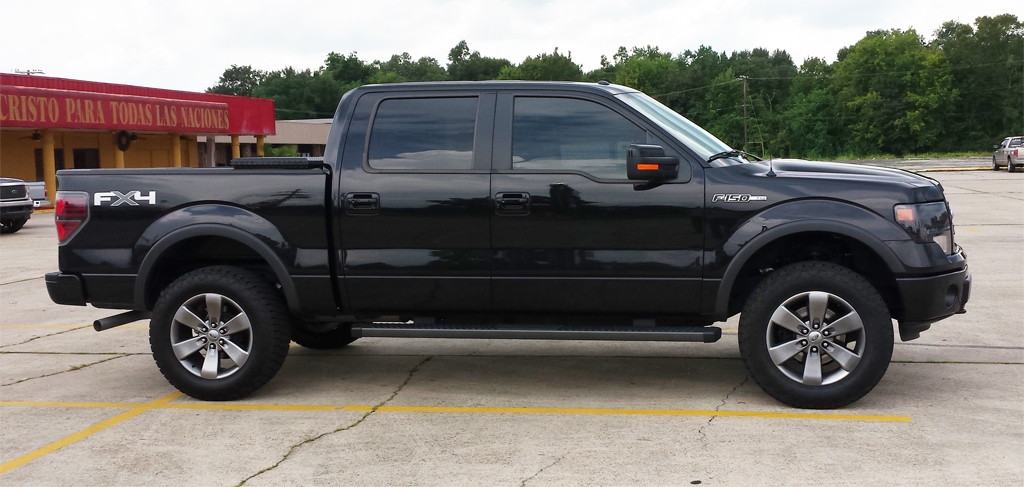
I measured mine how ever many inches below the bed rails I wanted them and however far from the taillights and just marked it with some scotch tape then slapped them on. They may be off by a 1/4 inch but no one can tell.
Blue tape works great as a guide. You can go off the location of your existing decal, if the new one is the same size. I scaled mine up a bit, so I used the top of the bed and the taillight housing as measuring points.
Once you remove the old decal, make sure the body is clean and free of any old adhesive. You'll probably need to use something strong (just be careful -- I had to lightly dab a couple tough spots with acetone on a rag, which can be really, really bad stuff for your paint and any plastics). Wash each side, too, if needed (but don't wax prior to install). Lastly, go over the area where the decal will be applied with rubbing alcohol on a microfiber rag.
Next, I did a trick that was recommended by the guy who made my decals -- I would not have thought it smart; however, it made installation SO easy... Put two to four drops of dishwashing soap in a 16-32oz spray bottle and shake to make a soapy spray. I spritzed it all over the body panel immediately prior to laying down the decal. The spritz gives the vinyl a little slip, and allowed me to rub the masking down with a credit card in order to ensure a 100% bubble-free install. Once the spritz nearly evaporated, I gently pulled off the masking -- and once 100% dry, my new decals were good to go.


 07-07-2015, 11:55 PM