
Audio fabrication for my 03
 03-31-2014, 05:42 PM
#1

Audio upgrades
Big 3(All 1 ga. mining wire) (350 amp fused wire to amp d-block)
All amp wires and dblocks (1ga mining wire)-250amp fuse and 100 amp fuse
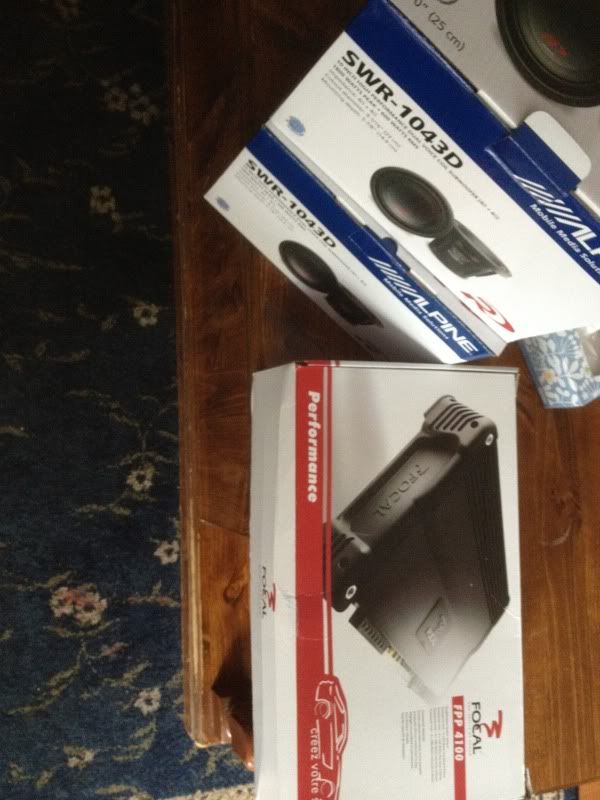
HU- Alpine CDA 7894, KCA 420i, C701 Processor
Front- 6.5 Focal K2 Powers
Rear- 6x8 Alpine R's
Subs- 2x Full size 10" Type R's
Amps- Focal FFP 4100(95x4 at 4)
Amp - Rockford Power Series T1500-1bdCP (1932 rms at 1)
Custom Enclosed Under seat box - 2 Type R's with approx .74ft^3 per sub
Custom Amp Rack
Custom Rear seat(refabbed)
Headunit and Options
Alpine CDA 7894 (AMAZING SQ and Options) also the green matches the 03's factory lighting. 3 -4V preouts
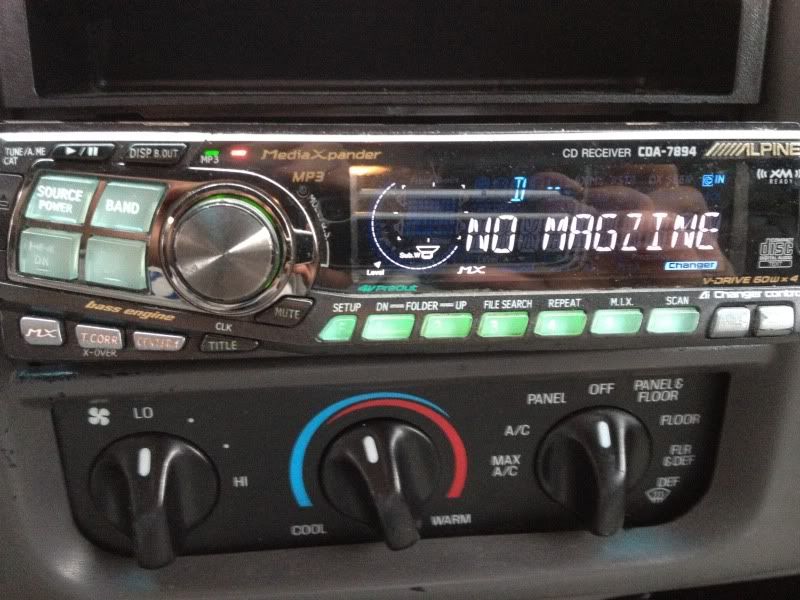

KCA 420 for Iphone's and Ipods
For the Box
Start of the design.
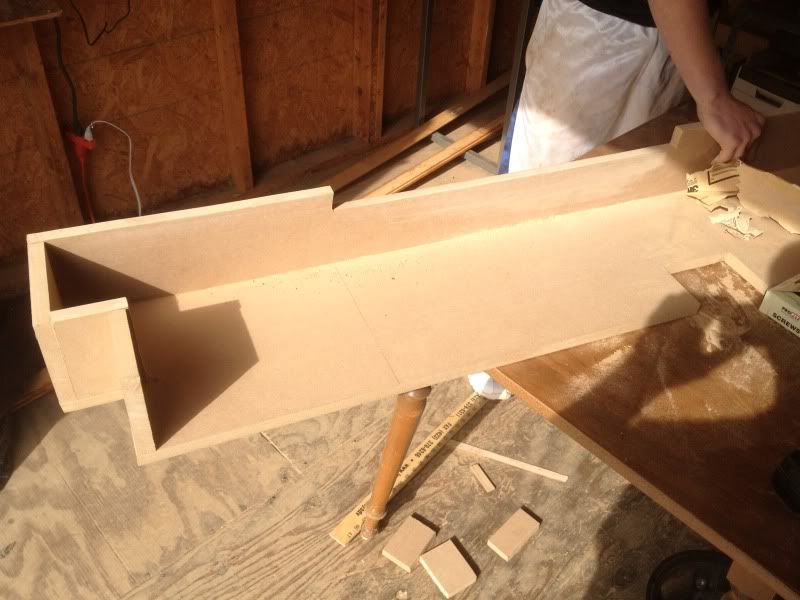
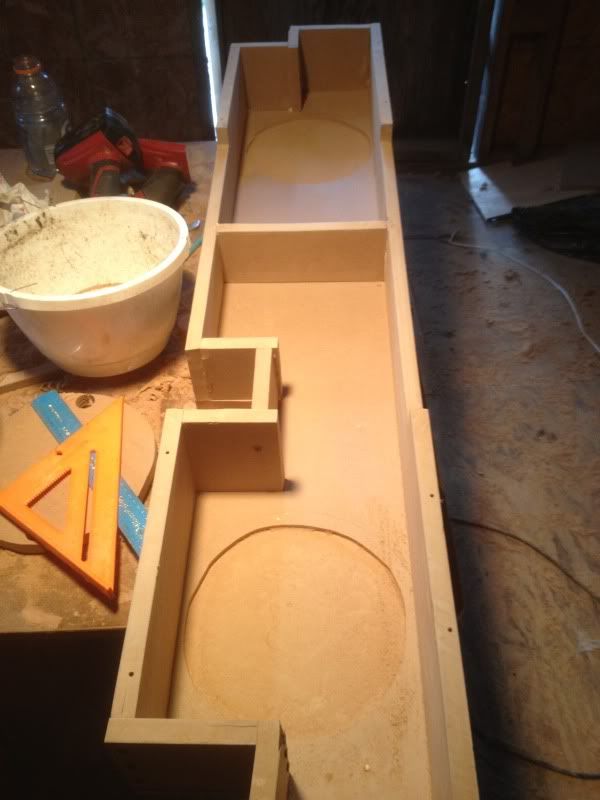
Here's when I finished the frame and internals of the two 10" type R's box
Notice the down firing spec. By going that route I had about 5.875 top mounting depth.
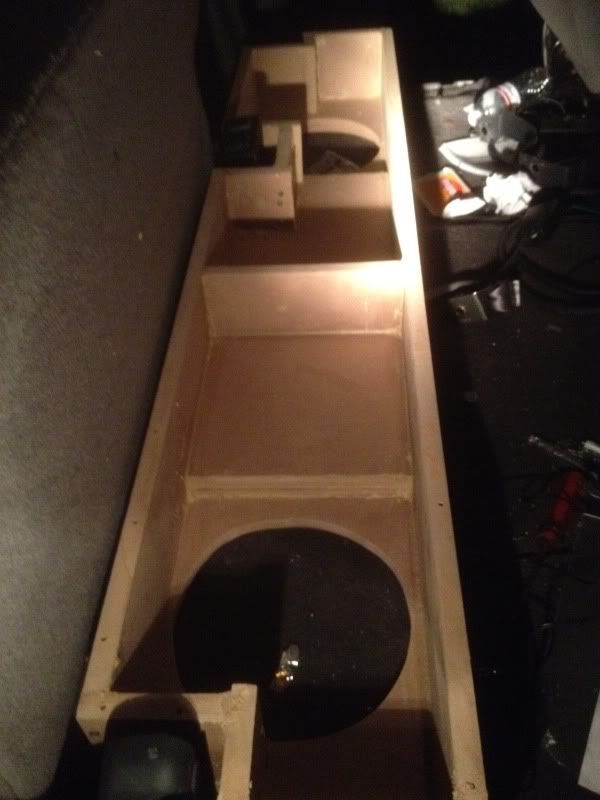
Also note how I countersinked them about 1/4 ito the MDF to help with some depth
Big 3(All 1 ga. mining wire) (350 amp fused wire to amp d-block)
All amp wires and dblocks (1ga mining wire)-250amp fuse and 100 amp fuse
HU- Alpine CDA 7894, KCA 420i, C701 Processor
Front- 6.5 Focal K2 Powers
Rear- 6x8 Alpine R's
Subs- 2x Full size 10" Type R's
Amps- Focal FFP 4100(95x4 at 4)
Amp - Rockford Power Series T1500-1bdCP (1932 rms at 1)
Custom Enclosed Under seat box - 2 Type R's with approx .74ft^3 per sub
Custom Amp Rack
Custom Rear seat(refabbed)
Headunit and Options
Alpine CDA 7894 (AMAZING SQ and Options) also the green matches the 03's factory lighting. 3 -4V preouts
KCA 420 for Iphone's and Ipods
For the Box
Start of the design.
Here's when I finished the frame and internals of the two 10" type R's box
Notice the down firing spec. By going that route I had about 5.875 top mounting depth.
Also note how I countersinked them about 1/4 ito the MDF to help with some depth
 03-31-2014, 05:43 PM
#2
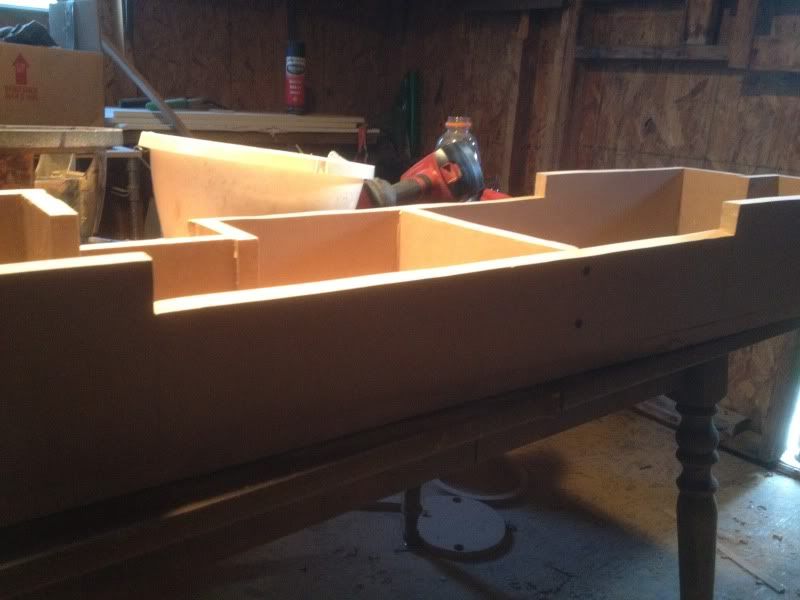
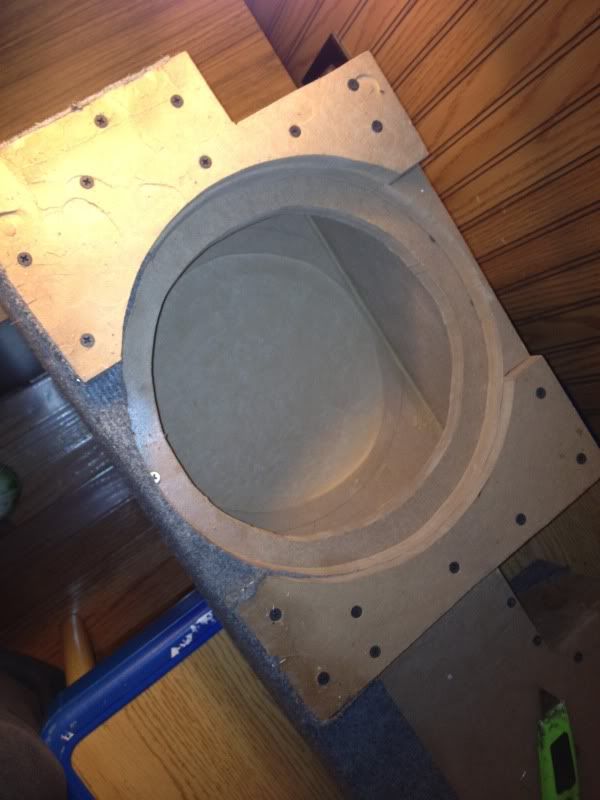
I used an old Type R I blew as a guide to go by. Also helped out with making the proper baffle
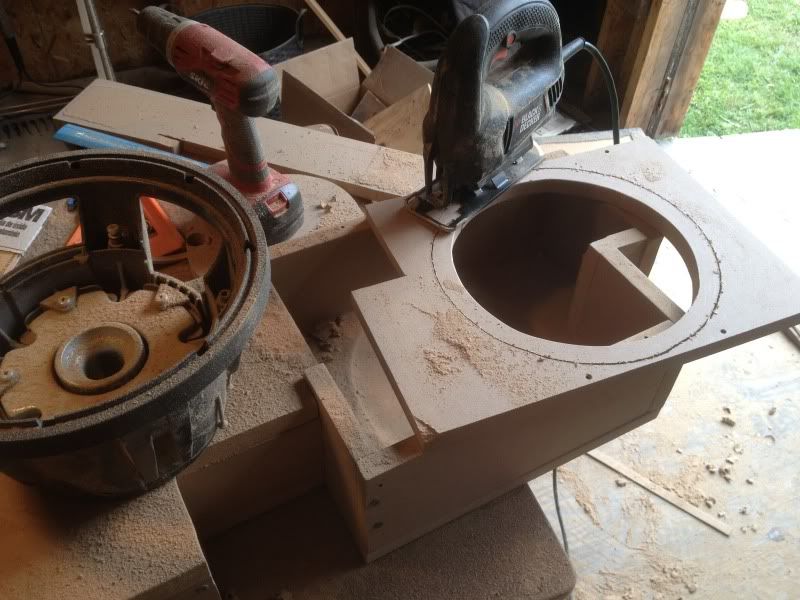
Heres the double baffle which will serve as a mounting place for the legs to lift the box to give room for excursion of about 20mm.

Heres the ("legs") on top of the baffle to give room for the Xmax
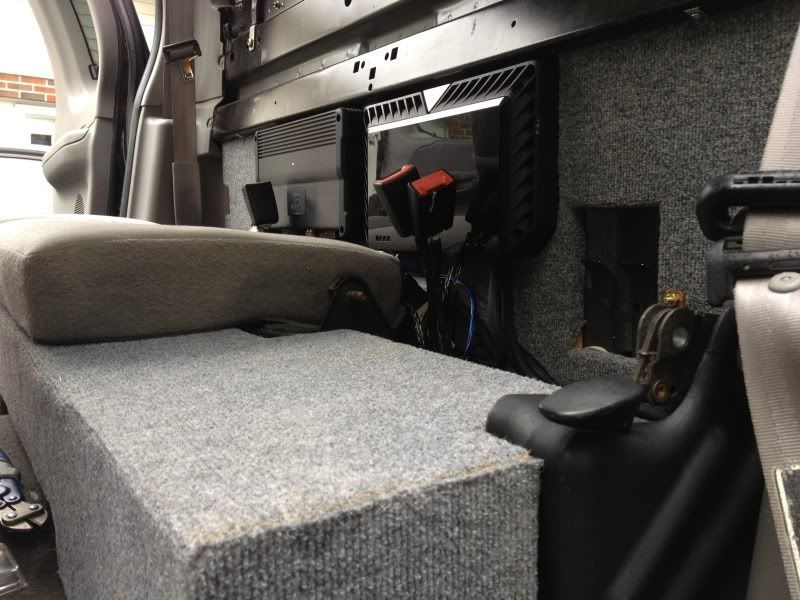
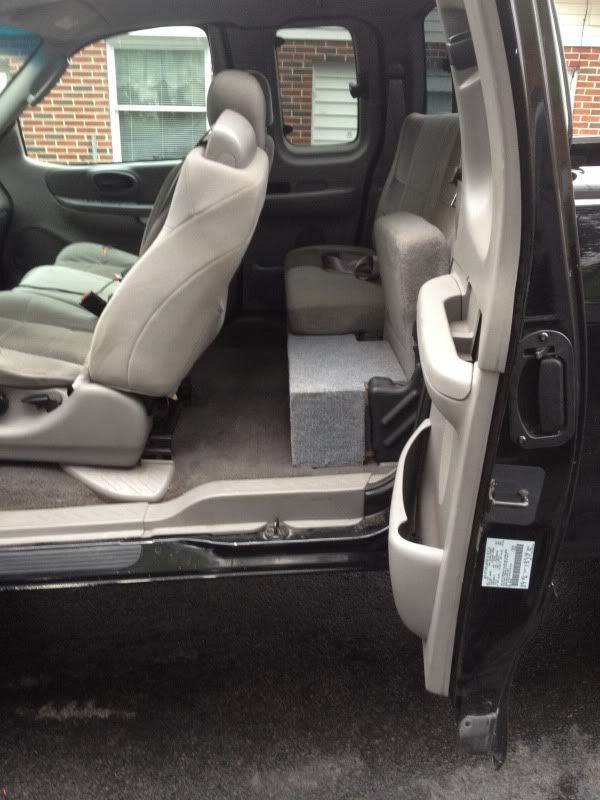
With carpet on it fitting into the back seat slots.
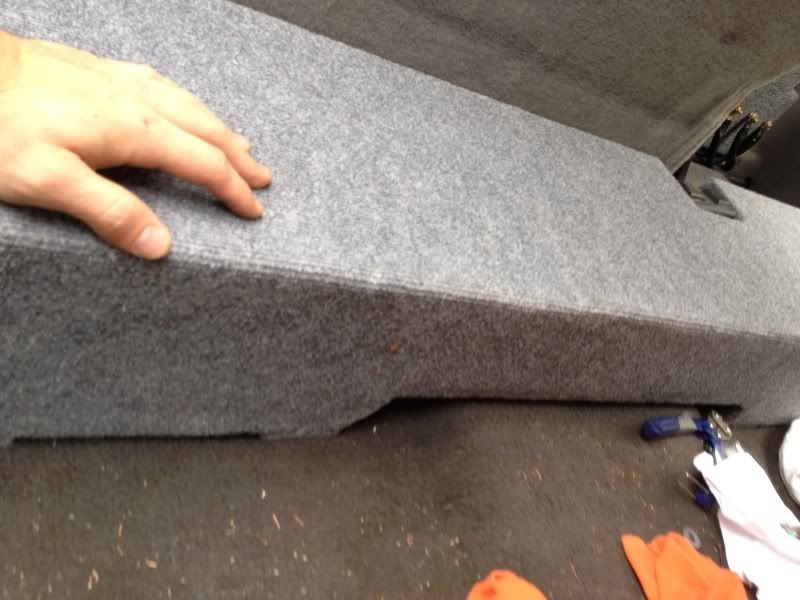
Legs holding it up to breathe and not hit the floor
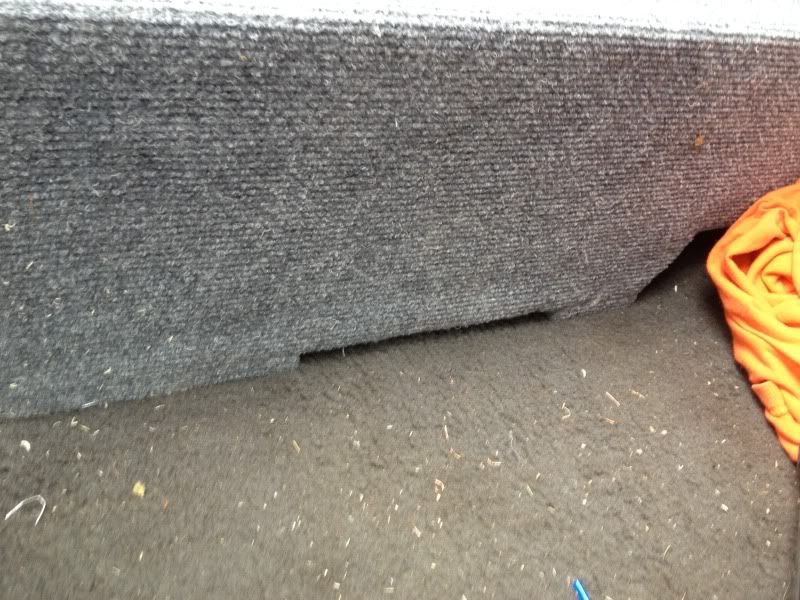
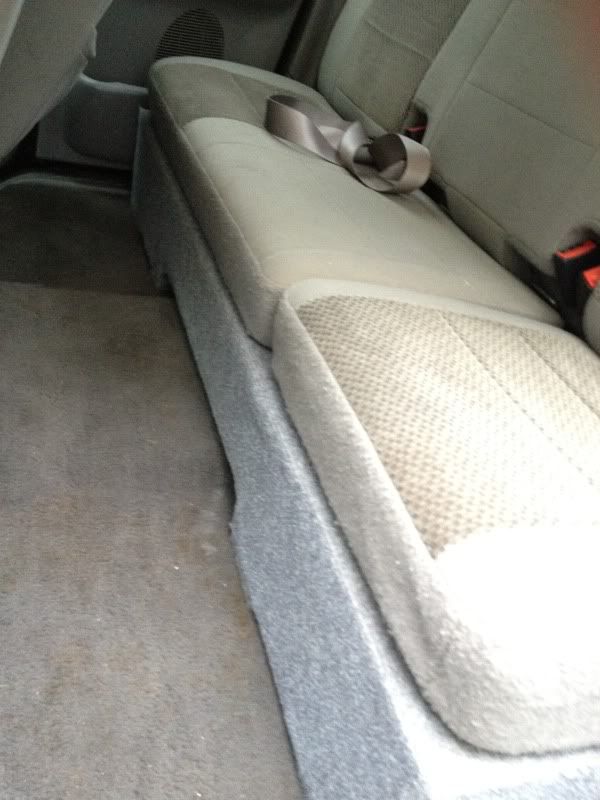
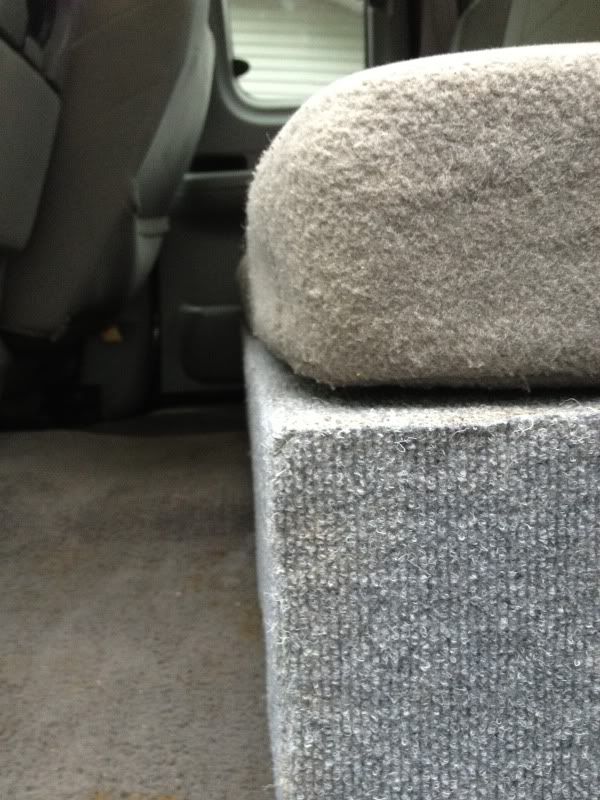
Notice how flush it is to the rear seat(11.25inches)
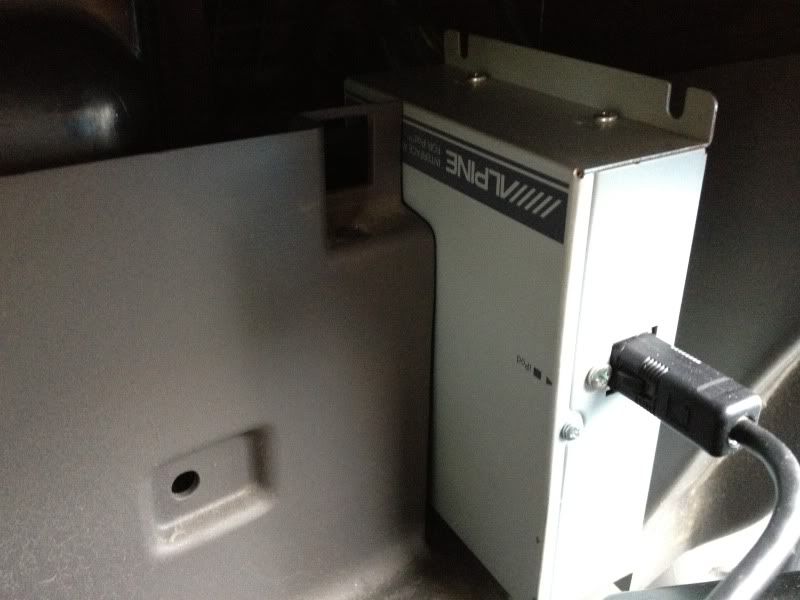
Next I upgrades the "big 3" with 1ga mining wire. Then ran the same wire to my dist block for the amps.
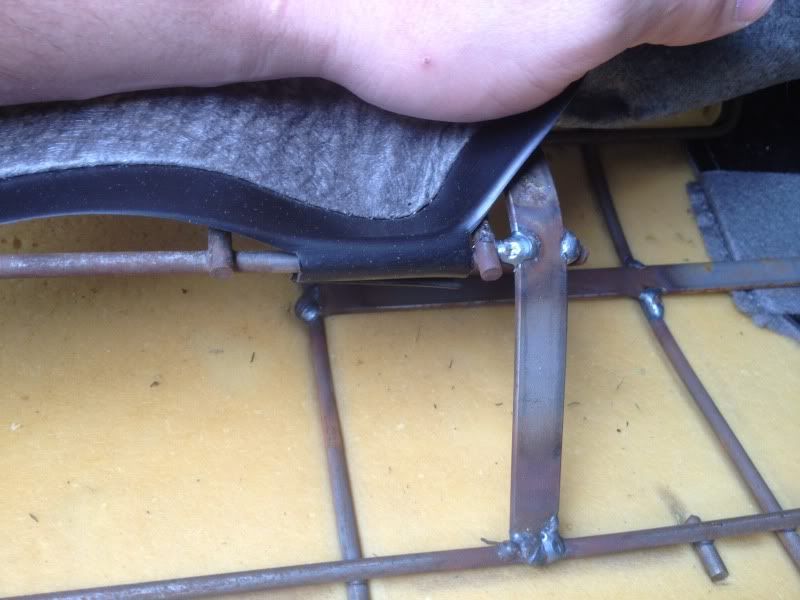
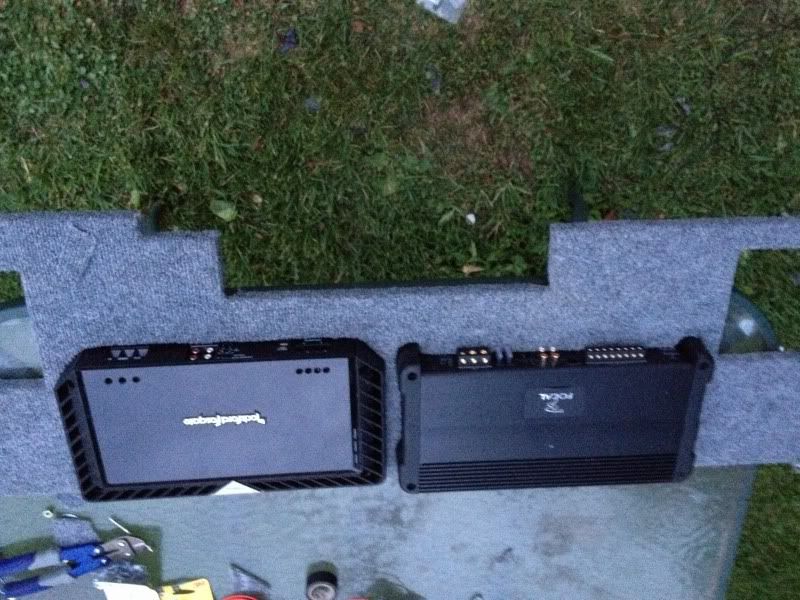
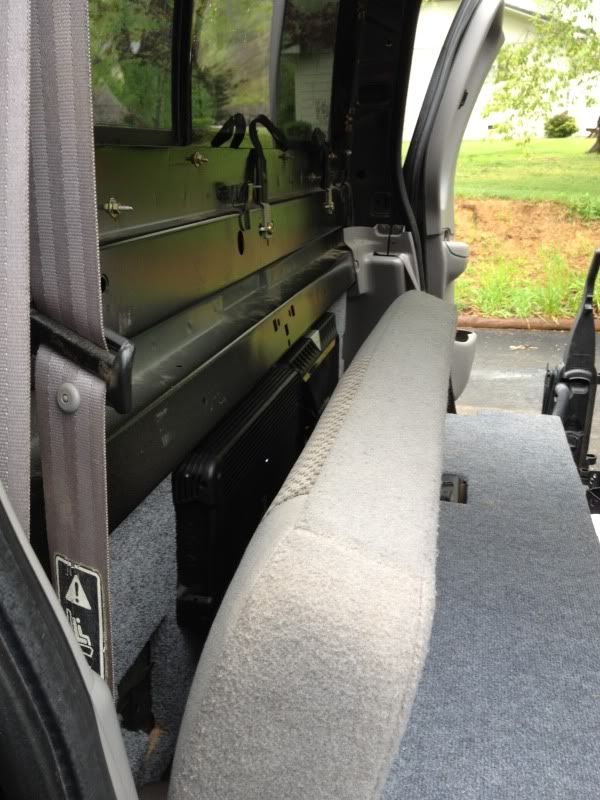
Now for the back seat amp rack since I got these in:
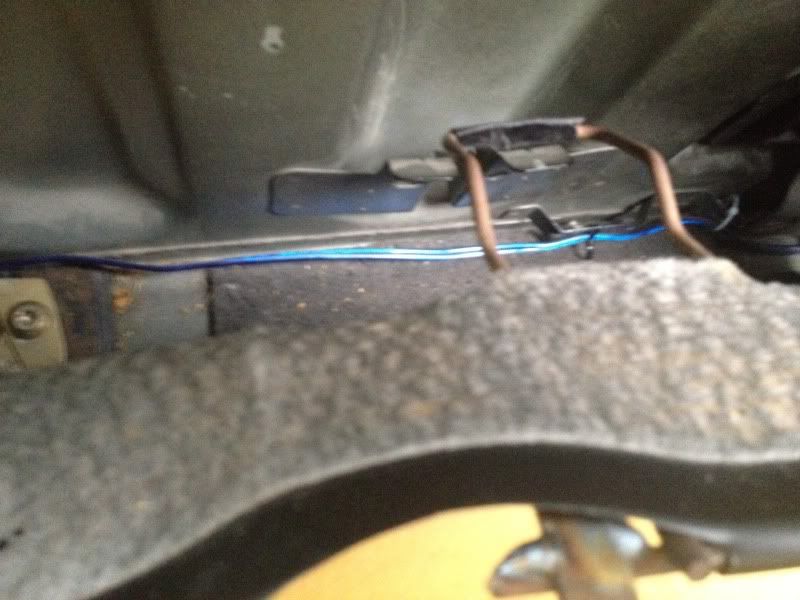
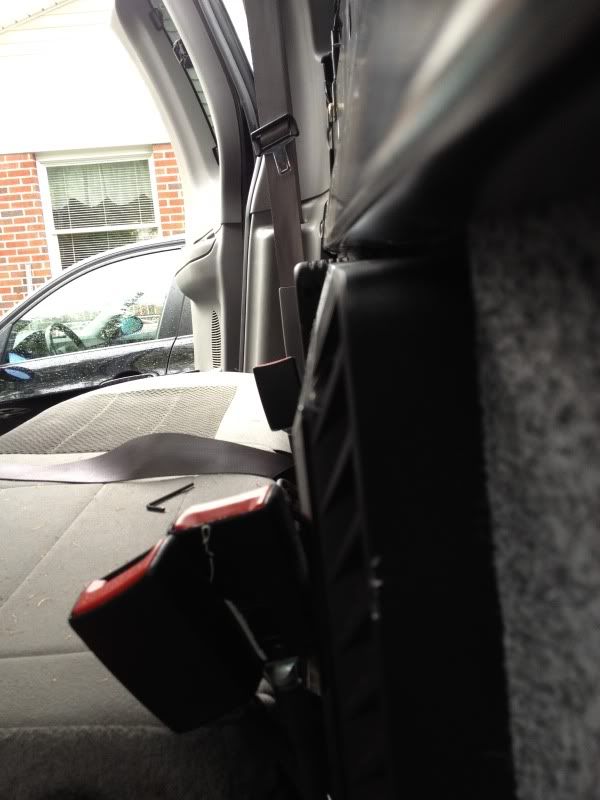
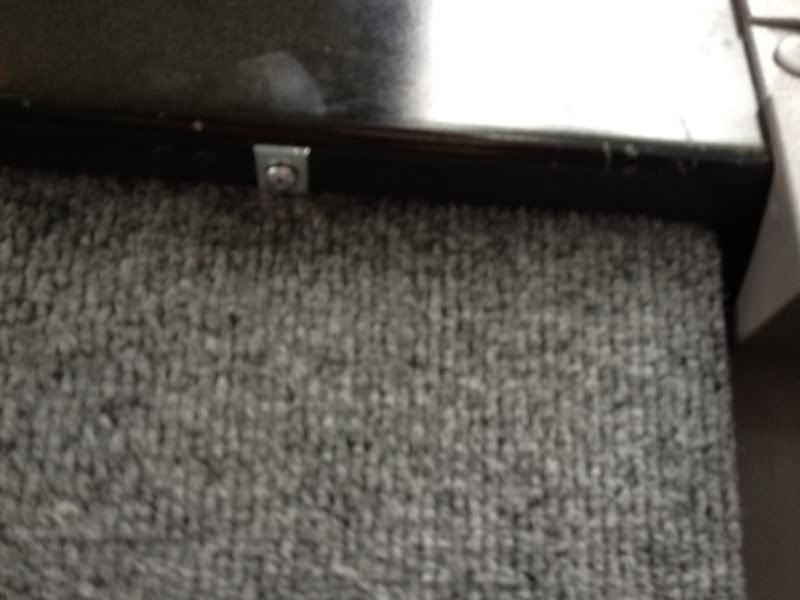
Notice the two brackets holding the back seat to the cabin. I had to refab this part to make room for the amp rack. Heres a shot of what I am talking about
Heres the double baffle which will serve as a mounting place for the legs to lift the box to give room for excursion of about 20mm.
Heres the ("legs") on top of the baffle to give room for the Xmax
With carpet on it fitting into the back seat slots.
Legs holding it up to breathe and not hit the floor
Notice how flush it is to the rear seat(11.25inches)
Next I upgrades the "big 3" with 1ga mining wire. Then ran the same wire to my dist block for the amps.
Now for the back seat amp rack since I got these in:
Notice the two brackets holding the back seat to the cabin. I had to refab this part to make room for the amp rack. Heres a shot of what I am talking about
03-31-2014, 05:44 PM
#3
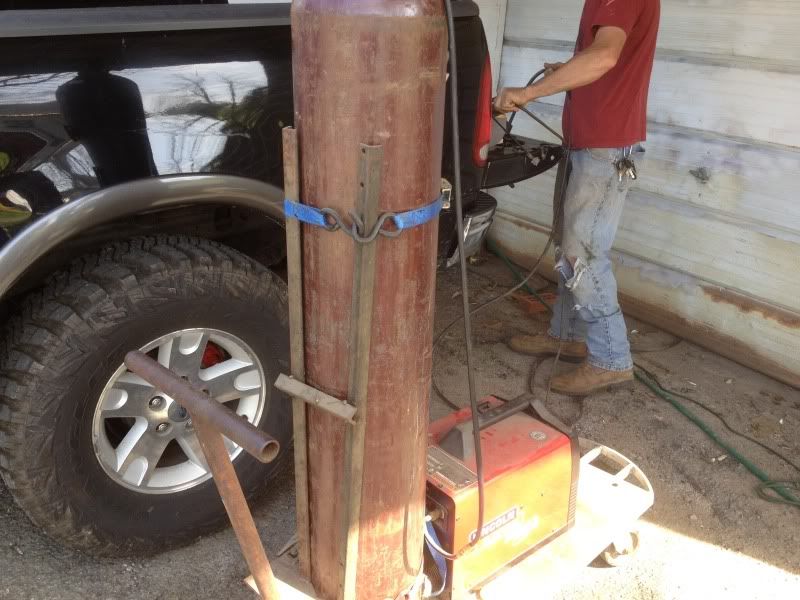
Now to the welding and bracing part for the back seat frame.
Obviously this requires a welder, heres the one I used.
I had to cut some of the old framing for the back seat off to make room for two 15inch wide amps. Once I cut the excess of I re-welded some steel rods for support(two places where the back seat is held to the cab)
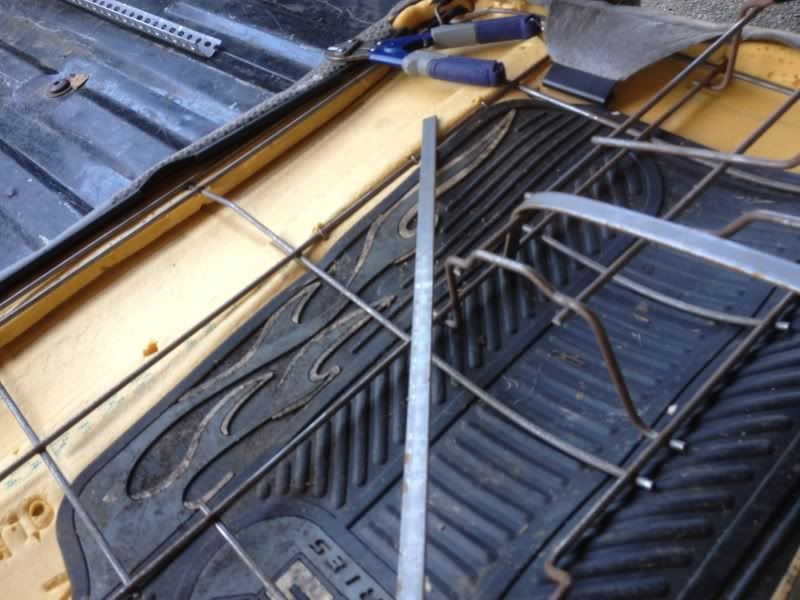
Once I made room it was time to fab the MDF amp itself.
Here is a few shots of the amps being couternsinked into the MDF to leave room for the seats


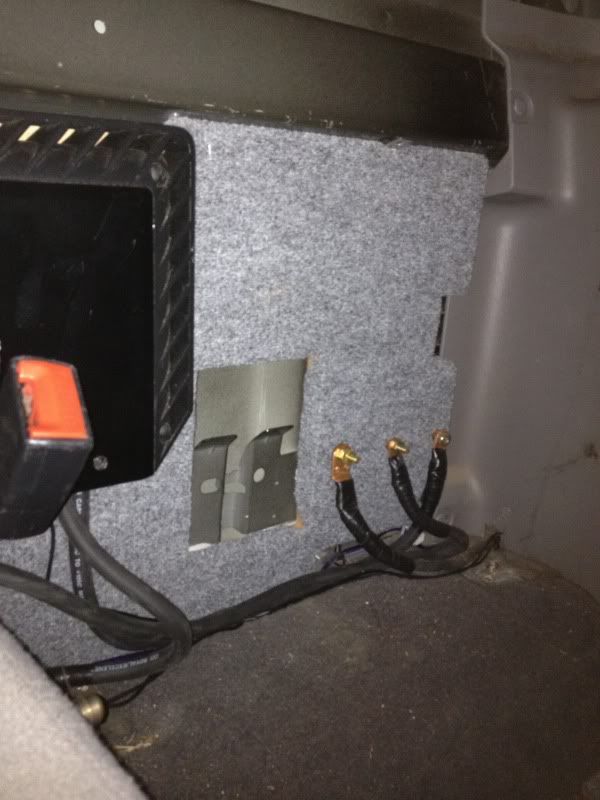
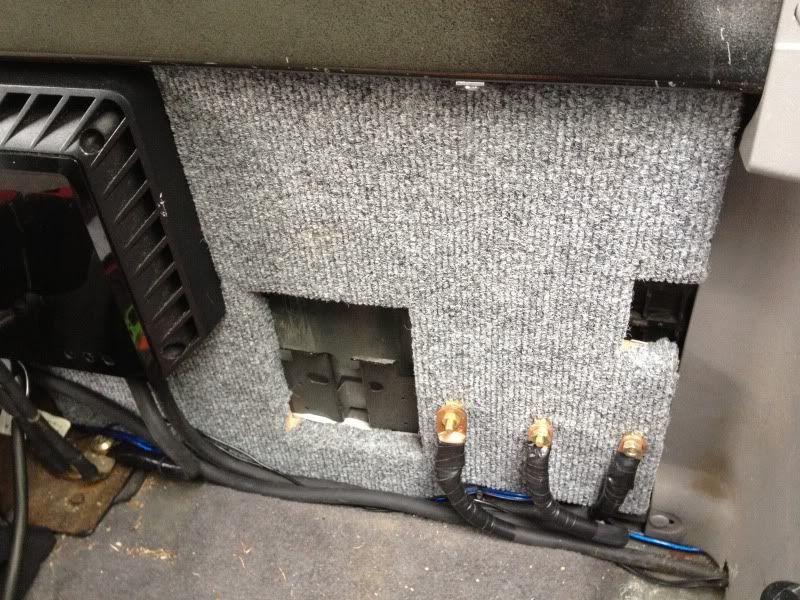
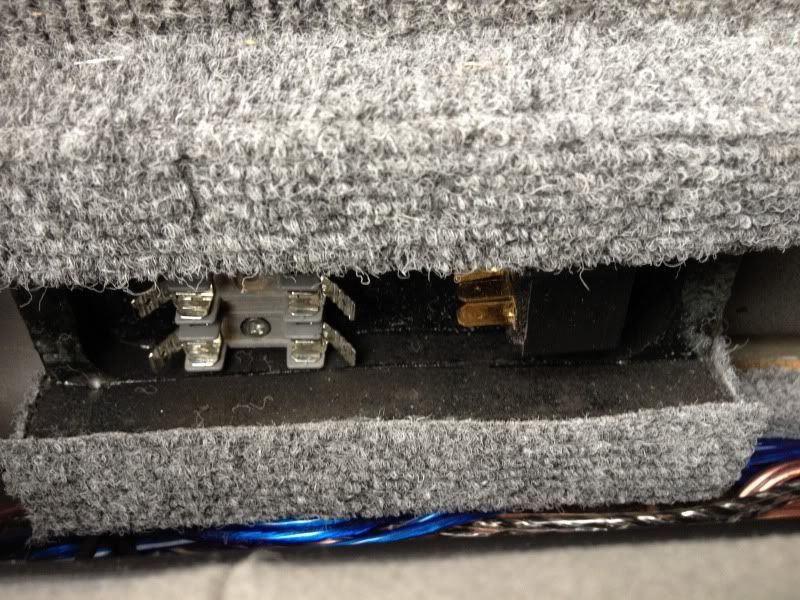
I also used the amp rack to hold some bolts for a distribution block. I hate paying crazy amounts for stupid fuse blocks and dblocks when you can make one this simple. I used a copper bar on the rear countersinked(covered with plexiglass) to attach a 250, and 100 amp fuses. This was all done with 1ga mining wire.
Obviously this requires a welder, heres the one I used.
I had to cut some of the old framing for the back seat off to make room for two 15inch wide amps. Once I cut the excess of I re-welded some steel rods for support(two places where the back seat is held to the cab)
Once I made room it was time to fab the MDF amp itself.
Here is a few shots of the amps being couternsinked into the MDF to leave room for the seats
I also used the amp rack to hold some bolts for a distribution block. I hate paying crazy amounts for stupid fuse blocks and dblocks when you can make one this simple. I used a copper bar on the rear countersinked(covered with plexiglass) to attach a 250, and 100 amp fuses. This was all done with 1ga mining wire.
03-31-2014, 05:45 PM
#4
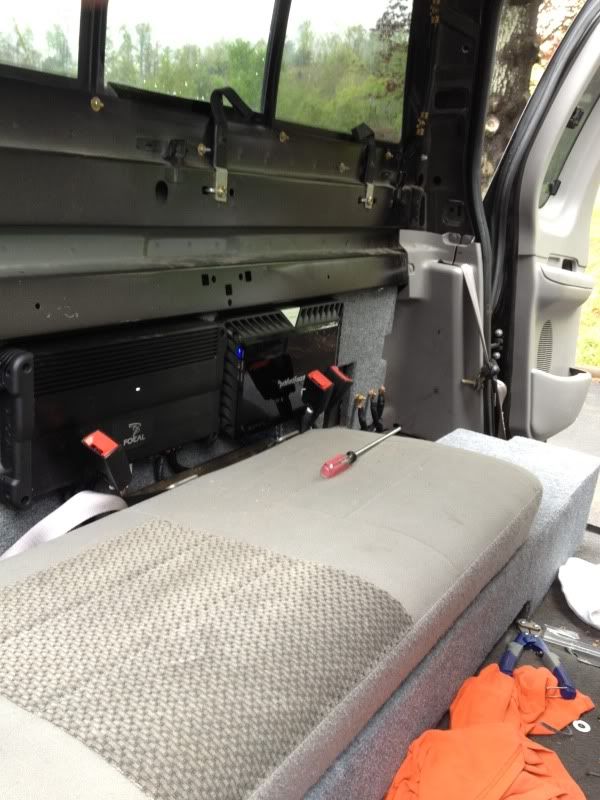
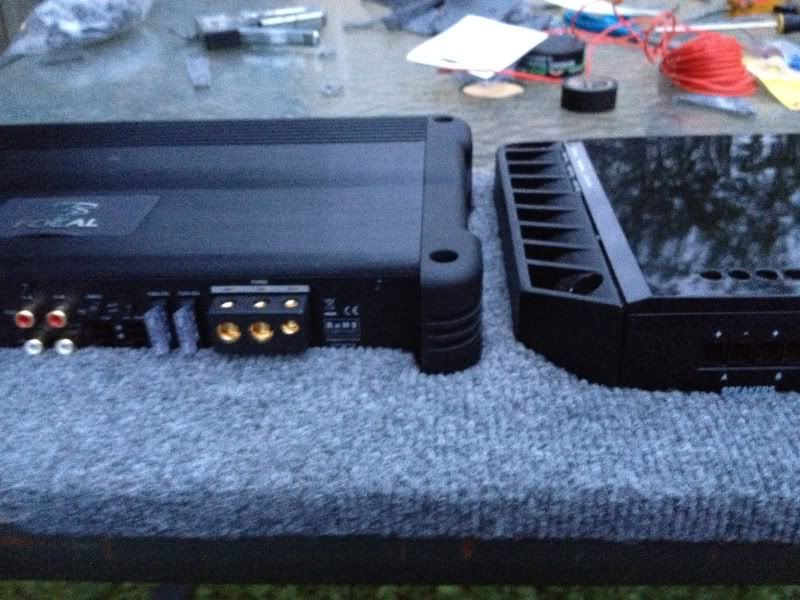
Heres a few shots with the amps in place
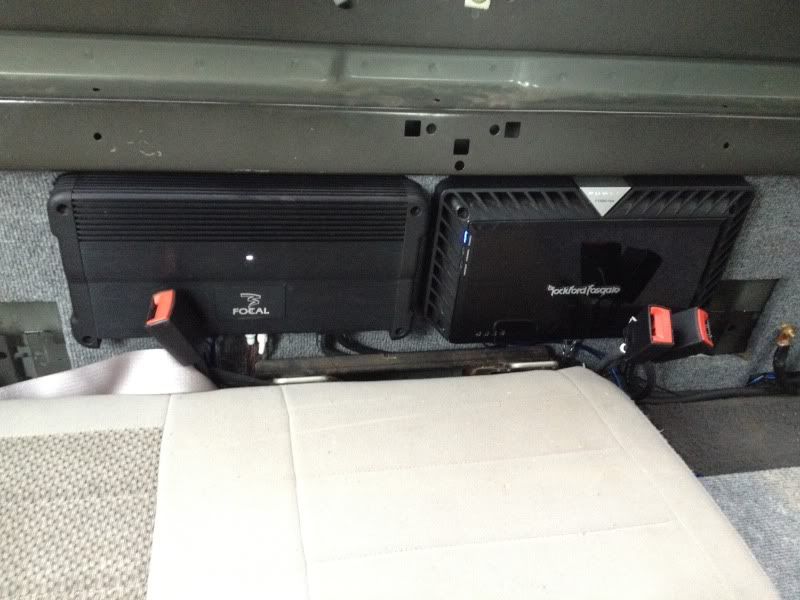
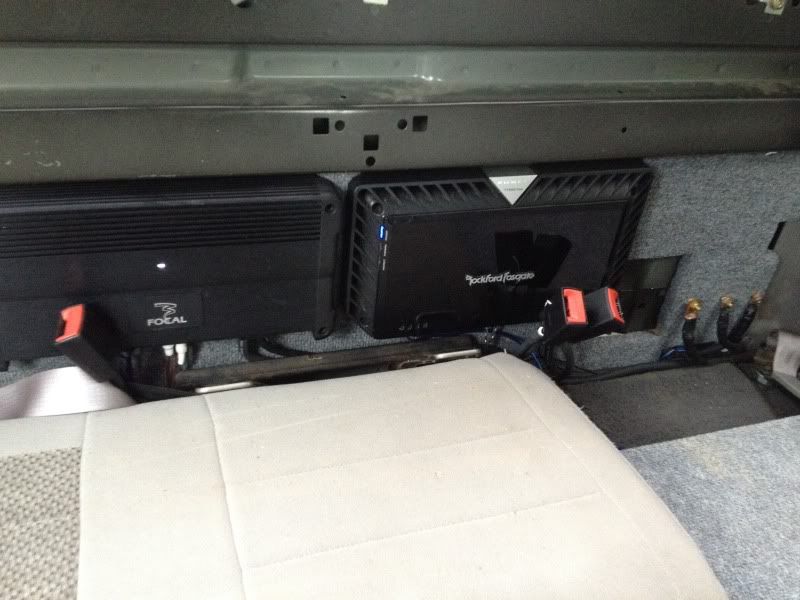
I didnt have much room to work with
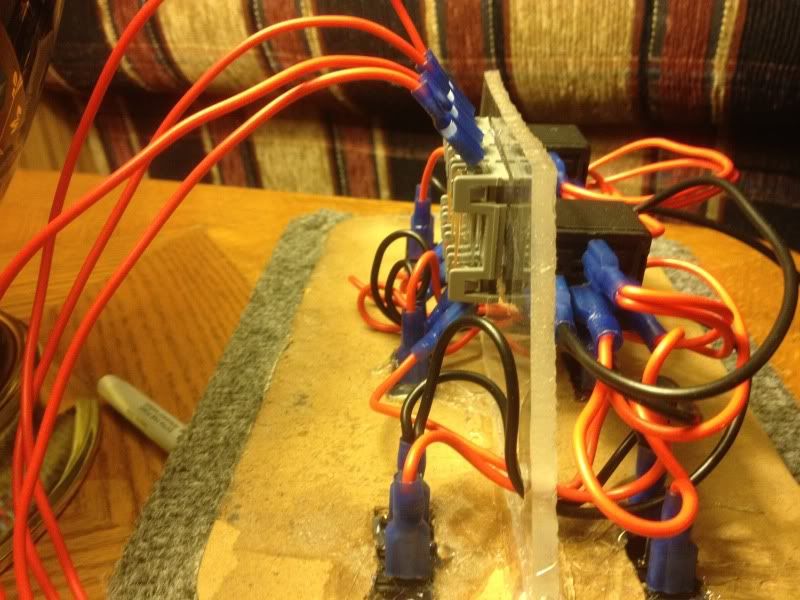
Made a built in slot to hold relays, and fuses for; Fans, Heatsink Fans, and a better Remote signal(this has a sliding place for a piece of plexiglass)
More relays and switches hid to run 30amp for lights and 4" Vent fans.
I used L brackets to mount it to the stabilizing bar for the cab
I didnt have much room to work with
Made a built in slot to hold relays, and fuses for; Fans, Heatsink Fans, and a better Remote signal(this has a sliding place for a piece of plexiglass)
More relays and switches hid to run 30amp for lights and 4" Vent fans.
I used L brackets to mount it to the stabilizing bar for the cab
 03-31-2014, 05:48 PM
#6
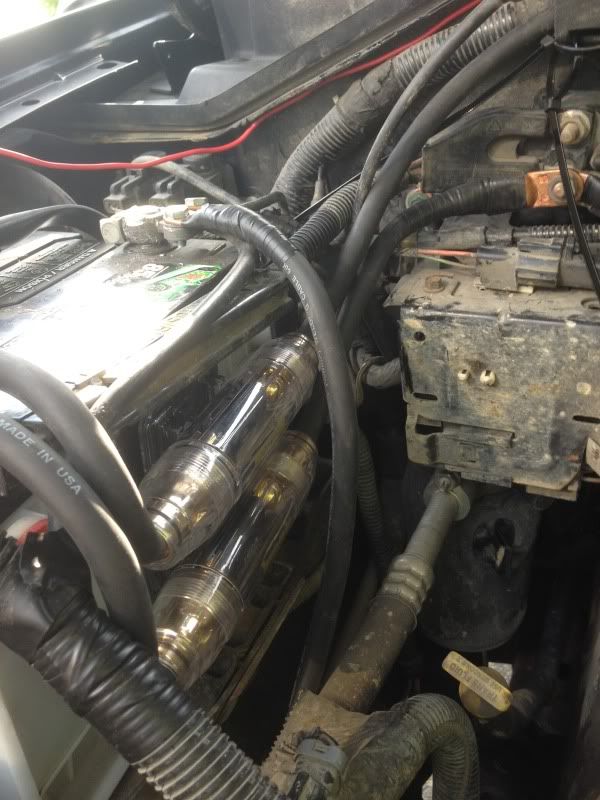
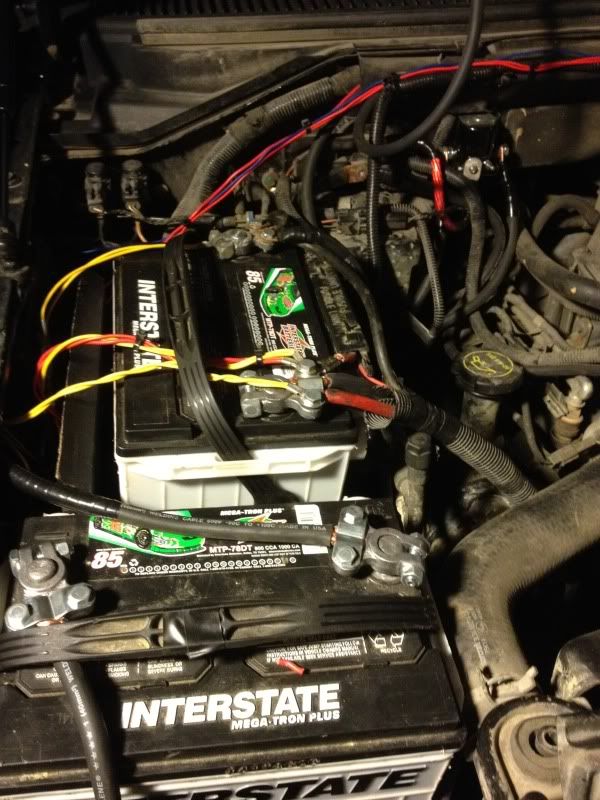
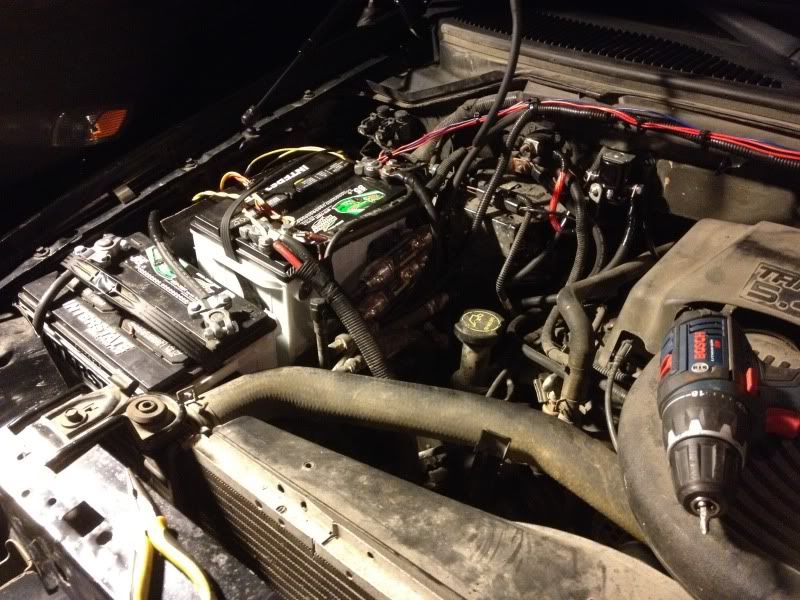
I had a hell of a time fitting mine in there. I also wanted to keep my washer fluid tank, so that was.. well most of the write up
Dual 1000CA interestate's with extra starter relay (so I am never without cranking power). These are fairly large and heavy batteries (both together are over 100lbs) so it was a very very tight fit and took pretty heavy duty angle iron to weld them in place. (bolted the angle to the factory bolt locations)


Dual 1000CA interestate's with extra starter relay (so I am never without cranking power). These are fairly large and heavy batteries (both together are over 100lbs) so it was a very very tight fit and took pretty heavy duty angle iron to weld them in place. (bolted the angle to the factory bolt locations)
03-31-2014, 10:08 PM
#7
Nice work! The red and blue wires at the top could be in 3/8 split loom and put into the original wire tray at the top of the fire wall by the wiper cowl. I like the dual battery set up. Did you go with a Isolator or just the relay? I just upgraded my alternator and charge wire and all the grounds to 4 awg. the stock charging wire is a joke.
Trending Topics
03-31-2014, 10:14 PM
#8
Nice work! The red and blue wires at the top could be in 3/8 split loom and put into the original wire tray at the top of the fire wall by the wiper cowl. I like the dual battery set up. Did you go with a Isolator or just the relay? I just upgraded my alternator and charge wire and all the grounds to 4 awg. the stock charging wire is a joke.
Actually took one of the batteries out, been working on a fairly large project and need the extra space in the bay. This was done about 2 years ago.
03-31-2014, 10:28 PM
#9
Looks good though. In the last 6 months I redid my interior with custom rear high back buckets and full stereo redo. It came out decent, I'm happy with it. I can appreciate all the hard work you put into your truck. Guys like us don't take it to a shop and pay them to do it. We engineer, build and enjoy are own work. I used 4 gauge ground because of what they can handle being short. I replace every ground on the truck. My mains to the amps are 1/0. My alt is 230 amp Bosch, When I did some testing it was putting out 157 amps at idle.
04-02-2014, 06:33 AM
#10
Senior Member

Thanks IBD, my head hurts now from the thought of all that wiring. lol. Nicely done though.