
level lift - spacer size vs actual lift question
 09-12-2015, 03:32 PM
#1
Worst hairday ever...
Thread Starter

Questions on leveling kits.
Was plannign to raise the front of my 4x4 by 1.5" to reduce the rake a bit. Keeping it mild (for now) I don't want to put too much stress on ball joints or angle on CV's. I ordered and received the Autospring 1.5" front strut spacers, measured the thickness and they are 1". I assumed if I want to raise the front 1.5" I would put in 1.5" spacers.
Am I missing something here or did they send the wrong spacers?
 09-12-2015, 03:50 PM
#2
Senior Member

That sounds like a 1.5" kit to me. It doesn't take a 1.5" spacer to get 1.5" of lift.
09-12-2015, 03:56 PM
#3
Worst hairday ever...
Thread Starter
OK, Thanks.
After looking at the geometry of the front suspension I can see 1" strut extension will be more than 1" at the end of the control arm.
After looking at the geometry of the front suspension I can see 1" strut extension will be more than 1" at the end of the control arm.
09-12-2015, 08:22 PM
#4
Senior Member
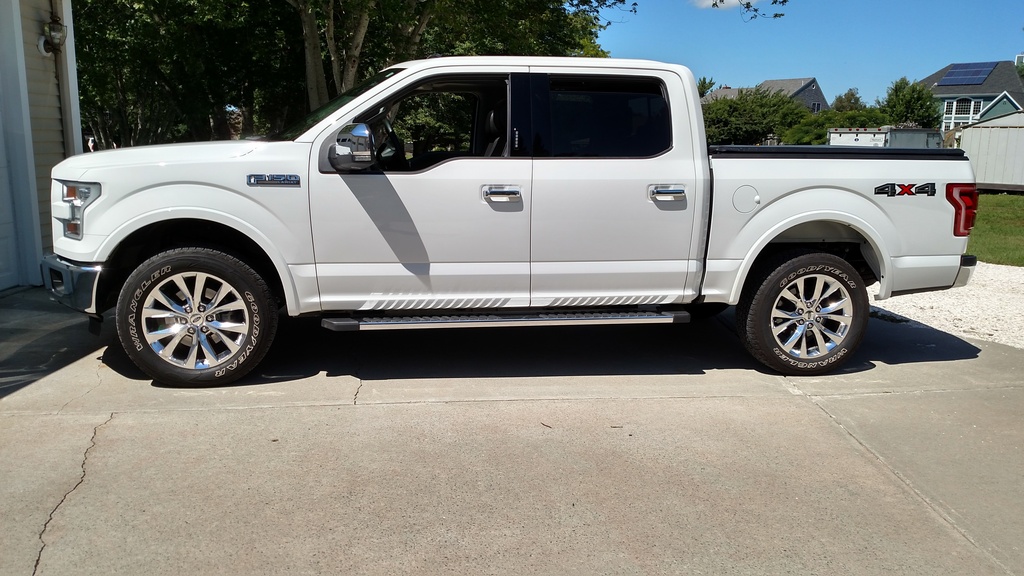
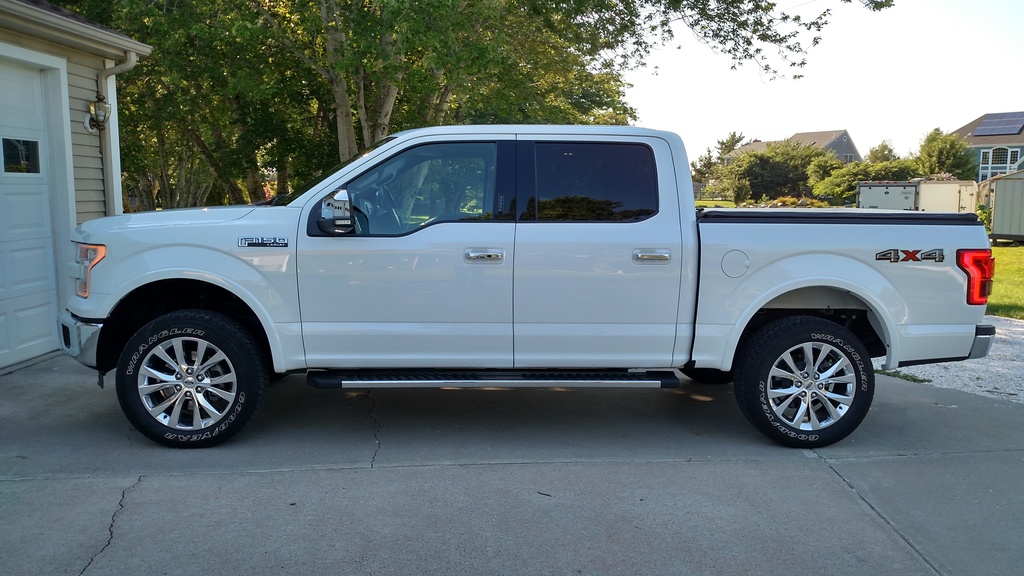
Here is the Autospring before and after pics, if it helps. It is 1.5" after install.
09-13-2015, 08:24 AM
#5
Worst hairday ever...
Thread Starter
The following users liked this post:
COBRAJOE (09-13-2015)
09-13-2015, 08:54 AM
#6
Senior Member
09-13-2015, 05:02 PM
#7
Worst hairday ever...
Thread Starter
Today was a good day.
First, the Packers won.
Second, I got the lift installed. Total time was just under 2 hours, that's with a trip to the hardware store with a side trip for subs. I decided to NOT loosen or remove the lower control arm bolts as the instructions said. With two prybars I was able to push down on the LCA and pry up on the strut and it popped right out. Probably the hardest work was hammering the studs out of the lower end of the struts.
The trip to the hardware store was to get hex bolts, washers and nuts to replace the lower strut studs. I'm sure I'll be removing the struts in the future for one reason or another, I can't imaging the spacer is going to make it any easier if I put the studs back in.
This was all done in my driveway with a floor jack and jack stands.
Alignment is schedule for tomorrow, but I did go for a test drive and it rides just as good as before. Backing out of the driveway the guide lines on the backup cam weren't moving with the steering wheel so I was nervous I damaged the steering sensor. When I got back it was working fine so maybe it needed to re-calibrate or something. I did disconnect the battery before I started per the instructions.
Now I need some BFG KO2's.
Trending Topics
09-13-2015, 08:21 PM
#8
Senior Member
Today was a good day.
Second, I got the lift installed. Total time was just under 2 hours, that's with a trip to the hardware store with a side trip for subs. I decided to NOT loosen or remove the lower control arm bolts as the instructions said. With two prybars I was able to push down on the LCA and pry up on the strut and it popped right out. Probably the hardest work was hammering the studs out of the lower end of the struts.
Second, I got the lift installed. Total time was just under 2 hours, that's with a trip to the hardware store with a side trip for subs. I decided to NOT loosen or remove the lower control arm bolts as the instructions said. With two prybars I was able to push down on the LCA and pry up on the strut and it popped right out. Probably the hardest work was hammering the studs out of the lower end of the struts.
 09-13-2015, 09:36 PM
#9
Senior Member
09-14-2015, 04:04 PM
#10
Senior Member
Agreed, and I did get an alignment. What I should have said was that the lower control arms are slotted for adjustment, so if you loosen/move them to install the strut it will change the camber. The camber changes if the top or bottom of the strut moves in or out. In this case the top is fixed, so the slots on the bottom provide the adjustment. I didn't loosen my control arm bolts when I installed my spacer for that reason.
Last edited by COBRAJOE; 09-14-2015 at 05:15 PM.