Work in Progress - Rust Removal, Painting and Light Upgrades
 07-09-2016, 10:29 PM
#41
Member
Thread Starter
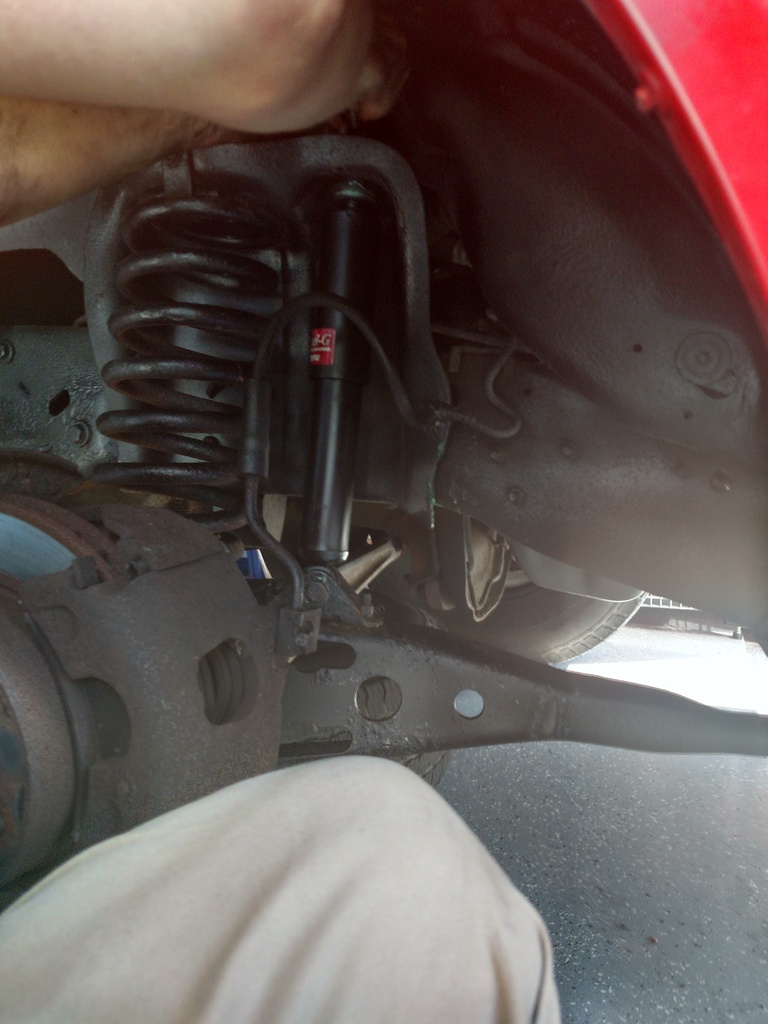
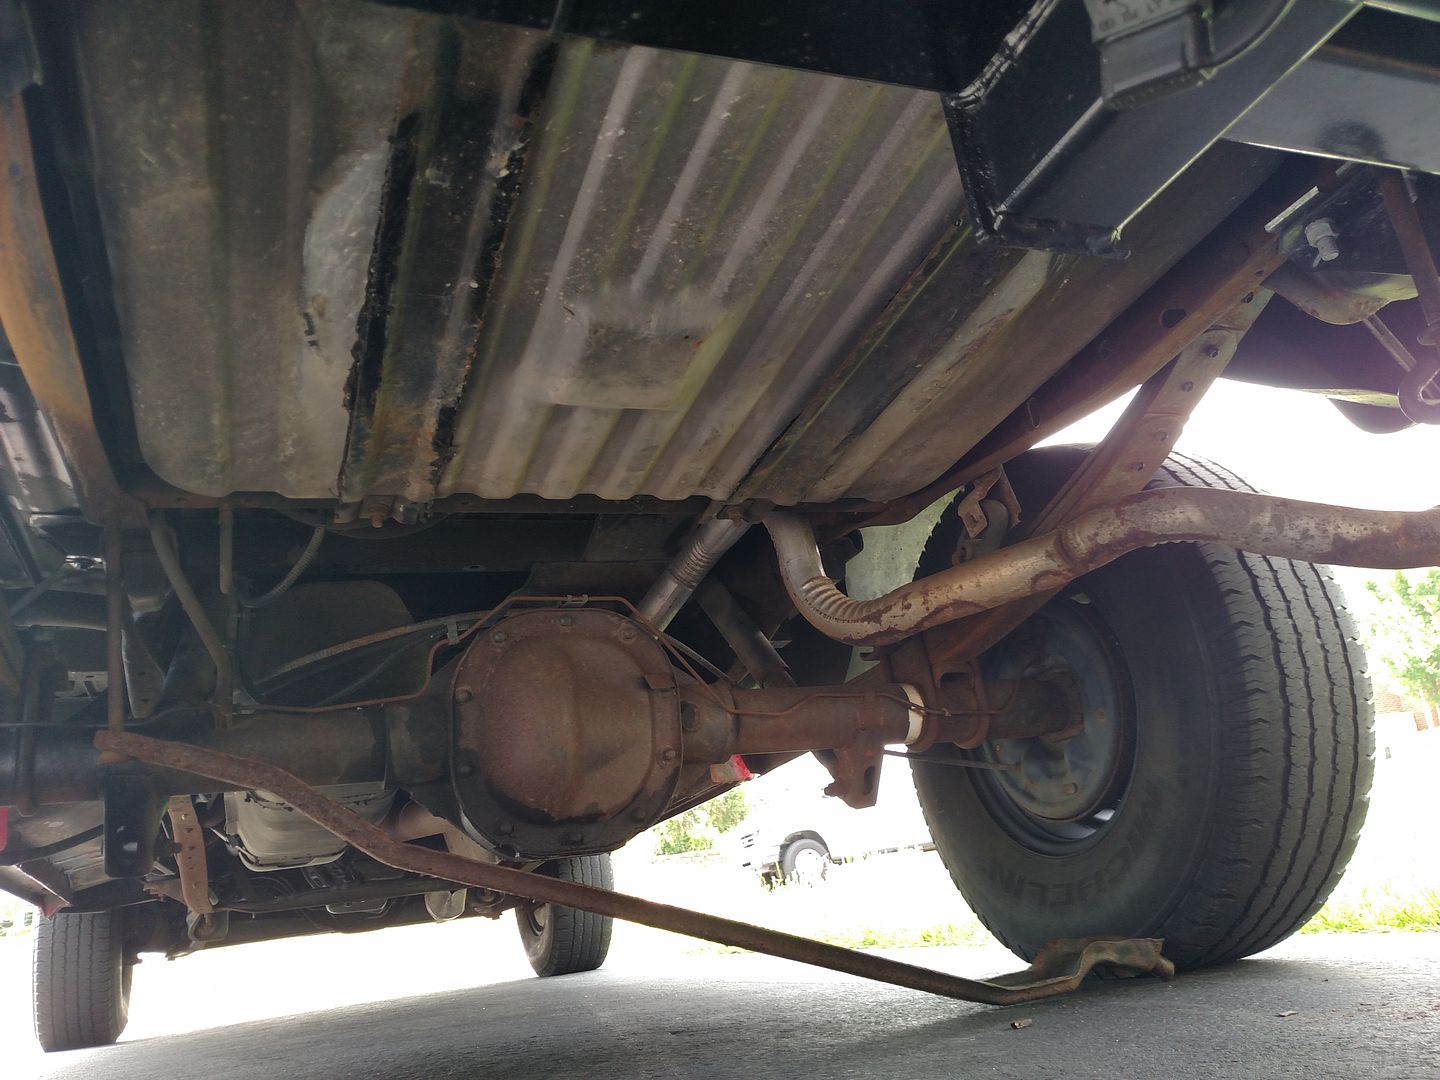
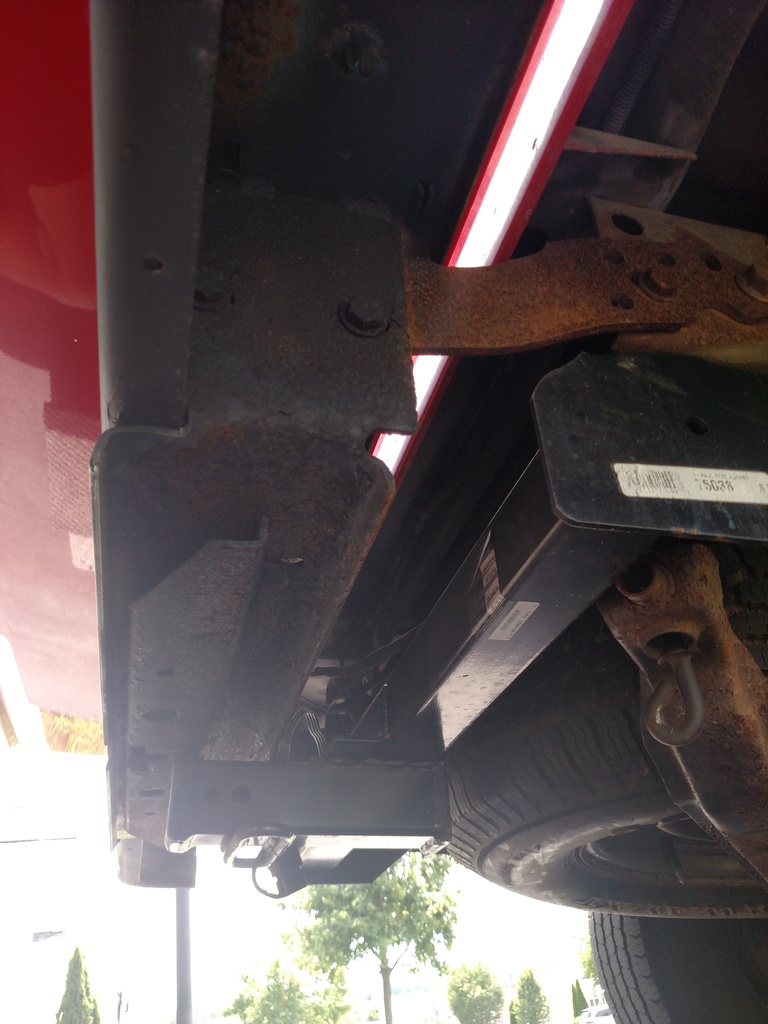
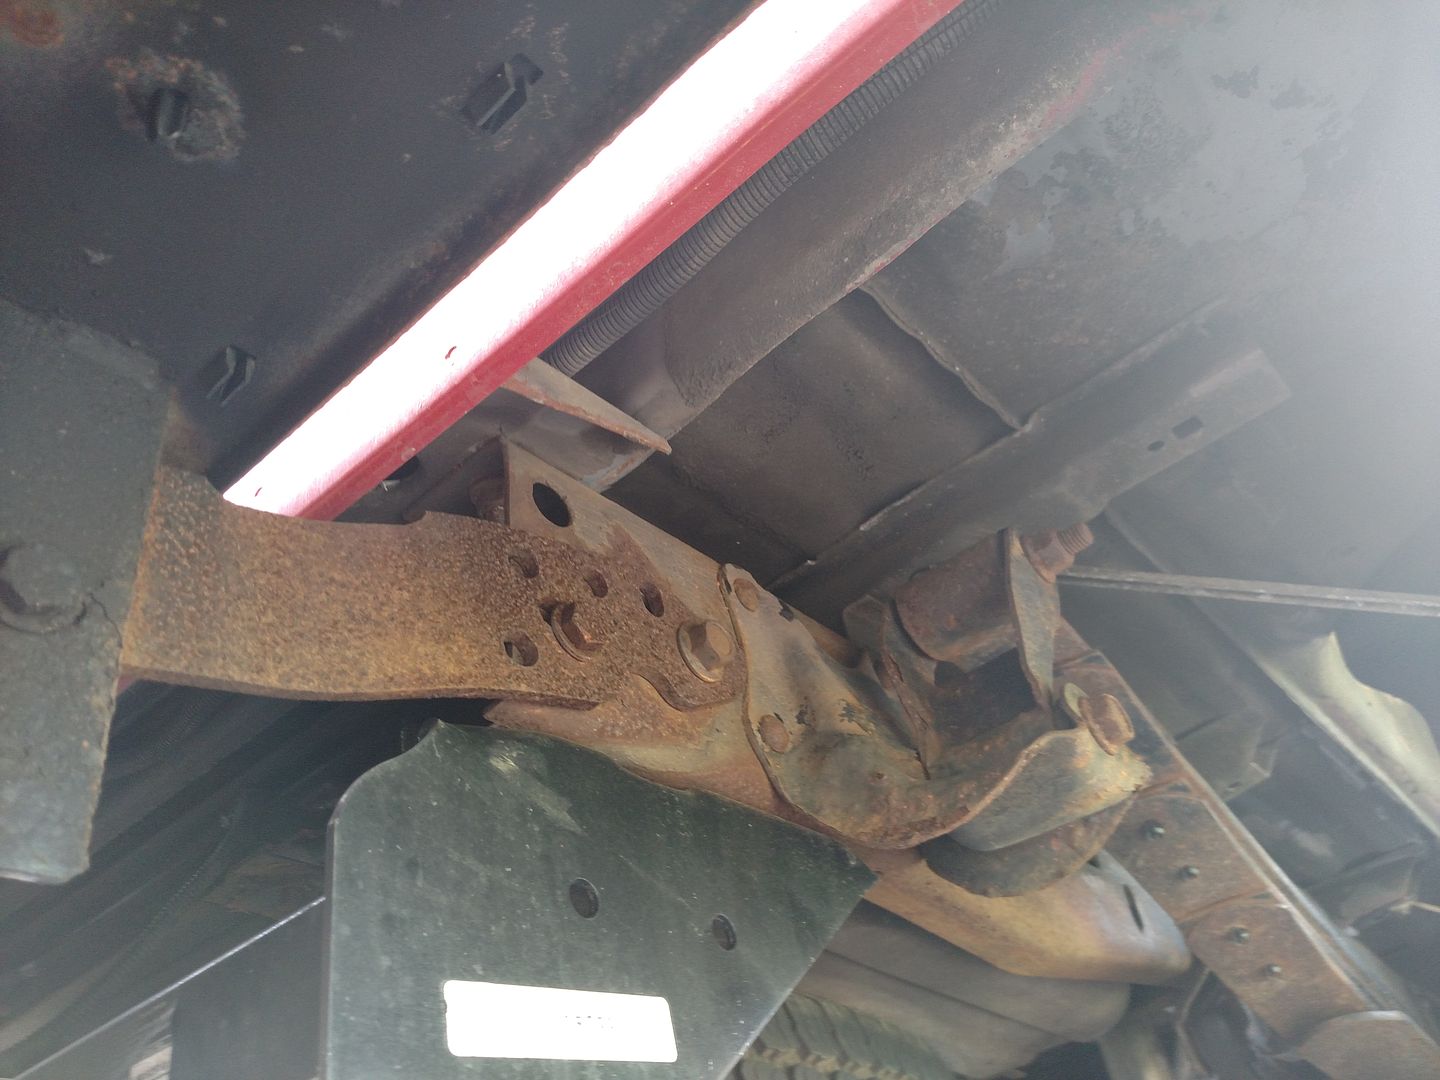
Took a little bit longer than I expected to install the shocks, I would say it took us about 4 hours and of those five I would say 3.5 half hours were spent loosening the bolts/nuts. Having two sets of hands made things easier especially removing the rear shocks. The truck has a full CarFax report and I did not see the shocks being replaced so I'm assuming these were OEM shocks and based on the condition of them.
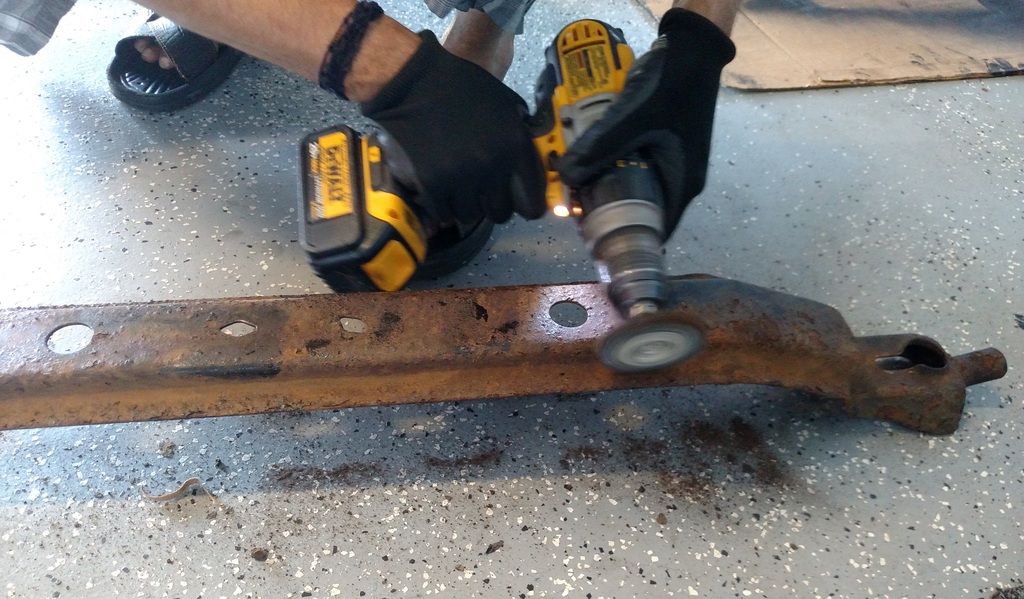
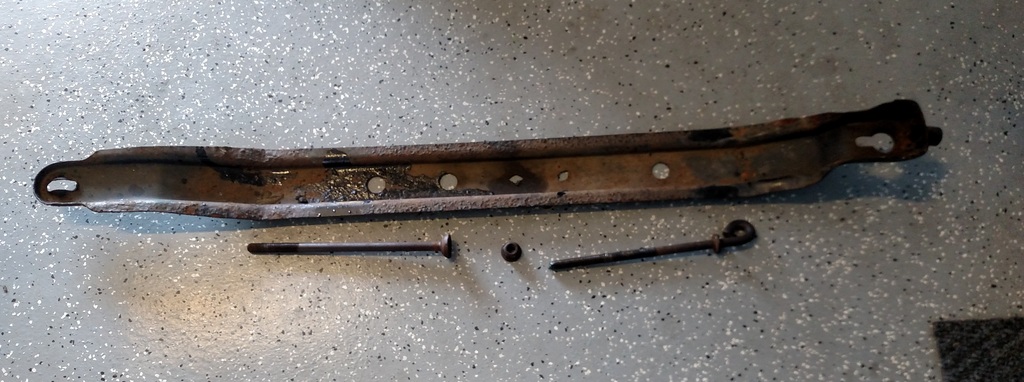
Ended up using the floor jack to loosen as leverage to loosen the bottom bolts those suckers seemed like they were welded on, I don't think it would have been humanly possibly to remove those. We did think about using a impact wrench but my dad was worried that bolts might slip thankfully it worked out.
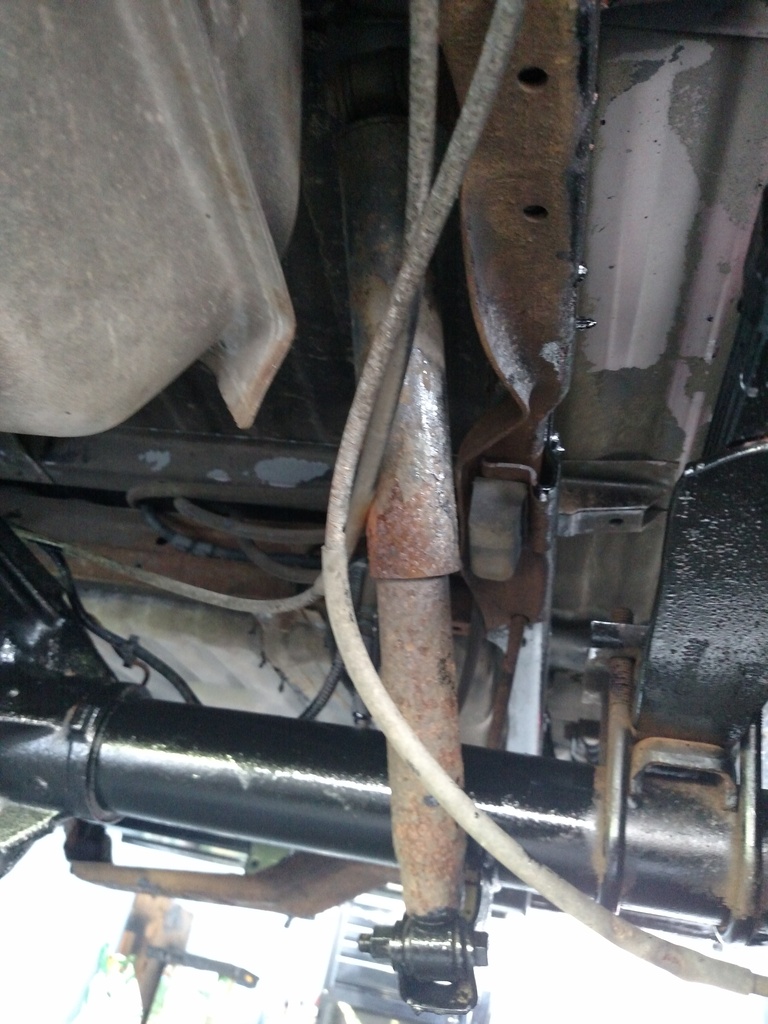
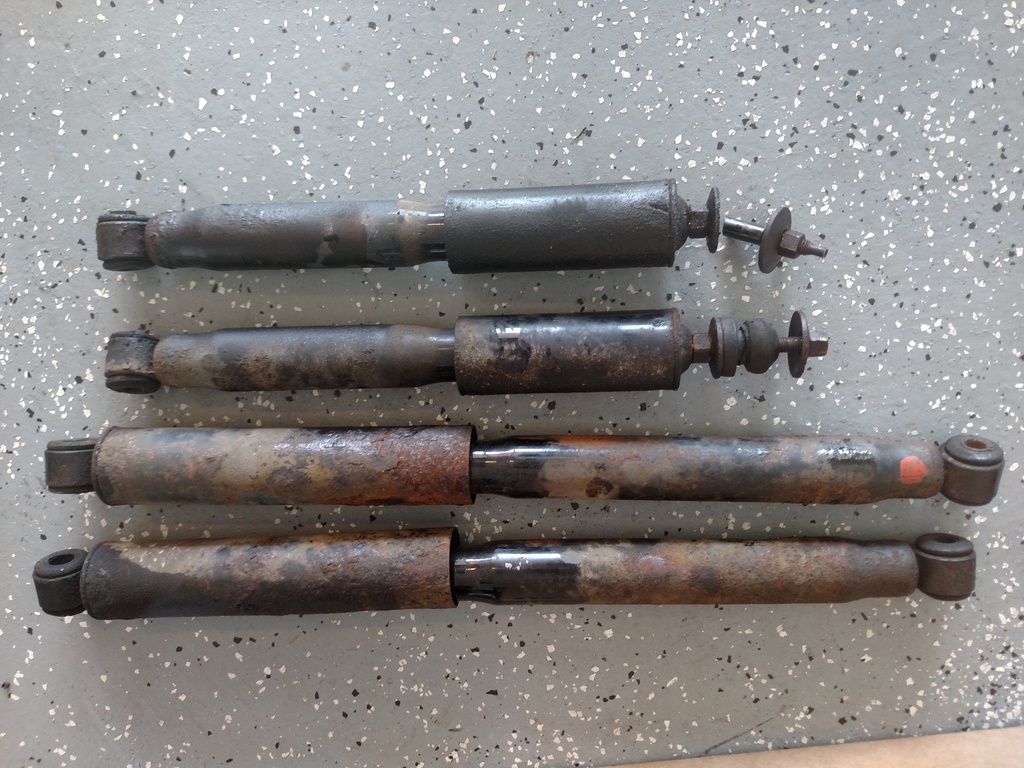
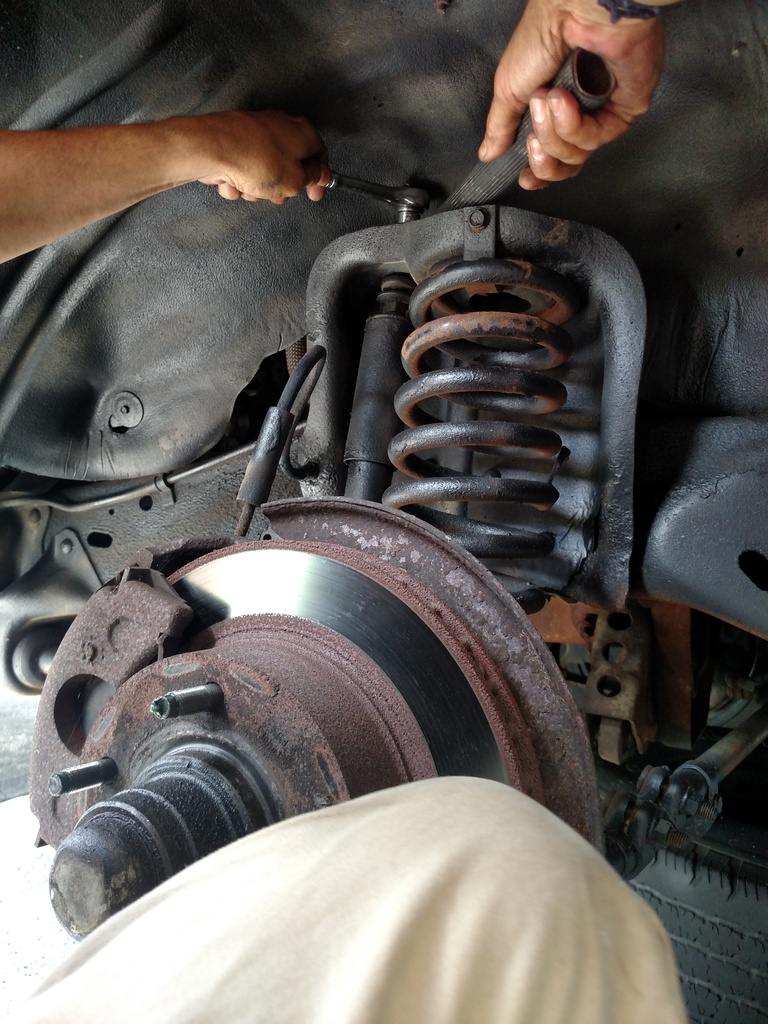
Replacing the fronts was a pain for the top bolts because there was not enough clearance to put a socket in until it was somewhat loosened so it took a while using the wrench. We ended up having to cut the driver side shock because the bolt just did not want to come up using a reciprocating saw, both passenger and driver side shocks were completely shot though.
Tips:
- Use plenty of WD-40 before and during removal of the bolts
- Using the socket-wrenches combo made things go by way faster for the rears but we did not have any 15mm for the fronts so it took way longer
- Grease those bolts afterwards to make things easier in the future
- Have an extra set of hands
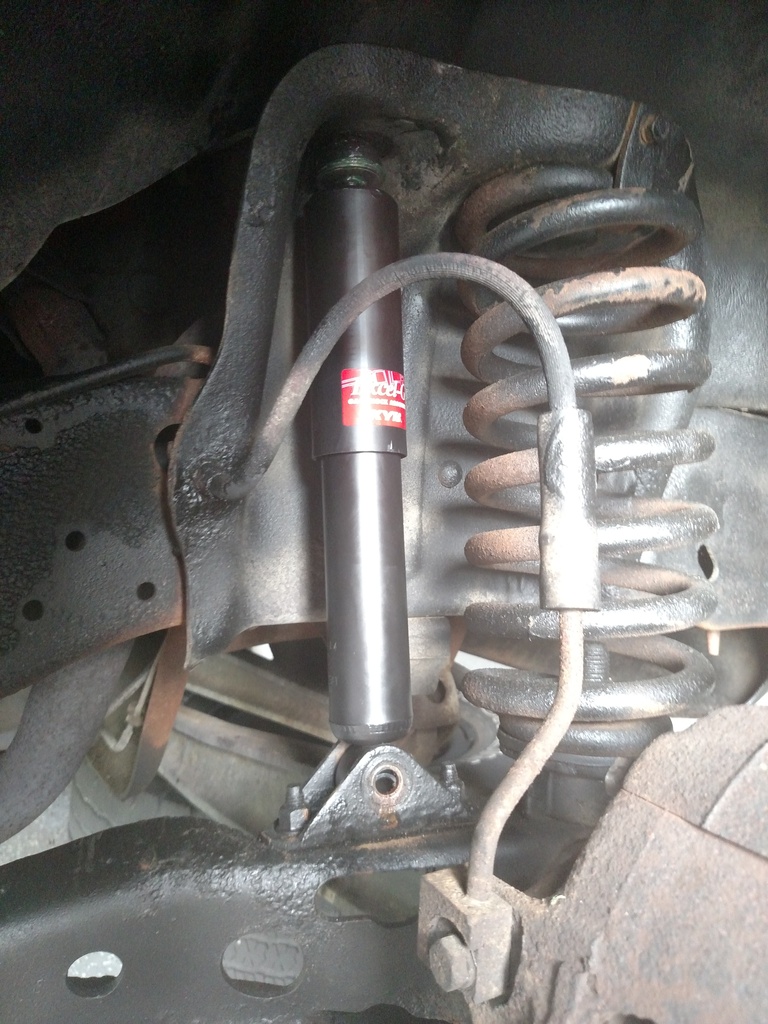
I took the truck out for a drive, drove over some bumps and can definitely feel difference especially on the rears. I did not realize how much quieter the ride gets with new shocks, now I hear a rattling noise from the passenger door that I have to look at, another project for another day.
Next Up:
- Finish painting the under carriage with POR-15 about 50% done
- Change the fuel filter
- Fix the rattling door
- Head gasket seemed like it was leaking oil but not enough for it to spill on the ground, will further investigate
- Still need to tint the front windows
- Maybe replace the spark plugs
Ended up using the floor jack to loosen as leverage to loosen the bottom bolts those suckers seemed like they were welded on, I don't think it would have been humanly possibly to remove those. We did think about using a impact wrench but my dad was worried that bolts might slip thankfully it worked out.


Replacing the fronts was a pain for the top bolts because there was not enough clearance to put a socket in until it was somewhat loosened so it took a while using the wrench. We ended up having to cut the driver side shock because the bolt just did not want to come up using a reciprocating saw, both passenger and driver side shocks were completely shot though.


Tips:
- Use plenty of WD-40 before and during removal of the bolts
- Using the socket-wrenches combo made things go by way faster for the rears but we did not have any 15mm for the fronts so it took way longer
- Grease those bolts afterwards to make things easier in the future
- Have an extra set of hands
I took the truck out for a drive, drove over some bumps and can definitely feel difference especially on the rears. I did not realize how much quieter the ride gets with new shocks, now I hear a rattling noise from the passenger door that I have to look at, another project for another day.
Next Up:
- Finish painting the under carriage with POR-15 about 50% done
- Change the fuel filter
- Fix the rattling door
- Head gasket seemed like it was leaking oil but not enough for it to spill on the ground, will further investigate
- Still need to tint the front windows
- Maybe replace the spark plugs
 09-21-2016, 05:44 PM
#42
Member
Thread Starter
Finally finished applying POR to the truck it took me pretty much all summer, I used a total of two 1 quart cans of black semi gloss. I took my time with applying it on different sections of the truck every couple of weeks.
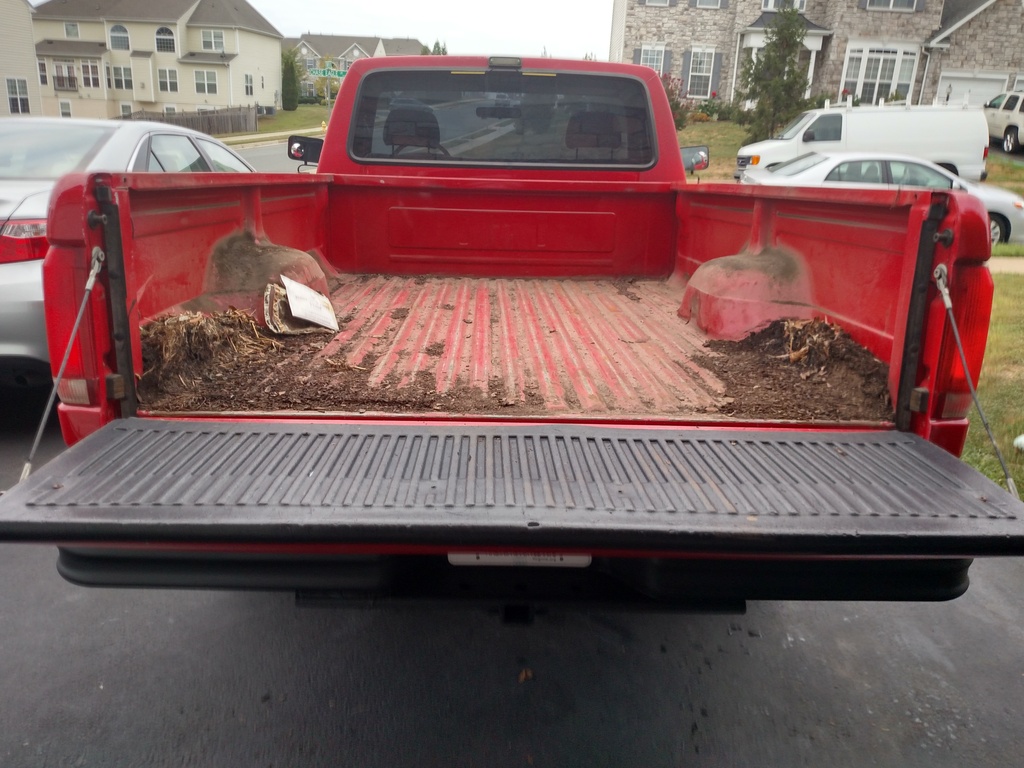
Here are some before pictures
Here are some before pictures


 09-21-2016, 06:04 PM
#44
Member
Thread Starter
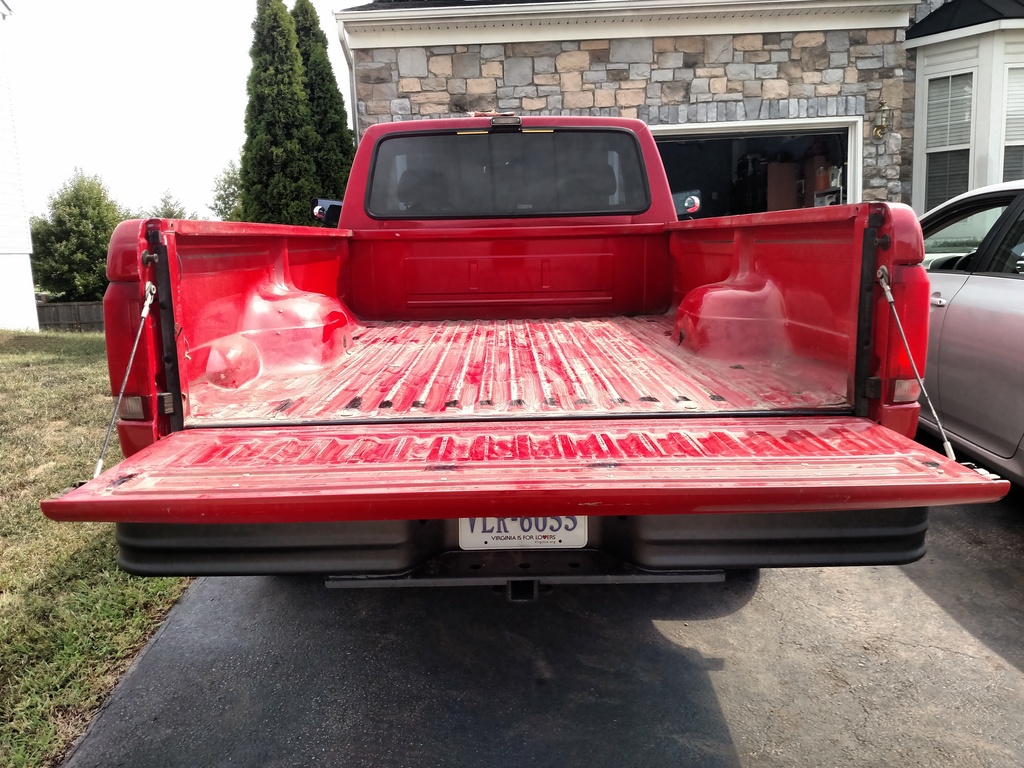
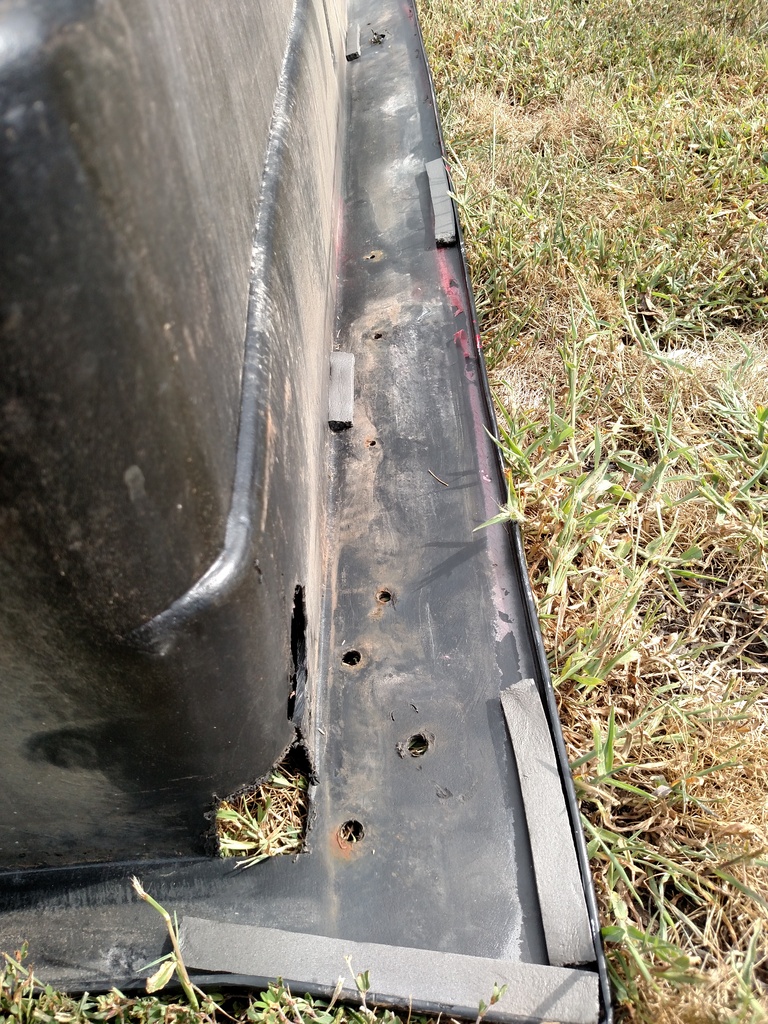
I also removed the bed liner which was heavier than I thought it would be, I should have had an extra set of hands but the condition was better than I expected.
First wash
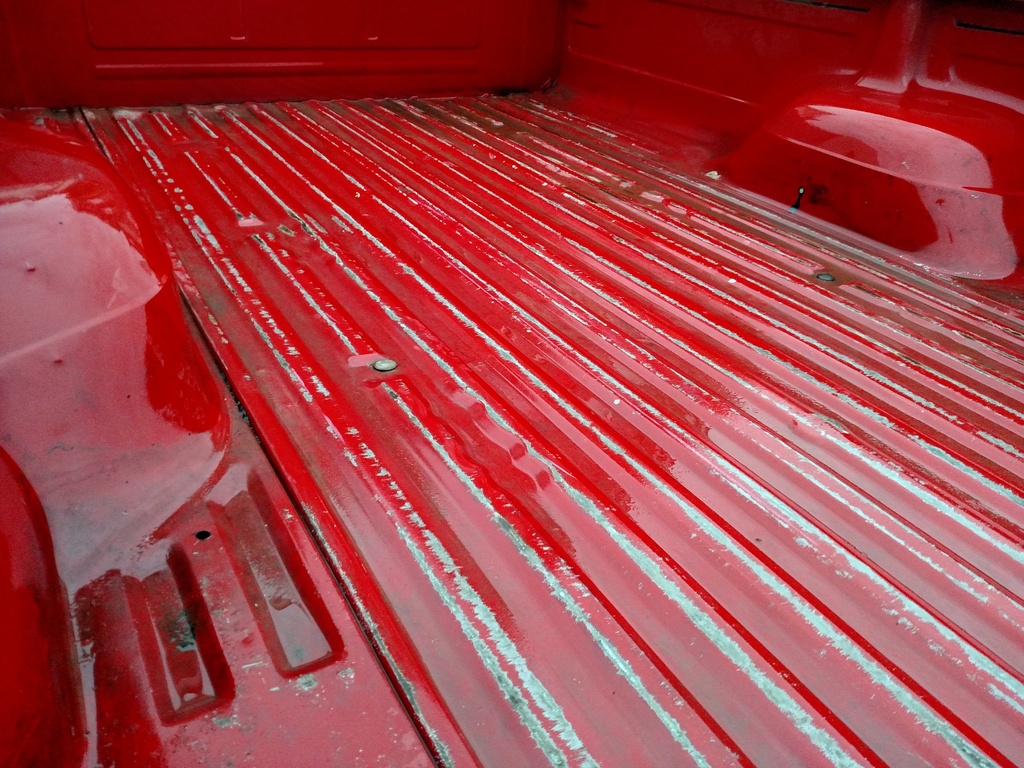
Second wash
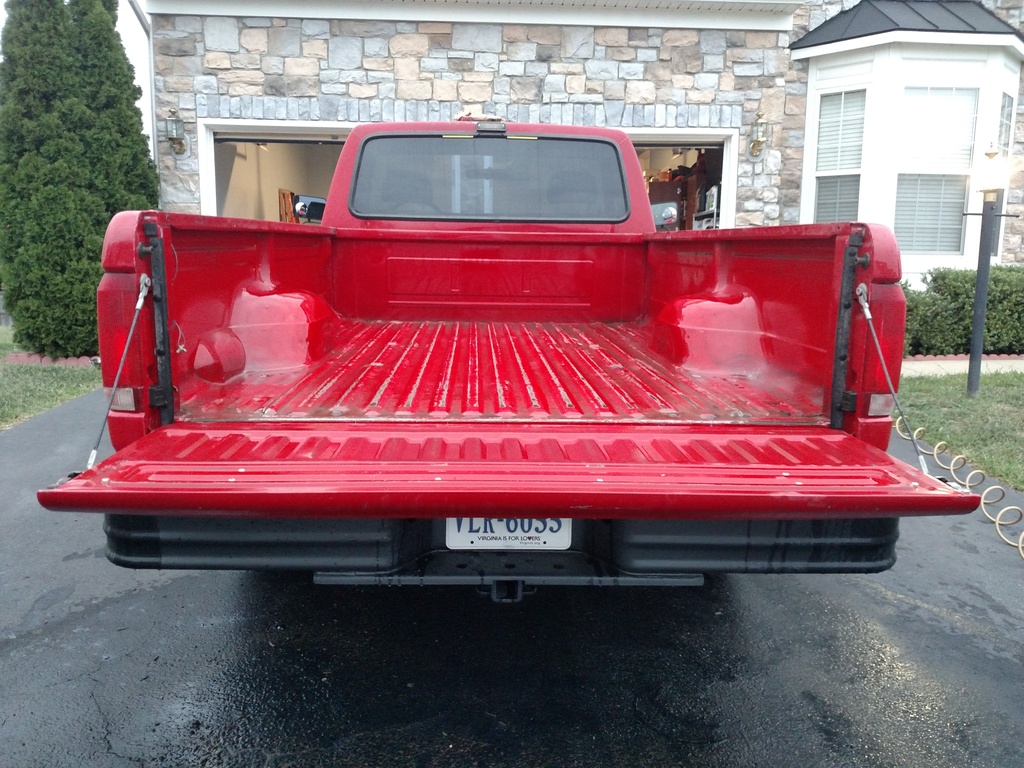
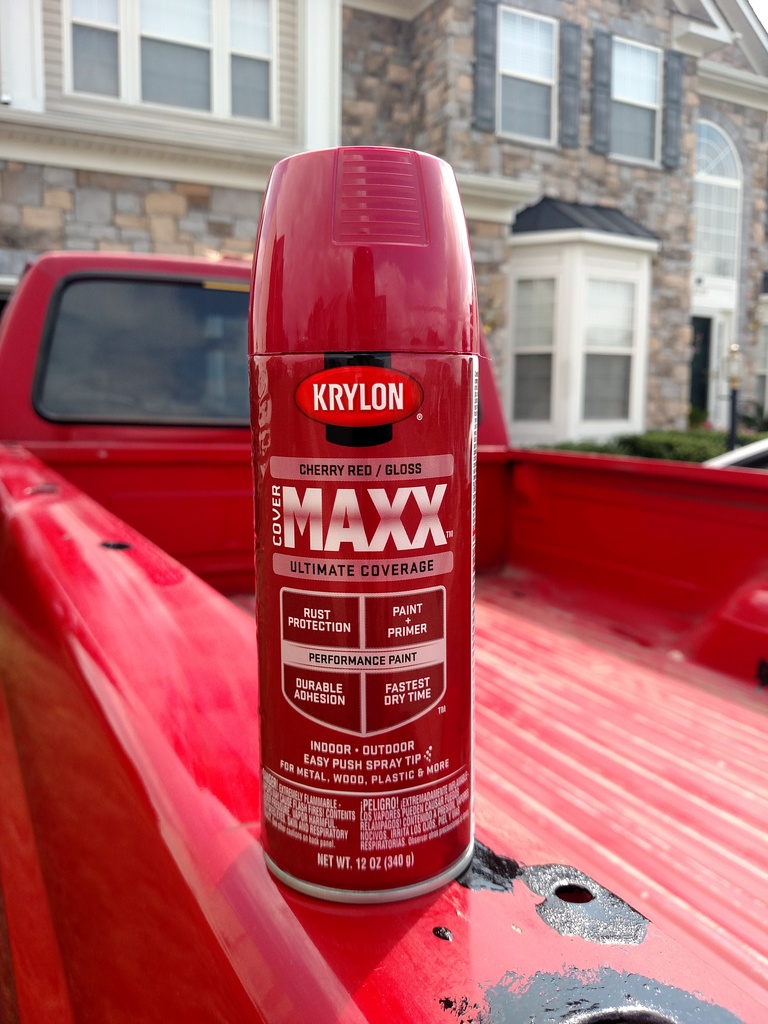
I painted the truck frame just for the heck of it unfortunaley I only bought 1 can, I should of got at least 3 cans.
Finished product
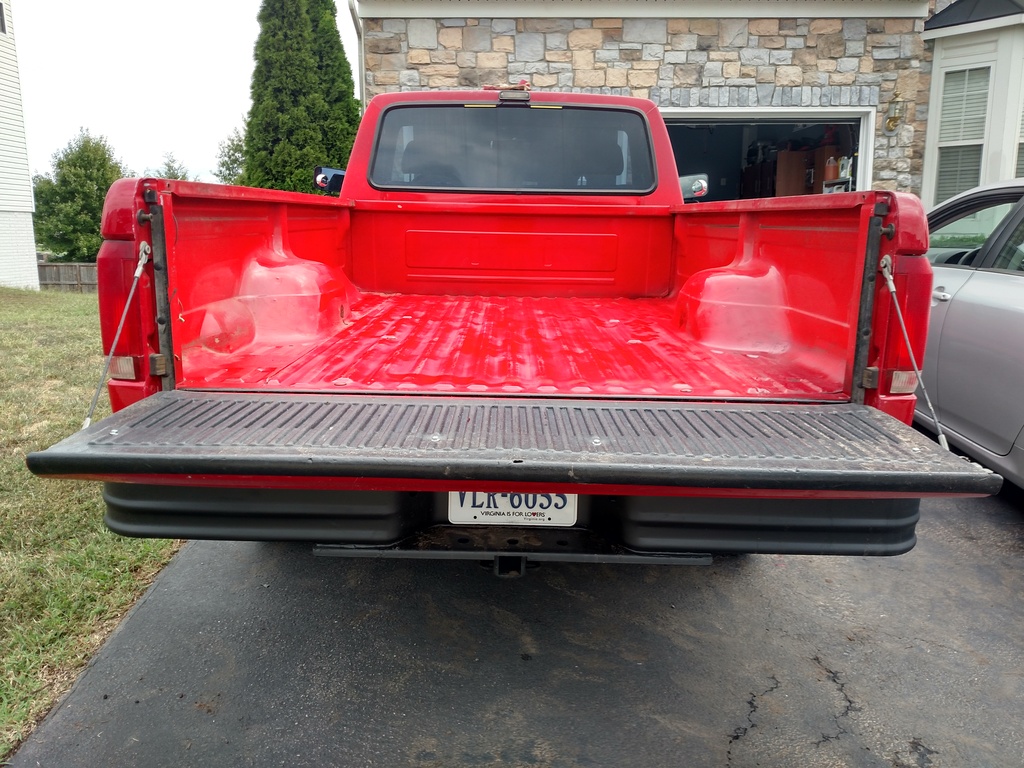
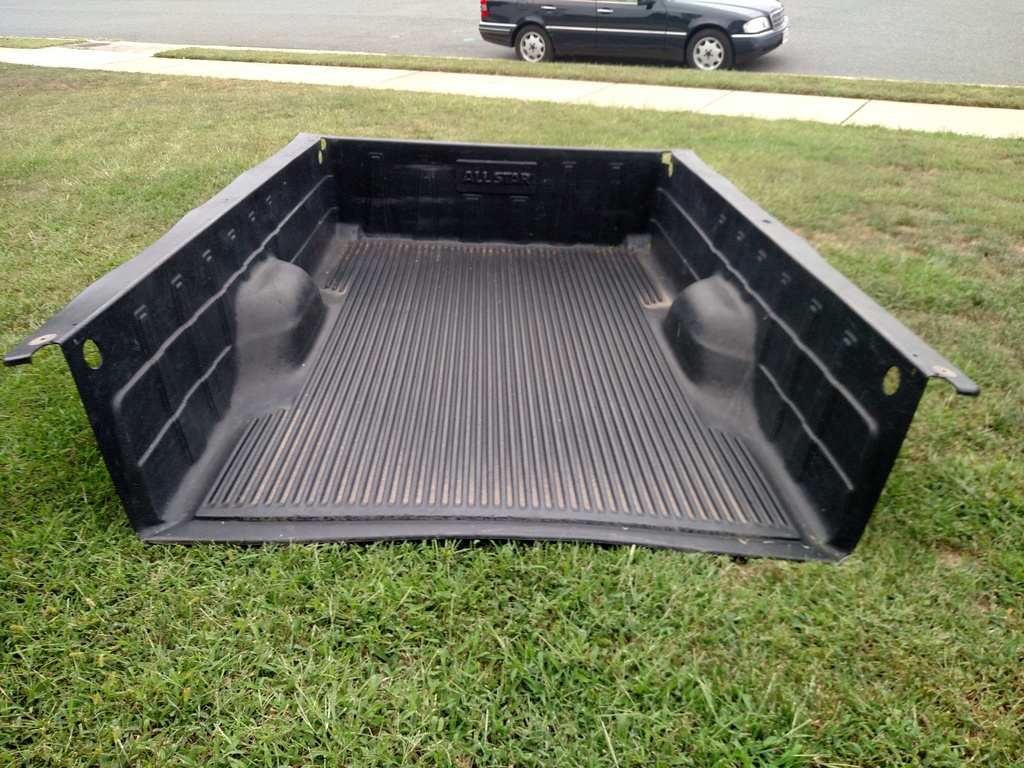
When I put the liner back I but some rubber cushion so the liner would not vibrate.

First wash


Second wash

I painted the truck frame just for the heck of it unfortunaley I only bought 1 can, I should of got at least 3 cans.

Finished product


When I put the liner back I but some rubber cushion so the liner would not vibrate.
 10-23-2016, 12:25 AM
#45
Member
Thread Starter
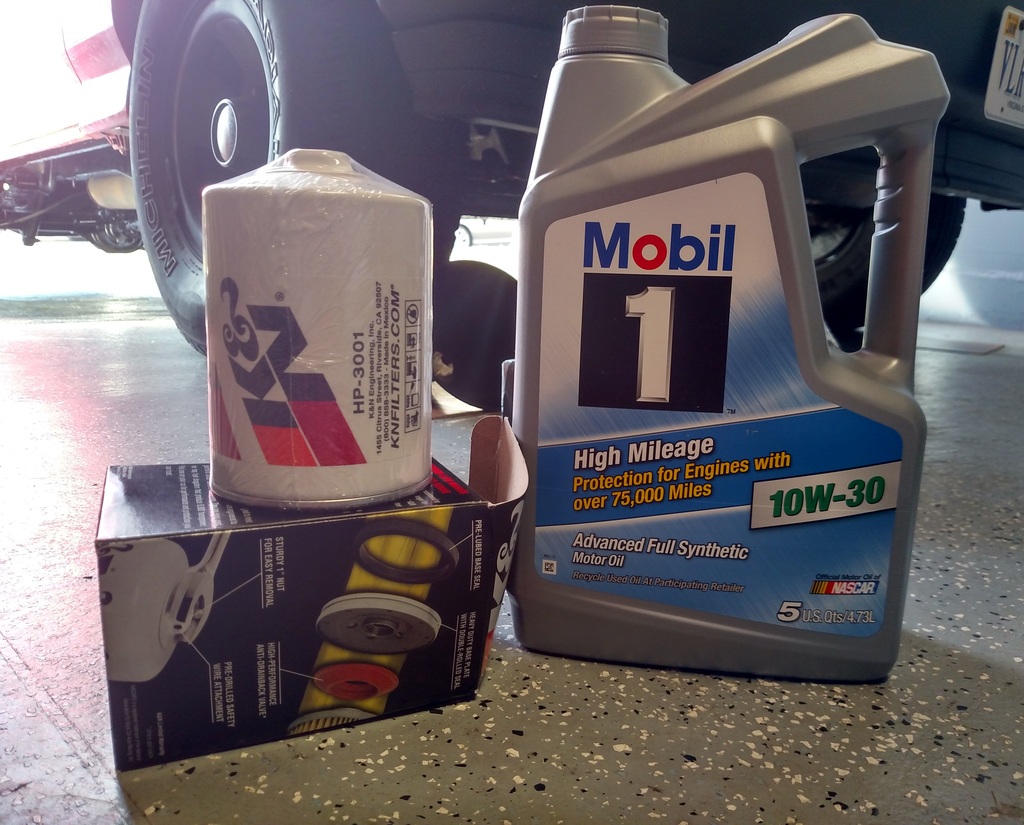
Finally got a chance to the change for the first time since buying the truck
It was very windy in Northern VA today so since the truck can only partially fit in the garage I had to put a cardboard box to prevent the oil from going anywhere other then the drain pan.

Previous owner used a what seemed like a rubber drain gasket as the crush washer I was able to find a Aluminum washer to replace the "rubber" one.
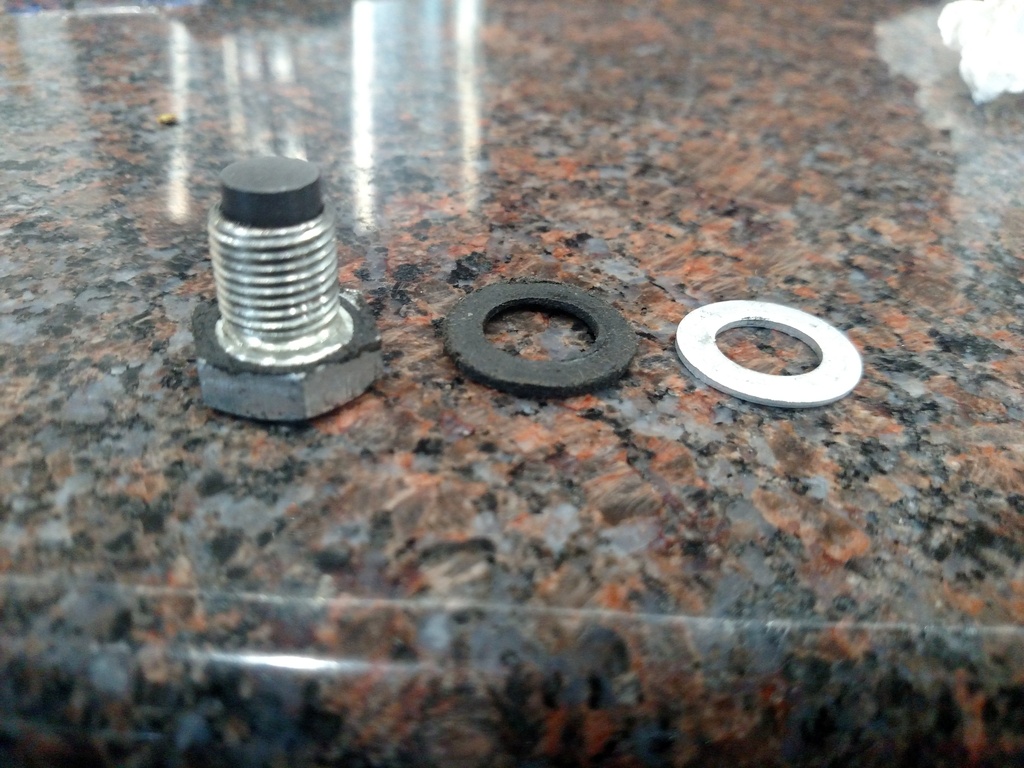

 10-23-2016, 09:57 PM
#46
paint sucks
Finally got a chance to the change for the first time since buying the truck
It was very windy in Northern VA today so since the truck can only partially fit in the garage I had to put a cardboard box to prevent the oil from going anywhere other then the drain pan.
Previous owner used a what seemed like a rubber drain gasket as the crush washer I was able to find a Aluminum washer to replace the "rubber" one.
10-27-2016, 10:36 AM
#47
Member
Thread Starter
11-07-2016, 11:33 AM
#48
Member
Thread Starter
Got this idea from a DriveAccord forum member who did this on his car, so I was planning on my installing it on my Accord but instead installed it the truck.
Here is the link to the item on Amazon. I was able to fish the wire through the hood so most of the wire is hidden.
Here is the link to the item on Amazon. I was able to fish the wire through the hood so most of the wire is hidden.