MReeceW's Gen. Forrest Build

 01-27-2012, 09:31 AM
#22
I was 2wd once.
Thread Starter

Figured I would post some pictures of the front locker install with my dad from X-Mas 2009.
Front end in the air

Removed the hub, caliper and rotor

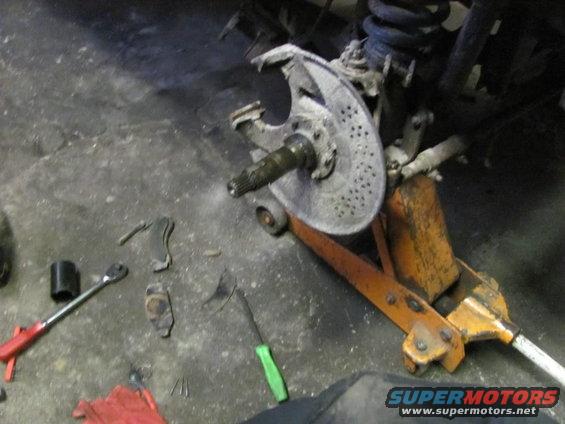
Next remove the two bolts found on the rear of the third member

Then you're going to remove the majority of the front bolts.

Then remove this giant SOB and get it in an area where you are comfortable working. I chose my bench.

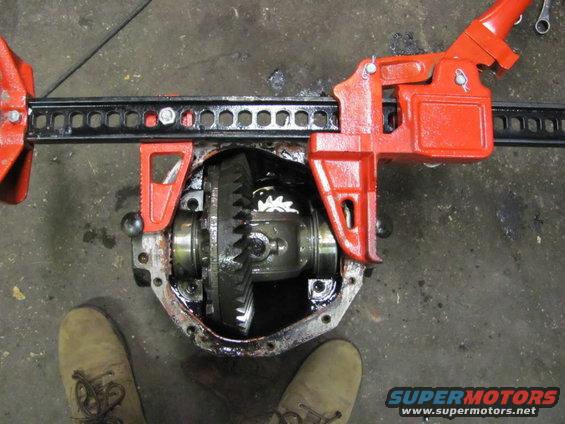
Then follow steps to remove the carrier.
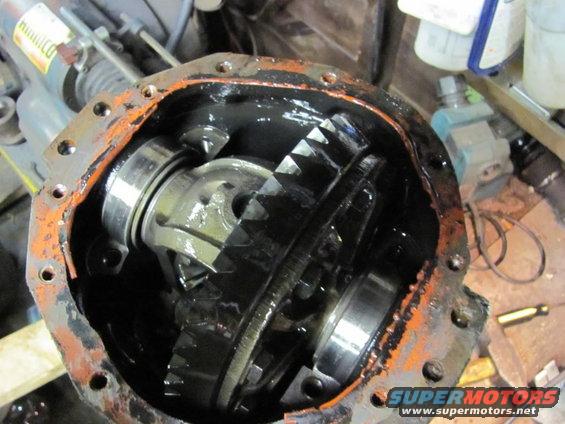
And because the dana 44 requires a case spreader and I didn't have one at the time I figured out a way to use a hi lift and some bolts to spread the case.


Front end in the air
Removed the hub, caliper and rotor
Next remove the two bolts found on the rear of the third member
Then you're going to remove the majority of the front bolts.
Then remove this giant SOB and get it in an area where you are comfortable working. I chose my bench.
Then follow steps to remove the carrier.
And because the dana 44 requires a case spreader and I didn't have one at the time I figured out a way to use a hi lift and some bolts to spread the case.
01-27-2012, 09:32 AM
#23
I was 2wd once.
Thread Starter
From their you are going to want to remove your spidy gears and throw them as hard as you can at the ground and proclaim you role as a higher being by screaming profane language at them, ok that may be a bit far. We had an issue with the way the actual locker fit inside the carrier so we shaved it down a little bit like so.

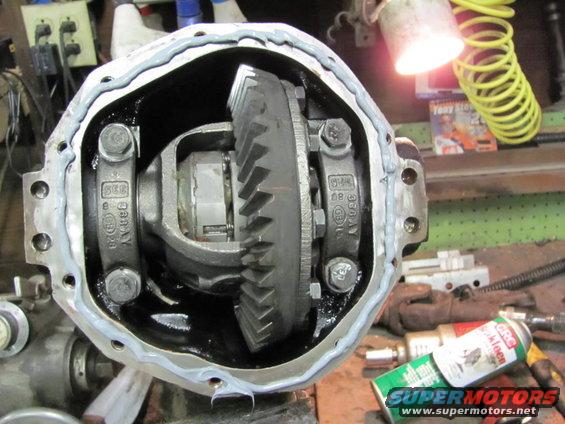
Next place the outer pieces of the locker in the carrier

Then you have to make sure all of your gaps are correct and place the rest of the locker in the carrier.

Then place the carrier back in the 3rd member you can do this by lightly tapping it with a rubber mallet or dead blow mallet. Also don't forget to seal it up with either a gasket or some RTV.
RTV

Next place the outer pieces of the locker in the carrier
Then you have to make sure all of your gaps are correct and place the rest of the locker in the carrier.
Then place the carrier back in the 3rd member you can do this by lightly tapping it with a rubber mallet or dead blow mallet. Also don't forget to seal it up with either a gasket or some RTV.
RTV
01-27-2012, 09:33 AM
#24
I was 2wd once.
Thread Starter
I had a bent steering link after a wheeling trip once so I decided I was going to buy a new one and sleeve it to make it stronger.
Heres the bent link


Fitted the link up with some 1 1/4" 1/8" wall tubing and got this.

Heres the bent link
Fitted the link up with some 1 1/4" 1/8" wall tubing and got this.
01-27-2012, 09:35 AM
#25
I was 2wd once.
Thread Starter
Now I think I'll post the rear bumper. I made it so that I would have recovery points and also because I got tired of the stock bumper that wraps around the body.
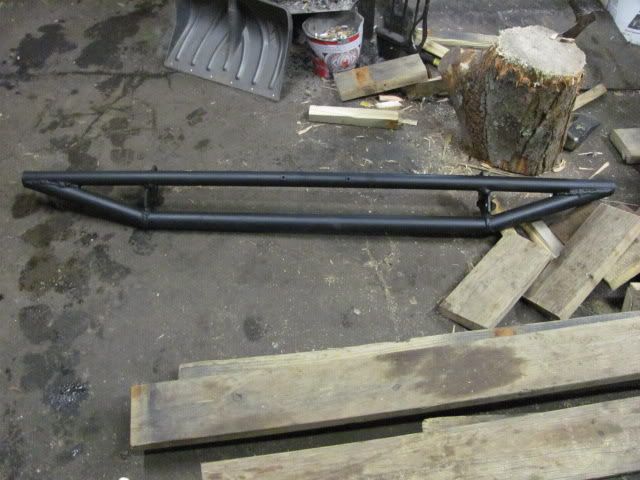
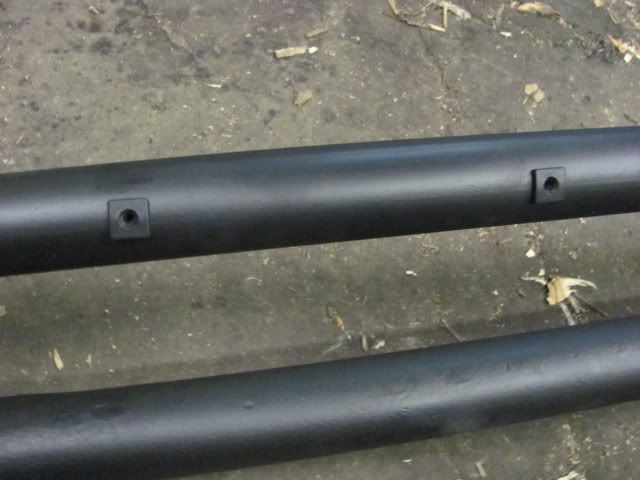
I was careful to even include inserts for the license plate.
I was careful to even include inserts for the license plate.

 01-28-2012, 09:56 PM
#29
I was 2wd once.
Thread Starter
I'm just saying because in my area nobody my age has anything remotely like this that they build by themselves without ever sending it to a shop.
01-28-2012, 11:16 PM
#30
Executive Member
Originally Posted by MReeceW
I'm just saying because in my area nobody my age has anything remotely like this that they build by themselves without ever sending it to a shop.